Quick Facts
- Method 1: A 100-yard zero is the standard for shooters using precision turrets or a ballistic reticle.
- Method 2: Maximum Point Blank Range (MPBR) allow for a "dead-on" hold on vitals out to 300 yards without adjusting the scope.
- Method 3: Short-range 25 or 50-yard zeros are preferred for dense timber where visibility is limited.
- Field Standard: Hunters should aim for a 3.2 MOA field accuracy, ensuring a 10-inch impact zone at 300 yards.
- Efficiency: Always utilize bore sighting before firing live rounds to save ammunition and time.
- Frequency: You should re-verify your zero before every hunting season or any time the rifle experiences a significant drop.
- Direct Answer: The best distance to zero a hunting rifle depends on your specific hunting terrain and expected shot range. For timber, stay around 100 yards; for open country, utilize a maximum point blank range zero or a 100-yard zero with target turrets.
Zeroing a hunting rifle is the most critical step in preparing for a successful season. The best distance to zero a rifle is determined by your cartridge’s ballistics and the environment where you hunt. For those navigating thick brush or woods, a short-range zero between 80 and 100 yards provides the best control. Conversely, in open country, many hunters rely on a maximum point blank range for hunting to maintain an ethical hold without calculating bullet drop under pressure.
Preparation: Hardware and Ballistic Data
Before you fire a single shot at the range, your preparation starts at the workbench. Consistency in your zero is only as good as the mechanical connection between your rifle and your optic. Ensuring that you are mounting a scope base for better zero stability is the foundation of accuracy. Use a high-quality torque wrench to tighten rings and bases to the manufacturer's suggested inch-pounds. Even a slight looseness can cause your point of impact to shift after just a few shots.
Understanding your ballistic data is equally vital. You need to know your muzzle velocity and the ballistic coefficient of your specific hunting bullet. These two variables determine how your bullet fights air resistance and gravity. You also need to measure the height of your scope above the center of the bore, which is typically 1.5 inches for standard mounts. This measurement affects your trajectory curve significantly at closer ranges.
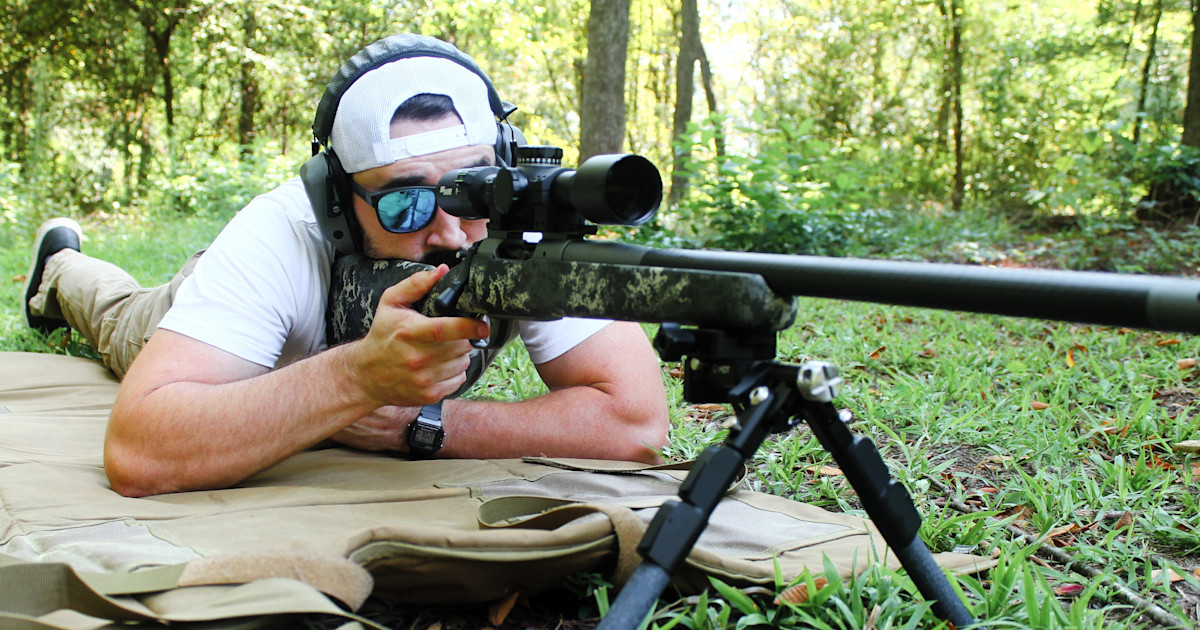
Once the hardware is set, the first physical step at the range is bore sighting. By removing the bolt and looking down the barrel (on a bolt-action rifle), you can align the bore with a target at 25 yards. Then, adjust your windage and elevation knobs until the reticle matches what you see through the barrel. This ensures you will at least be "on the paper" when you begin the actual zeroing process, saving expensive hunting ammunition.
Method 1: The 'Dead-On' Hold (Maximum Point Blank Range)
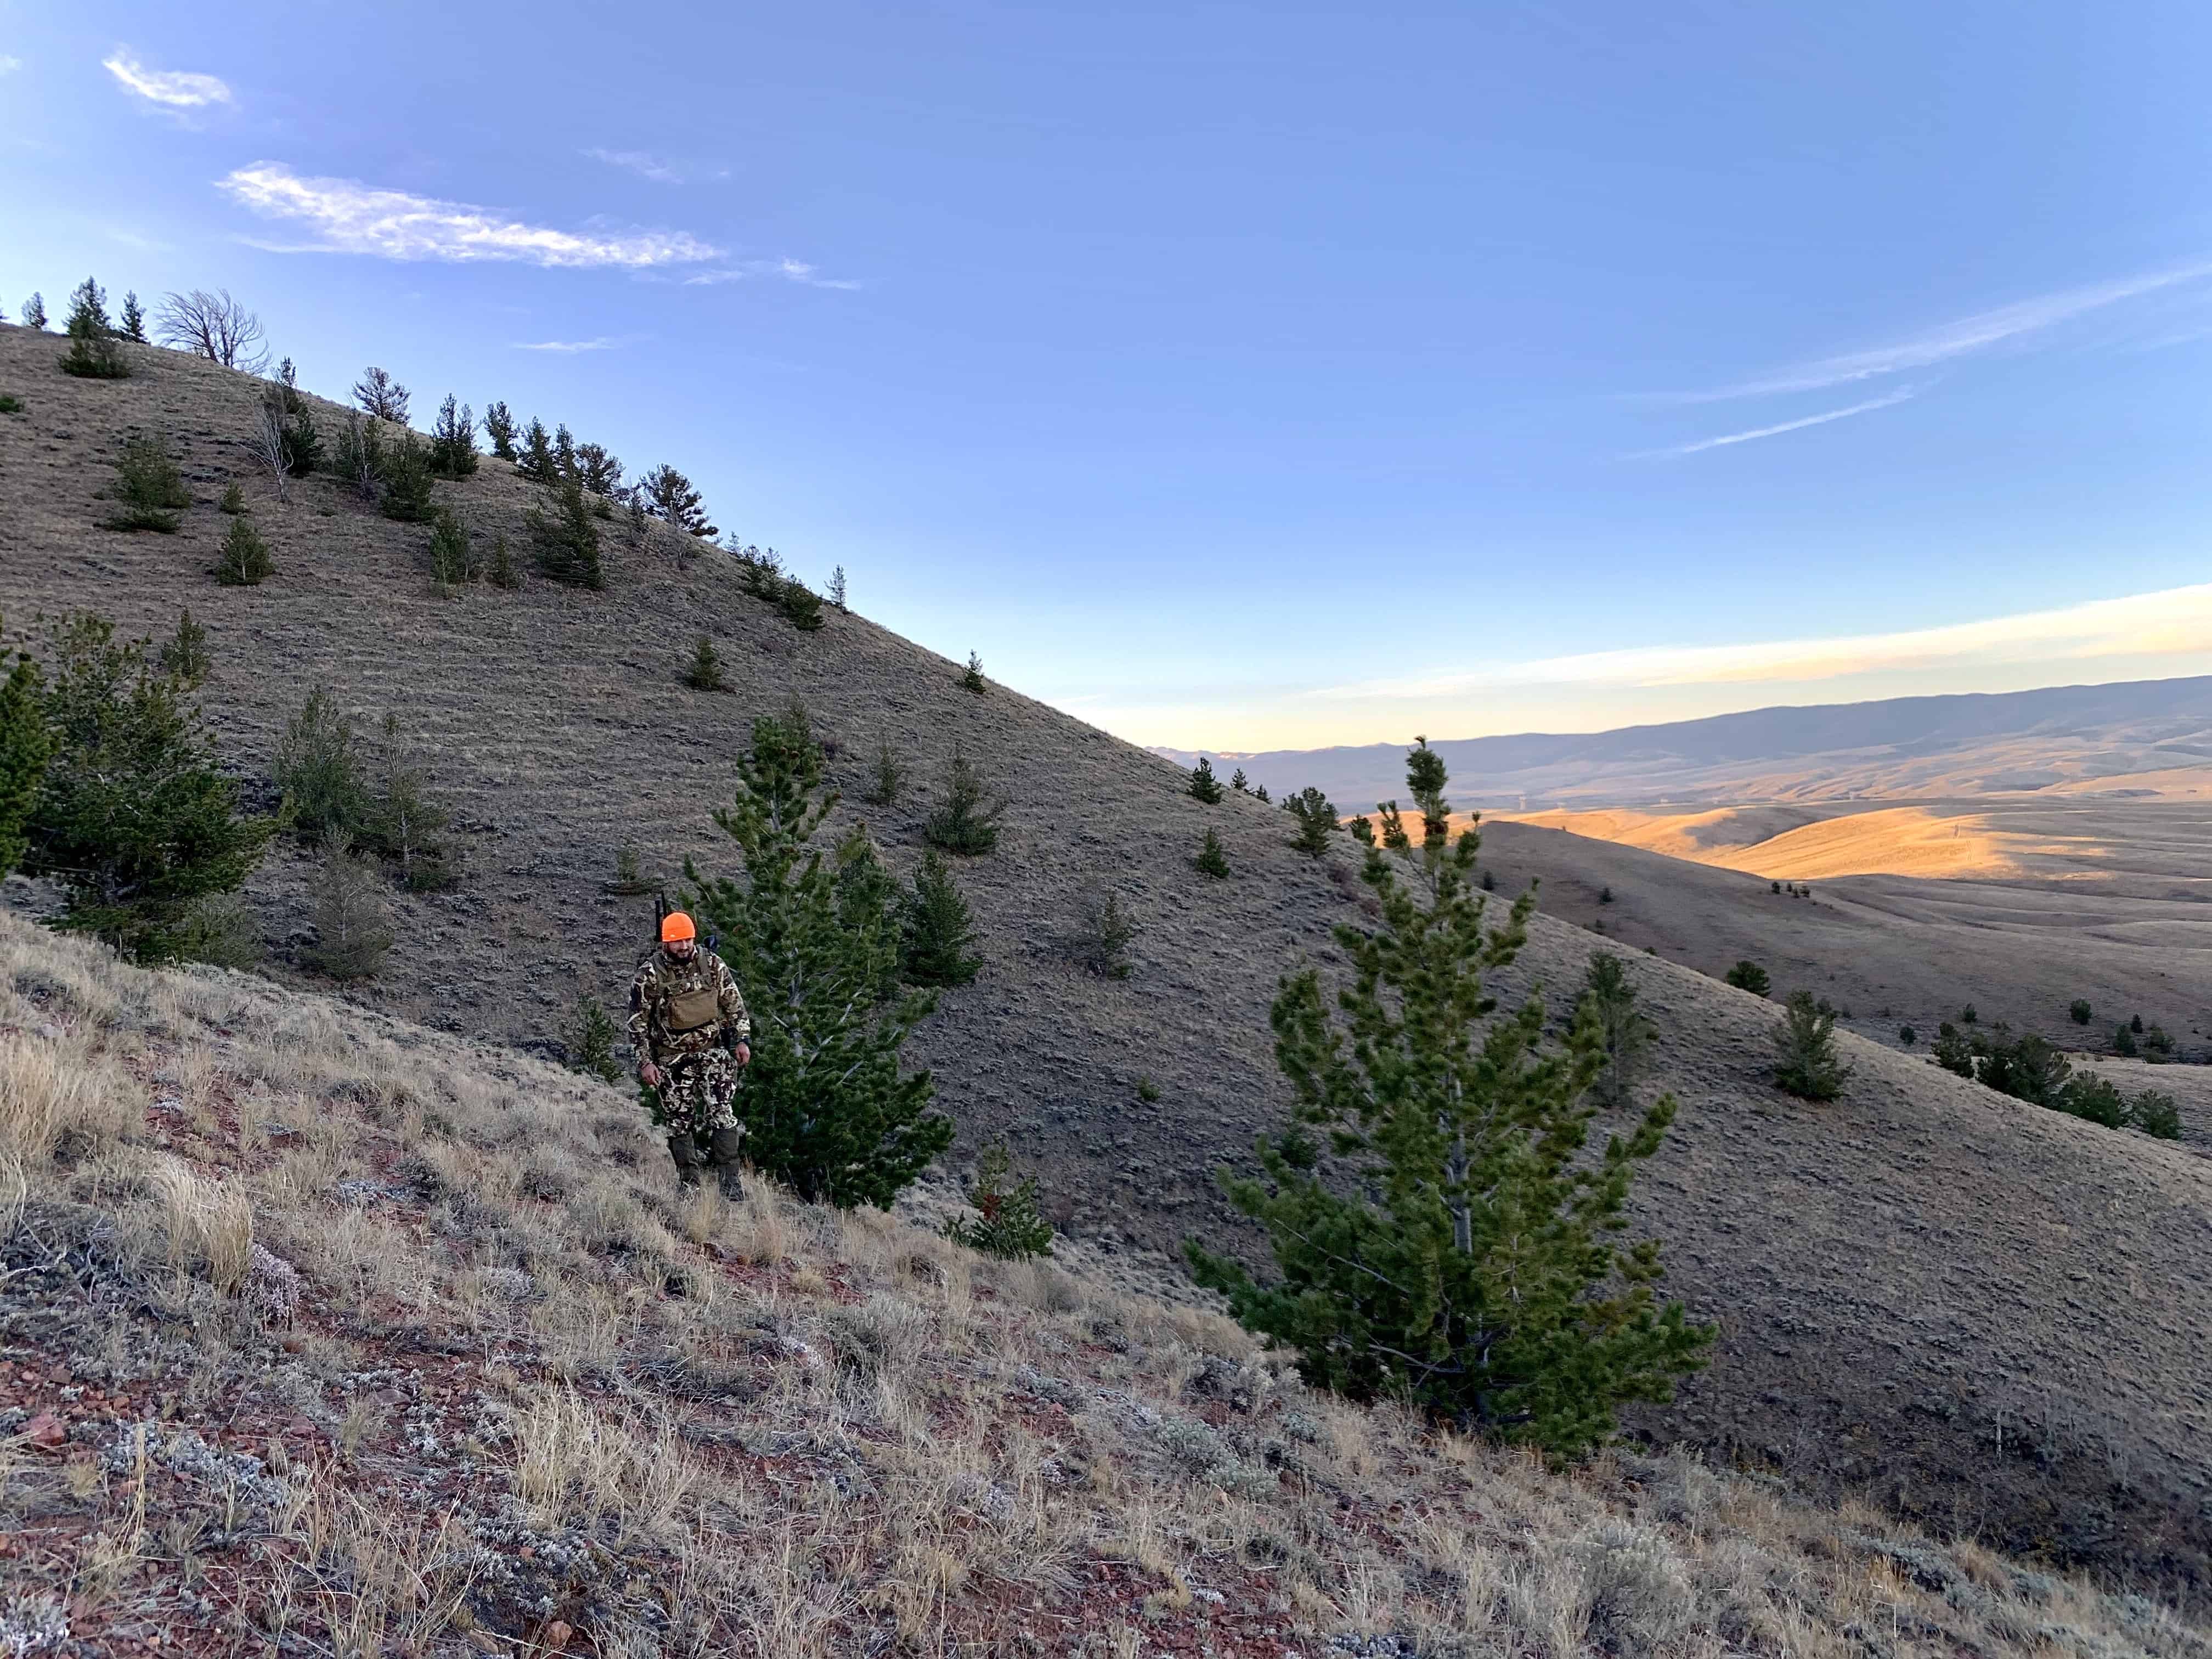
For the hunter who wants simplicity in the heat of the moment, the Maximum Point Blank Range (MPBR) is a game-changer. This method focuses on the "vital zone" of your target animal. If a deer has a 10-inch vital zone, your goal is to zero the rifle so that the bullet never rises or falls more than five inches from your line of sight. This allows you to aim directly at the center of the animal from may muzzle out to nearly 300 yards.
A widely used shortcut for this is the "three-inch rule." According to industry experts, the three-inch rule is a common hunting standard where sighting in a rifle to impact three inches high at 100 yards allows many popular cartridges to be fired with a dead-on hold out to 300 yards. This eliminates the need for a rangefinder or turning turrets during fast-paced encounters.
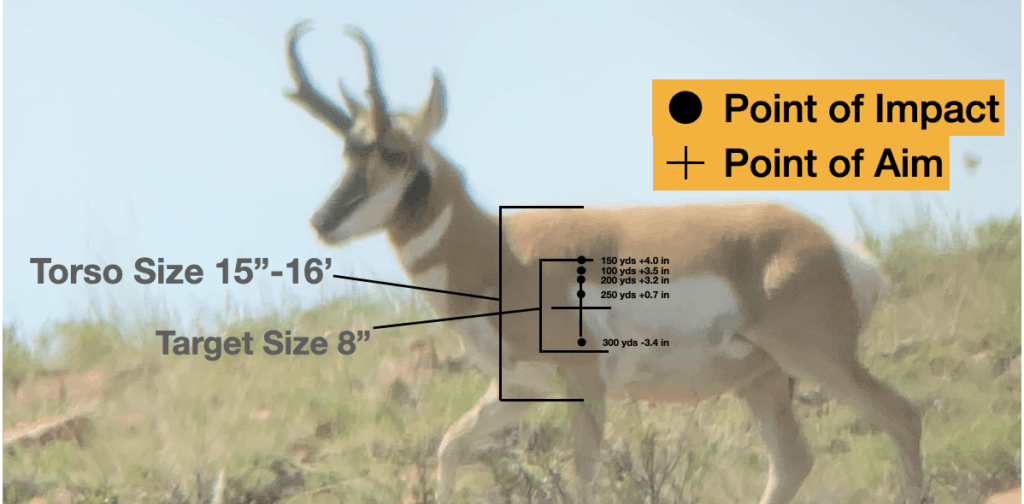
When using this method, a ballistic calculator is your best friend. You can input your load data to find the exact distance that provides the maximum reach for your specific caliber. It is arguably the most efficient way of zeroing a hunting rifle for those who hunt in rolling hills or mixed terrain where a 50-yard shot is just as likely as a 250-yard shot. Because the bullet stays within a tight window, the trajectory curve remains predictable without manual intervention.
Method 2: Short-Range Zero (The Timber Specialist)
If you hunt the Appalachian hardwoods or the thick hemlock forests of the Pacific Northwest, your world is measured in double digits. Choosing a rifle zero based on expected shot distances is the mark of an experienced woodsman. For a timber specialist, a 100-yard zero is often much more practical than a long-range setup.
When hunting in dense cover, shooting over an animal at close range is a real risk if your rifle is zeroed to hit high at 100 yards. Research into eastern hunting environments shows that West Virginia timber shots average 62-83 yards. At these distances, a rifle zeroed precisely at 100 yards ensures that your point of aim and point of impact are nearly identical.
Low magnification and proper parallax adjustment are also crucial in the thick stuff. Hunters often find that high-magnification scopes hinder speed; shooting at 2x magnification can be up to 1.4 seconds faster for target acquisition than at 4x. Using sighting in distances for deer hunting that reflect your actual environment prevents you from fighting your equipment when a buck appears in a small window of brush.
Method 3: Precision Dialing (The Long-Range Approach)
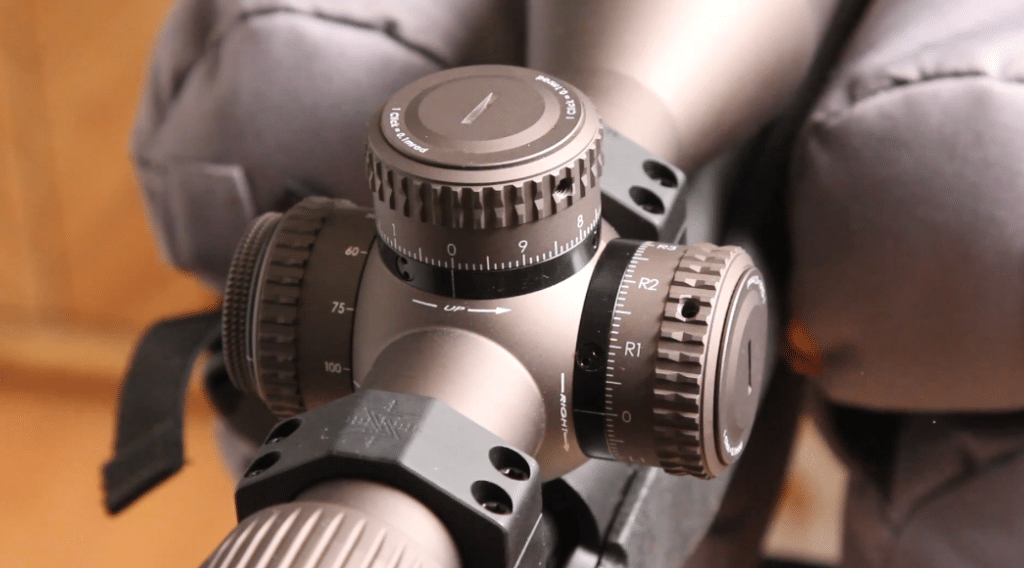
In the wide-open West, the rules change. When shots regularly exceed 300 yards, the "aim and hope" method of holding over an animal's back is no longer ethical. This is where precision dialing comes into play. The strategy here is to use a 100-yard zero as a permanent baseline. From that static point, you use exposed target turrets to dial the exact elevation required for the shot.
Modern optics have made this process much more accessible. Learning how to zero a hunting scope with a ballistic reticle or exposed turrets allows for surgical precision. For example, a 200-yard zero is considered a practical general-purpose choice for many, but the 100-yard start point is often preferred by those with ballistic turrets because it prevents the bullet from ever being significantly above the line of sight at mid-ranges.
The benefits of a 100 yard zero with exposed turrets include a consistent starting point that never changes. Whether the elk is at 350 yards or 500 yards, you simply range the target, check your "dope" (data on previous engagements) or a ballistic calculator, and dial the Minute of Angle (MOA) or Mils required. Many long-range hunters prefer First Focal Plane (FFP) reticles, which can reduce holdover calculation time by up to 2.4 seconds because the sub-tensions remain accurate at any magnification setting.
Sighting In Comparison: .308 Win vs .30-06 Sprg
| Metric | .308 Winchester (150gr) | .30-06 Springfield (180gr) |
|---|---|---|
| Muzzle Velocity | 2,820 fps | 2,700 fps |
| Drop at 300yd (100yd Zero) | 14.0 inches | 15.8 inches |
| Drop at 300yd (200yd Zero) | 8.5 inches | 9.6 inches |
| MPBR (8" Vital) | 275 yards | 265 yards |
As the data shows, a .308 Winchester rifle zeroed at 100 yards typically experiences a bullet drop of approximately 14 inches at 300 yards. This drop is more than enough to miss the vital zone of a whitetail deer entirely if you do not account for it.
Range Reality: Testing Your Zero
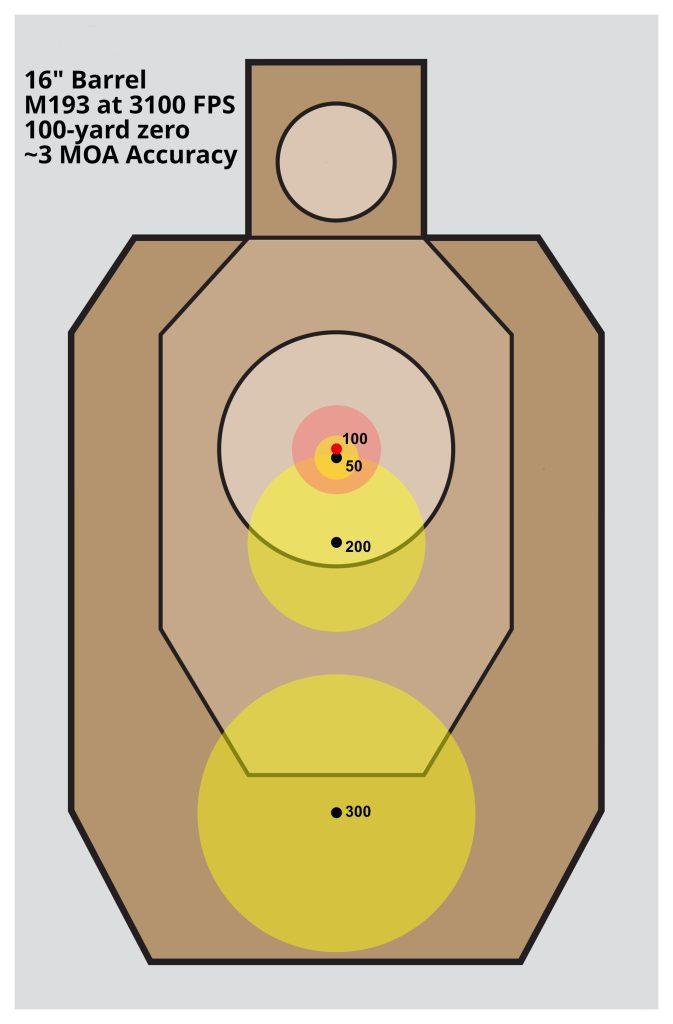
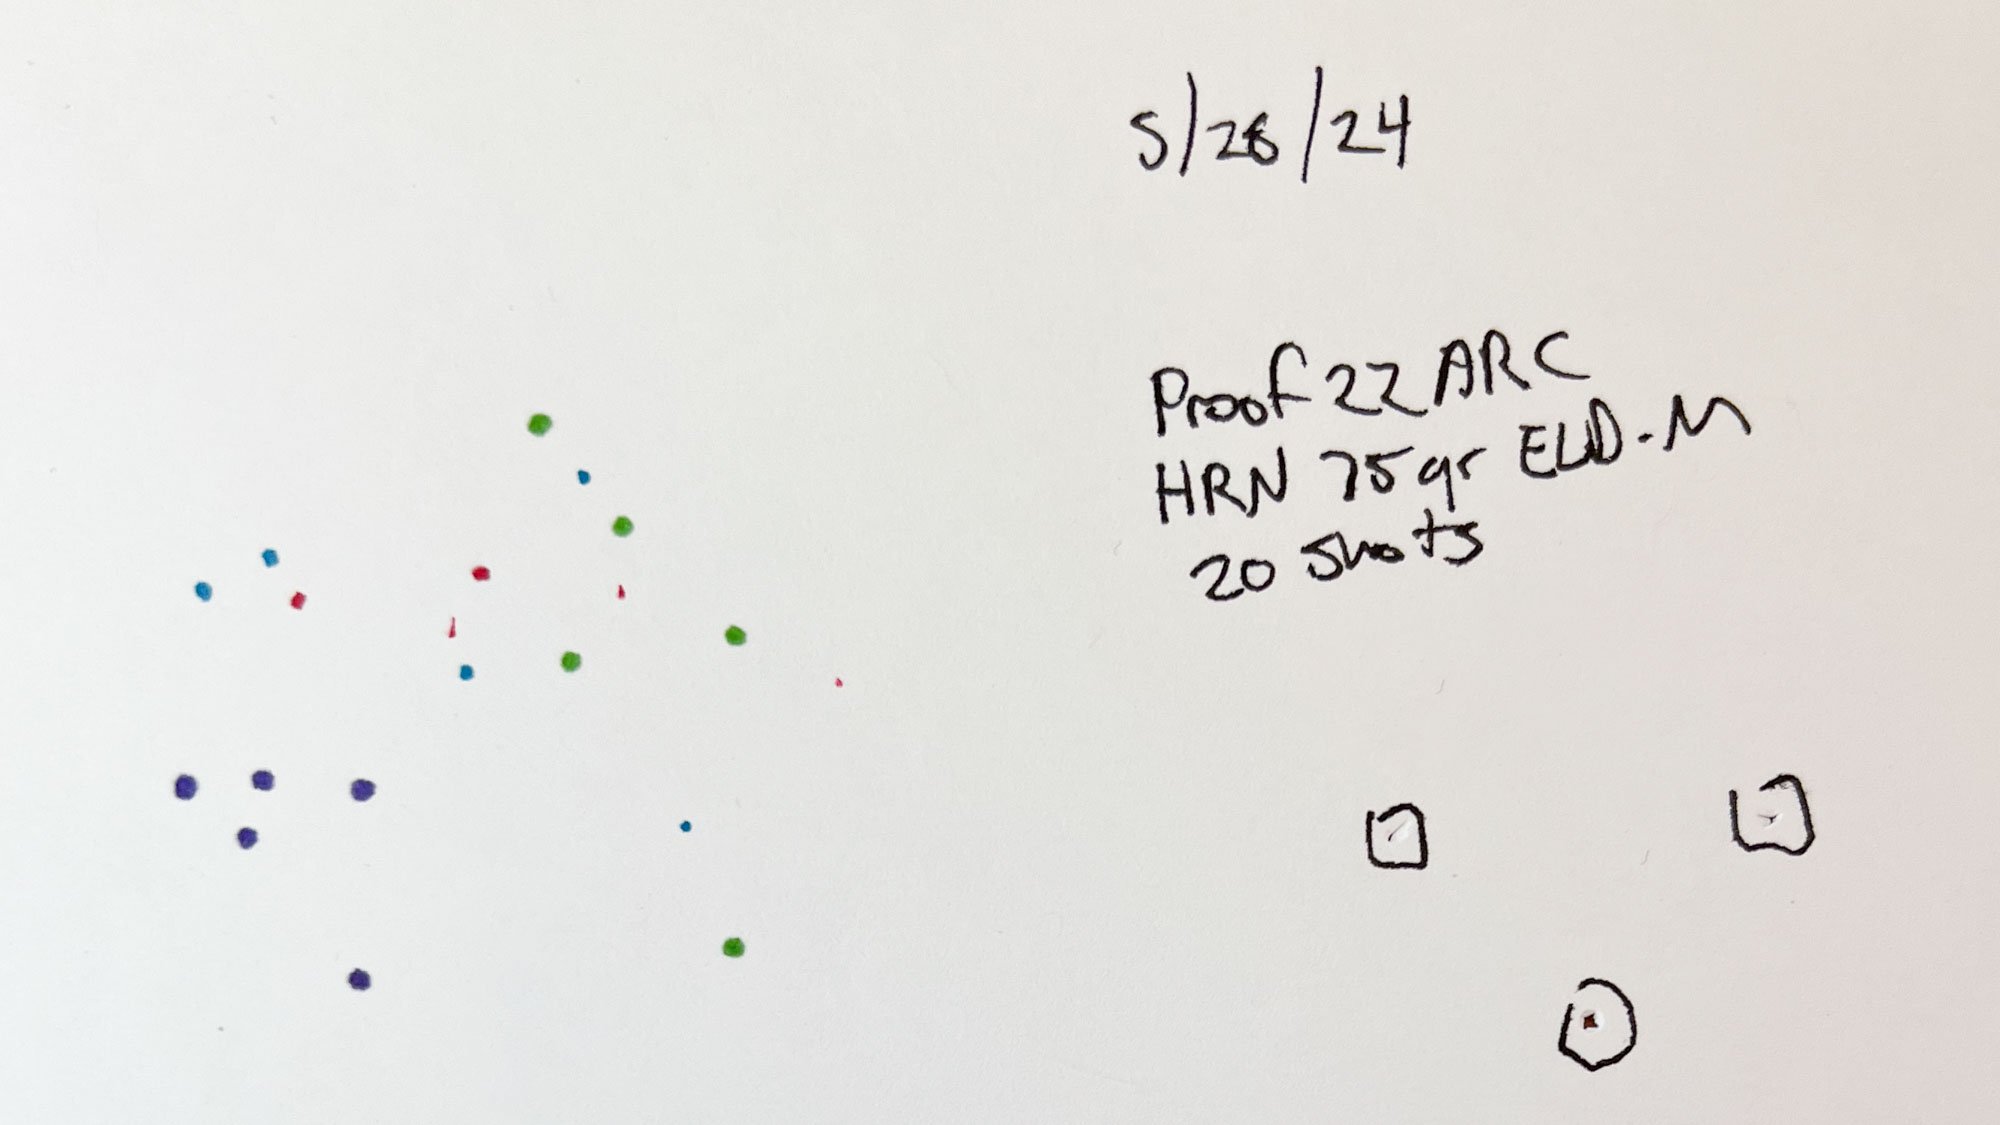
The final and most important step in zeroing a hunting rifle is real-world verification. A ballistic calculator provides a theoretical path, but the "range reality" can differ based on local temperature, altitude, and your specific rifle's grouping consistency. The gold standard for a hunting rifle is consistently hitting within a 3.2 MOA window. While target shooters strive for much less, a rifle that can keep shots in a 10-inch circle at 300 yards is more than capable of taking big game ethically.
One concept that every hunter must master is the cold bore shot. In a hunting scenario, you will never have the luxury of "fouling shots" to warm up the barrel. The first shot out of a cold, clean barrel is the only one that truly matters. When you are at the range, confirm your zero by firing one shot, letting the barrel cool completely, and then firing again. This replicates the exact conditions you will face in the field.
After you have established your zero, you must spend time confirming rifle point of impact at multiple distances. If you chose Method 1, shoot at 50, 100, 200, and 250 yards to see exactly where your bullet sits in relation to the center. This builds the confidence necessary to take a shot when the "buck fever" starts to kick in.
FAQ
At what distance should I zero my hunting rifle?
The ideal distance depends on your terrain. For most hunters, a 100-yard zero is the safest baseline, especially if using a ballistic reticle. However, if you hunt open plains, a 200-yard zero or an MPBR setup is often more efficient.
How many shots does it take to zero a rifle properly?
With a proper bore sight, you can often reach a rough zero in three to five shots. However, a final precision zero should involve three-shot groups to ensure grouping consistency and to account for any shooter error.
Is it better to zero a rifle at 25 yards or 100 yards?
A 25-yard zero is an excellent starting point to get your shots on paper, but it is not a substitute for a long-distance zero. Minor errors at 25 yards are magnified significantly as the distance increases, so always perform your final adjustments at 100 yards or further.
Can you zero a rifle without going to the range?
You can perform a bore sighting at home to align the optic with the barrel, but you cannot truly zero a rifle without live-fire testing. Factors like recoil, barrel harmonics, and specific ammunition behavior can only be verified by shooting.
What is the difference between bore sighting and zeroing?
Bore sighting is a mechanical alignment of the scope and the barrel to ensure the first shot hits a large target. Zeroing is the actual process of adjusting the scope based on live-fire results so that the bullet hits exactly where the reticle is aimed at a specific distance.