Quick Facts
- Waterproofing Lifespan: Factory coatings typically last between six months and three years, but untreated gear can lose up to 40% of their water resistance after just one active season.
- Surface Preparation: Always clean repairs with rubbing alcohol; a failure to remove oils and dirt is the primary reason patches fail under fabric tension.
- Sun Damage: UV radiation is the "silent killer" of gear, with many fabrics losing more than 50% of their tensile strength after 100 days of sun exposure.
- Curing Times: While field fixes are immediate, permanent repairs involving liquid sealants require a full 24-hour curing time to bond effectively.
- Mechanical Care: Bungee shock cords in poles generally maintain full elasticity for approximately three to five years before fatigue sets in.
- Material Warning: Never use a Polyurethane sealer on a silicone-coated tent; the chemical mismatch will result in a peeling, ineffective mess.
To perform a successful tent repair, first identify your fabric coating, clean the damaged area with rubbing alcohol, apply a patch or sealer, and allow it to cure for at least 24 hours. For technical fabric rips, use gear-specific repair tape with rounded corners to ensure maximum adhesion under tension.
Identifying Your Tent Material: Silicone vs. PU
Before you reach for the glue, you must perform a technical triage of your gear. Modern tents aren't just "nylon"; they are composite systems treated with specific coatings that dictate which chemicals will bond to them. Using the wrong sealer is the most common mistake in tent maintenance tips, leading to a repair that peels off the moment the rainfly gets wet.
Most mid-range and budget tents use a Polyurethane coating. You can identify this by a slightly dull finish on the interior and, as the tent ages, a distinct "gym bag" smell or a tacky, sticky texture. Conversely, high-end, lightweight expedition tents often use Silnylon (silicone-impregnated nylon). This material is remarkably slippery to the touch, looks slightly translucent, and is much more resistant to UV degradation.
| Feature | Polyurethane (PU) Coating | Silicone (Silnylon) Coating |
|---|---|---|
| Texture | Tacky or "grippy" on the inside | Extremely slippery and smooth |
| Aging Sign | Flaking, peeling, or smelling sour | Gradual sagging and loss of translucency |
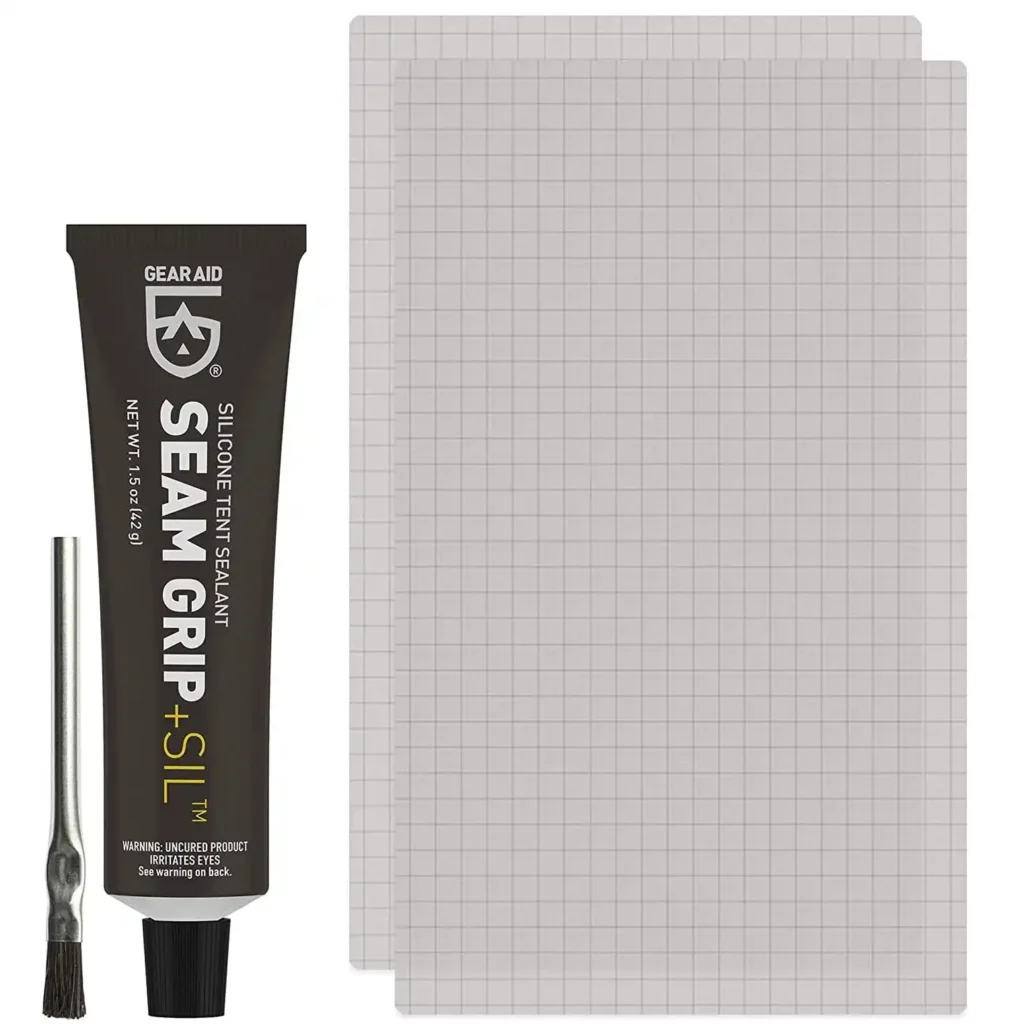
| Required Sealer | Urethane-based (e.g., Seam Grip WP) | Silicone-based (e.g., Seam Grip +SIL) |
Failure to distinguish between these two means your tent repair won't hold. Adhesive tapes like Tenacious Tape work brilliantly on PU surfaces but will slide right off a pure silicone rainfly unless you use a version specifically designed for "Sil-Fabrics."
Fixing Fabric: Rips and Tears in the Field and Home
There is a sinking feeling that comes with seeing a jagged tear in your tent floor or a puncture in your rainfly after a heavy windstorm. However, with the right technique, a patched tent can be just as strong as a new one.
Supplies Needed
- Gear-specific repair tape (e.g., Tenacious Tape)
- Rubbing alcohol or alcohol prep pads
- Scissors (preferably on a multi-tool)
- A flat, hard surface (a cooking pot or a book works well)
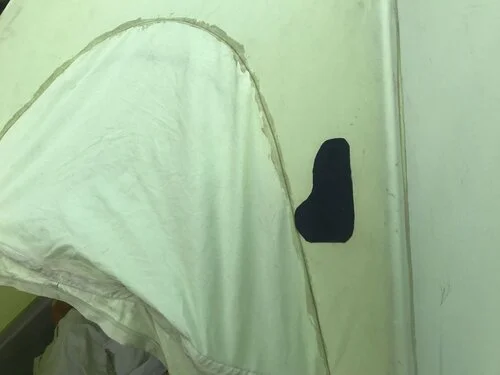
When you are learning how to fix a tear in a tent floor, the key is managing the tension. The floor is under constant stress from your weight and the tent stakes. Start by cleaning the area around the rip with rubbing alcohol to remove forest floor oils. If the tear is large, use a "sandwich" method: apply one patch to the outside and a second, identical patch to the inside for maximum structural integrity.
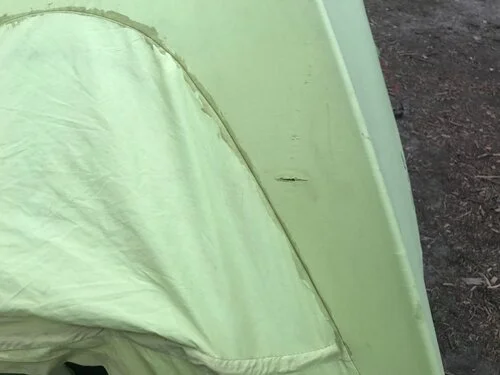
For a rainfly, knowing how to use tent repair tape for rainfly patches involves more than just slapping a sticker on. You must round the corners of your patch. Squared corners provide a "lift point" for the wind to catch, causing the tape to peel over time. By cutting the patch into a circle or an oval, you eliminate those weak points. Aim for at least a 1-inch overlap beyond the edges of the tear to ensure the adhesive has enough surface area to grab.
Pro-Tip: If you are repairing small holes in tent mesh screens, don't use standard heavy tape. Use specialized mesh patches that use a ring of adhesive around the perimeter, allowing the mesh center to remain breathable while stopping bugs from entering.
Structural Integrity: Tent Pole Repair and Splinting
A snapped pole usually happens at the most inconvenient moment—often during a midnight storm. While a broken pole can feel like a trip-ending disaster, structural tent repair for poles is surprisingly straightforward with the right kit.
Supplies Needed
- Metal repair sleeve (also called a splint)
- Duct tape or gear tape
- A tent stake (for emergency backup)
- Pliers (optional, for straightening bent ends)
The gold standard for emergency tent pole repair in the field is the repair sleeve. This is a hollow metal tube slightly wider than your pole segments. Slide the sleeve over the broken section until the break is perfectly centered inside the sleeve. To prevent the sleeve from sliding away during the night, wrap several layers of tape around both ends of the sleeve where it meets the pole.
If you lost your sleeve, you can use the "stake splint" method. Align the two broken ends of the pole as straight as possible. Lay a heavy-duty tent stake alongside the break to bridge the gap. Wrap the stake and the pole tightly together with duct tape. This won't allow the pole to bend naturally, so be careful when tensioning the tent—this is a temporary fix to get you through the night.
As your gear ages, you will notice the poles becoming "lazy" or not snapping together easily. This is caused by the shock cord losing its elasticity. Most shock cords should be replaced after 3-5 years. Threading a new 1/8-inch elastic cord through the segments is a meditative home maintenance task that can extend your gear longevity by another decade.
Waterproofing and Leaks: Seams and DWR Treatments
If you wake up to a "misting" effect inside your tent during a storm, your waterproofing has likely failed. There are two primary failure points: the factory-applied seam tape is peeling, or the fabric's Hydrostatic head has been compromised.
Supplies Needed
- Liquid tent seam sealer (PU or Sil-specific)
- Small applicator brush
- Spray-on DWR treatment
- Clean sponge and water
Start by inspecting the interior seams. If you see clear tape flaking off like a sunburn, you need to apply tent seam sealer. Gently pull away any loose tape and clean the area with rubbing alcohol. Apply a thin, even bead of liquid sealer to the inside of the seam. The "less is more" rule applies here; a thick glob will take days to dry and might crack. Allow it to cure for 24 hours in a dry, dust-free environment before packing the tent.
Restoring tent waterproofing with dwr treatment is the next step if you notice water "wetting out" (soaking into the fabric) rather than "beading up" and rolling off. After cleaning your tent with a technical wash, set it up in the shade. Spray a Durable Water Repellent (DWR) treatment evenly across the exterior of the rainfly while it is still damp.
Knowing how to apply tent seam sealer for leaks specifically involves targeting the "high-wear" areas—the corners and the toggle points where the rainfly attaches to the poles. These are the spots where the fabric is pulled tightest, making them most susceptible to water ingress.
Common Mechanical Fixes: Zippers and Sticky Sliders
The zipper is the most used—and most abused—part of any tent. A stuck or splitting zipper can quickly turn a cozy shelter into a bug-infested wind tunnel. Most zipper issues are caused by dirt and grit grinding away at the metal slider.
To fix a stuck tent zipper manually, start by cleaning the teeth with water and a soft toothbrush. If the zipper is "sticky," run an unscented candle or a piece of beeswax along the teeth to act as a dry lubricant. Avoid using oil-based lubricants like WD-40, as they attract more dirt and can degrade the Polyurethane coating of the tent fabric.
If the zipper is "skipping" (closing but then popping open behind the slider), the slider itself has likely stretched open over time. You can often fix this by using a pair of pliers to very gently squeeze the back "jaws" of the slider together. Do this in tiny increments; if you crush the slider, the zipper will be permanently immobilized. This is a classic triage move for gear longevity that can save you a $100 professional repair bill.
The Ultimate Tent Repair Kit: What to Pack
You don't need to carry a toolbox, but a specialized kit is essential for any multi-day expedition. Having these items organized ensures you aren't searching for a solution while the sun is setting.
What to Pack in a Backpacking Tent Repair Kit
- Tape: 1 roll of Tenacious Tape or high-quality gear tape.
- Splint: 1 metal pole repair sleeve (check that it fits your specific pole diameter).
- Alcohol: 4-5 alcohol prep pads for surface cleaning.
- Cord: 5 feet of 2mm utility cord for guyline or shock cord failures.
- Sewing: 1 heavy-duty needle and 10 feet of dental floss (stronger than thread for emergency fabric stitching).
- Sealant: A small 0.25 oz tube of seam sealer for emergency leak plugging.
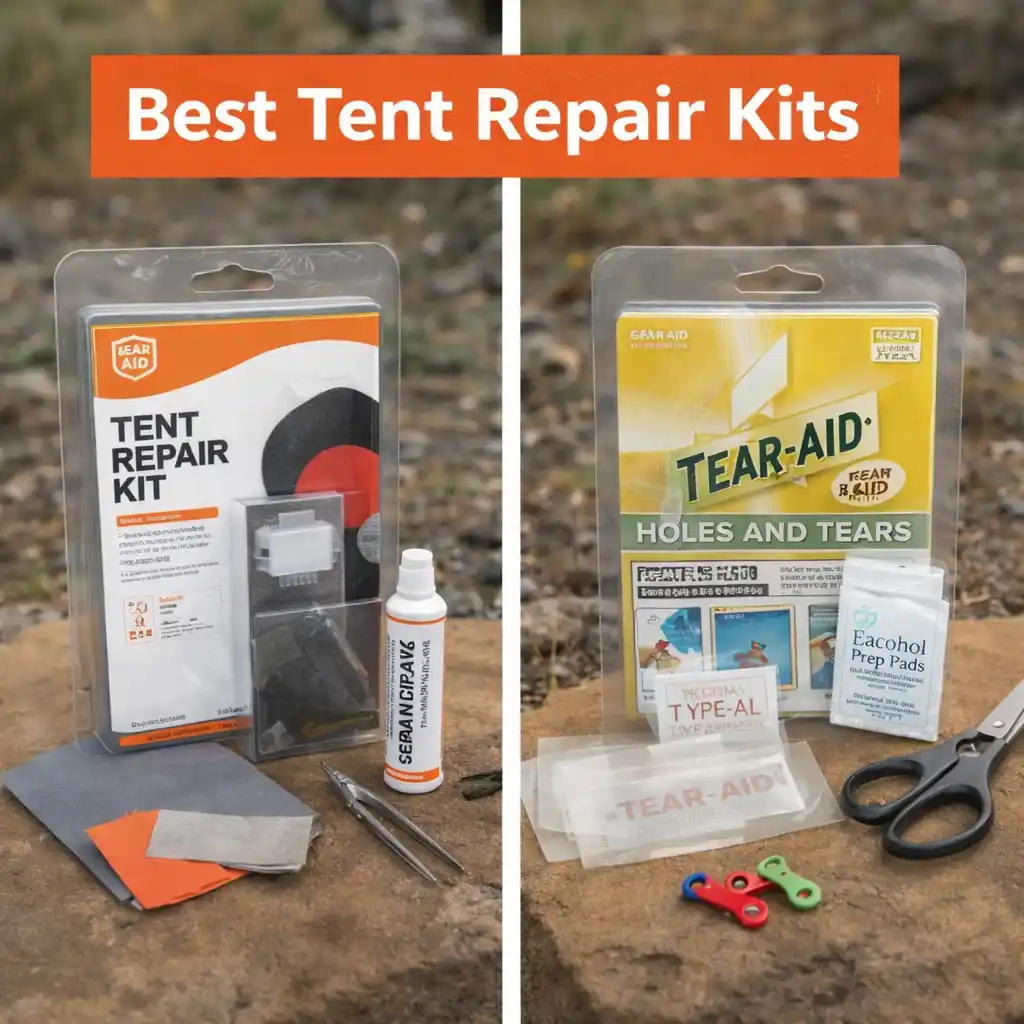
Maintaining a kit like this allows you to handle 90% of failures in the field. When you return home, you can then perform more permanent maintenance, such as reapplying a full DWR coating or replacing a broken zipper slider entirely.
FAQ
How do you patch a hole in a tent?
To patch a hole, clean the area with rubbing alcohol and dry it completely. Cut a piece of repair tape into a circle or oval that is at least one inch larger than the hole. Apply the patch to the exterior of the tent on a flat surface, pressing firmly from the center to the edges to remove air bubbles. For floor repairs, consider adding a matching patch to the interior for extra strength.
Can a broken tent pole be repaired?
Yes, most broken tent poles can be repaired in the field using a metal repair sleeve or splint. You simply slide the sleeve over the break and tape it in place. If the pole is bent rather than snapped, try to gently straighten it, but be aware that aluminum becomes brittle once bent and may eventually need a full segment replacement after your trip.
What is the best way to fix a tent zipper?
The most effective way to fix a zipper that won't stay closed is to gently tighten the slider with pliers. Clean the zipper teeth first with a toothbrush to remove debris. If the slider is beyond repair, you may need to remove the end-stop and slide on a replacement slider from a repair kit.
How do you fix a leaking tent seam?
Identify where the factory seam tape is failing, peel away the loose sections, and clean the area with rubbing alcohol. Apply a thin layer of liquid urethane-based or silicone-based seam sealer (depending on your tent's fabric) along the seam on the inside of the tent. Let it dry for a full 24 hours before packing.
What should be included in a tent repair kit?
An essential kit includes repair tape, a metal pole sleeve, alcohol wipes, a small tube of seam sealer, and a few feet of utility cord. For longer trips, adding a needle and heavy-weight thread or dental floss can help with structural repairs that tape cannot handle.
How do you re-waterproof a tent after a repair?
Once your physical repairs are cured, you can restore the overall water-shedding ability by applying a spray-on DWR treatment to the exterior of the clean rainfly. If the interior coating is flaking off extensively, you may need to scrub the old coating away and apply a new liquid Polyurethane coating, though this is a significant maintenance task.