Quick Facts
- Primary Method: Patching with flexible adhesive sealants and high-strength tape.
- Field Detection: Using moisture from wet wipes or soapy water spray to identify escaping bubbles.
- Home Detection: Utilizing a bathtub submersion test to locate microscopic pinholes and slow leaks.
- Curing Time: Approximately 3 hours for mechanical valve fixes and 8 to 24 hours for permanent liquid adhesives.
- Unrepairable Limit: Exceeding 10 punctures often indicates the material has reached the end of its useful life.
- Pro Tip: Always cut patches into circles or rounded shapes to prevent corner peeling over time.
- Key Prep: Clean the repair area exclusively with isopropyl alcohol to avoid residues from oils or DEET.
To perform a successful sleeping pad repair, first locate the leak using soapy water or a bathtub submersion test. Clean the area with isopropyl alcohol, apply a flexible liquid adhesive or specialized sleeping pad patch kit, and allow it to cure for at least 8 hours for an airtight seal.
Fix your gear fast with our comprehensive guide to sleeping pad repair. Whether you're dealing with a slow leak or a valve failure, learning how to patch and maintain your pad correctly will save you money and ensure a comfortable night of sleep on your next backcountry adventure. While gear is built to be rugged, the reality of the trail means that thorns, sharp rocks, and even campfire embers can occasionally compromise your equipment.
Maintaining an airtight seal is more than just about comfort; in sub-freezing temperatures, a flat pad loses its R-value, potentially leading to a dangerous night of cold. In 2023, Nemo Equipment's repair program highlighted the scale of gear maintenance when they completed more than 900 gear repairs and distributed over 2,100 replacement parts, which included sleeping pad repair kits and components. This data shows that gear failure is a common part of the outdoor experience, but it doesn't have to be the end of your investment.
Diagnostic Ladder: How to Find a Leak in a Sleeping Pad
The most frustrating part of a sleeping pad repair isn't often the actual patching—it is how to find leak in sleeping pad when the hole is invisible to the naked eye. Punctures are the primary culprit for a midnight flat. According to Therm-a-Rest, the vast majority of air leaks in sleeping pads are caused by punctures, which are generally considered wear-and-tear and are not covered under standard manufacturing warranties.
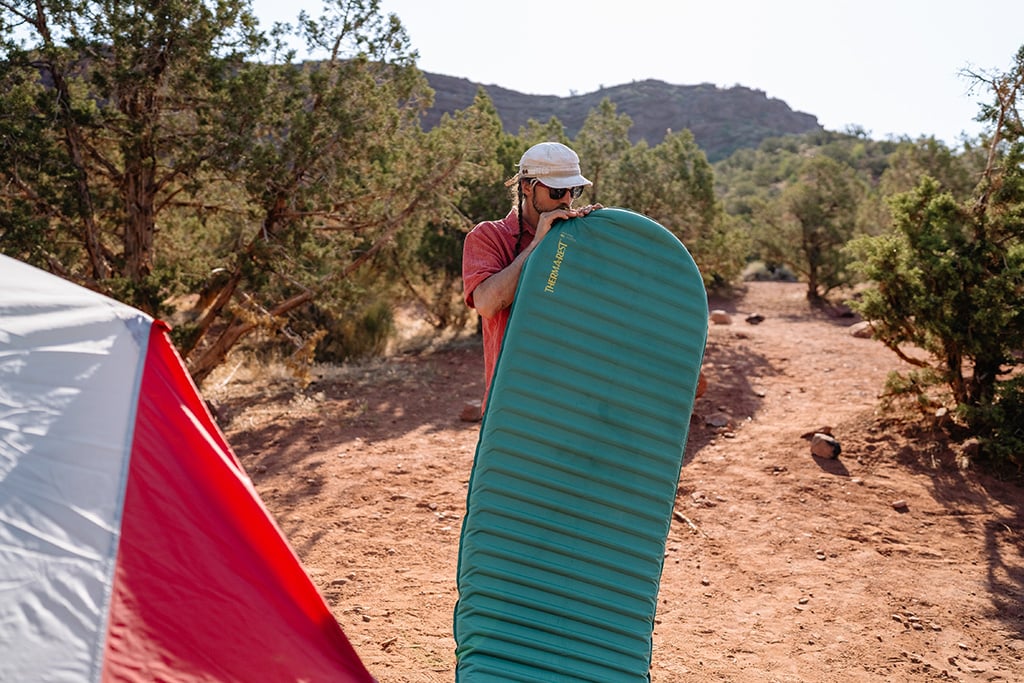
If you are in a water-scarce environment, start with sensory methods. Inflate your pad to its maximum pressure and slowly run your hands across the surface. Your fingertips are sensitive, but your lips and facial skin are even more attuned to the slight movement of air. Fold the pad to increase internal pressure, which forces air through the puncture with more velocity. If the environment is quiet, you may even hear the distinctive hiss.
When the sensory approach fails, move to the soapy water spray technique. This is the gold standard for how to find a slow leak in a sleeping pad without a bathtub. Mix a high-concentration solution of water and dish soap (or use a dampened wet wipe in the field) and wipe it across common failure points like valves and seams. As the air escapes, it will create a growing cluster of white bubbles.
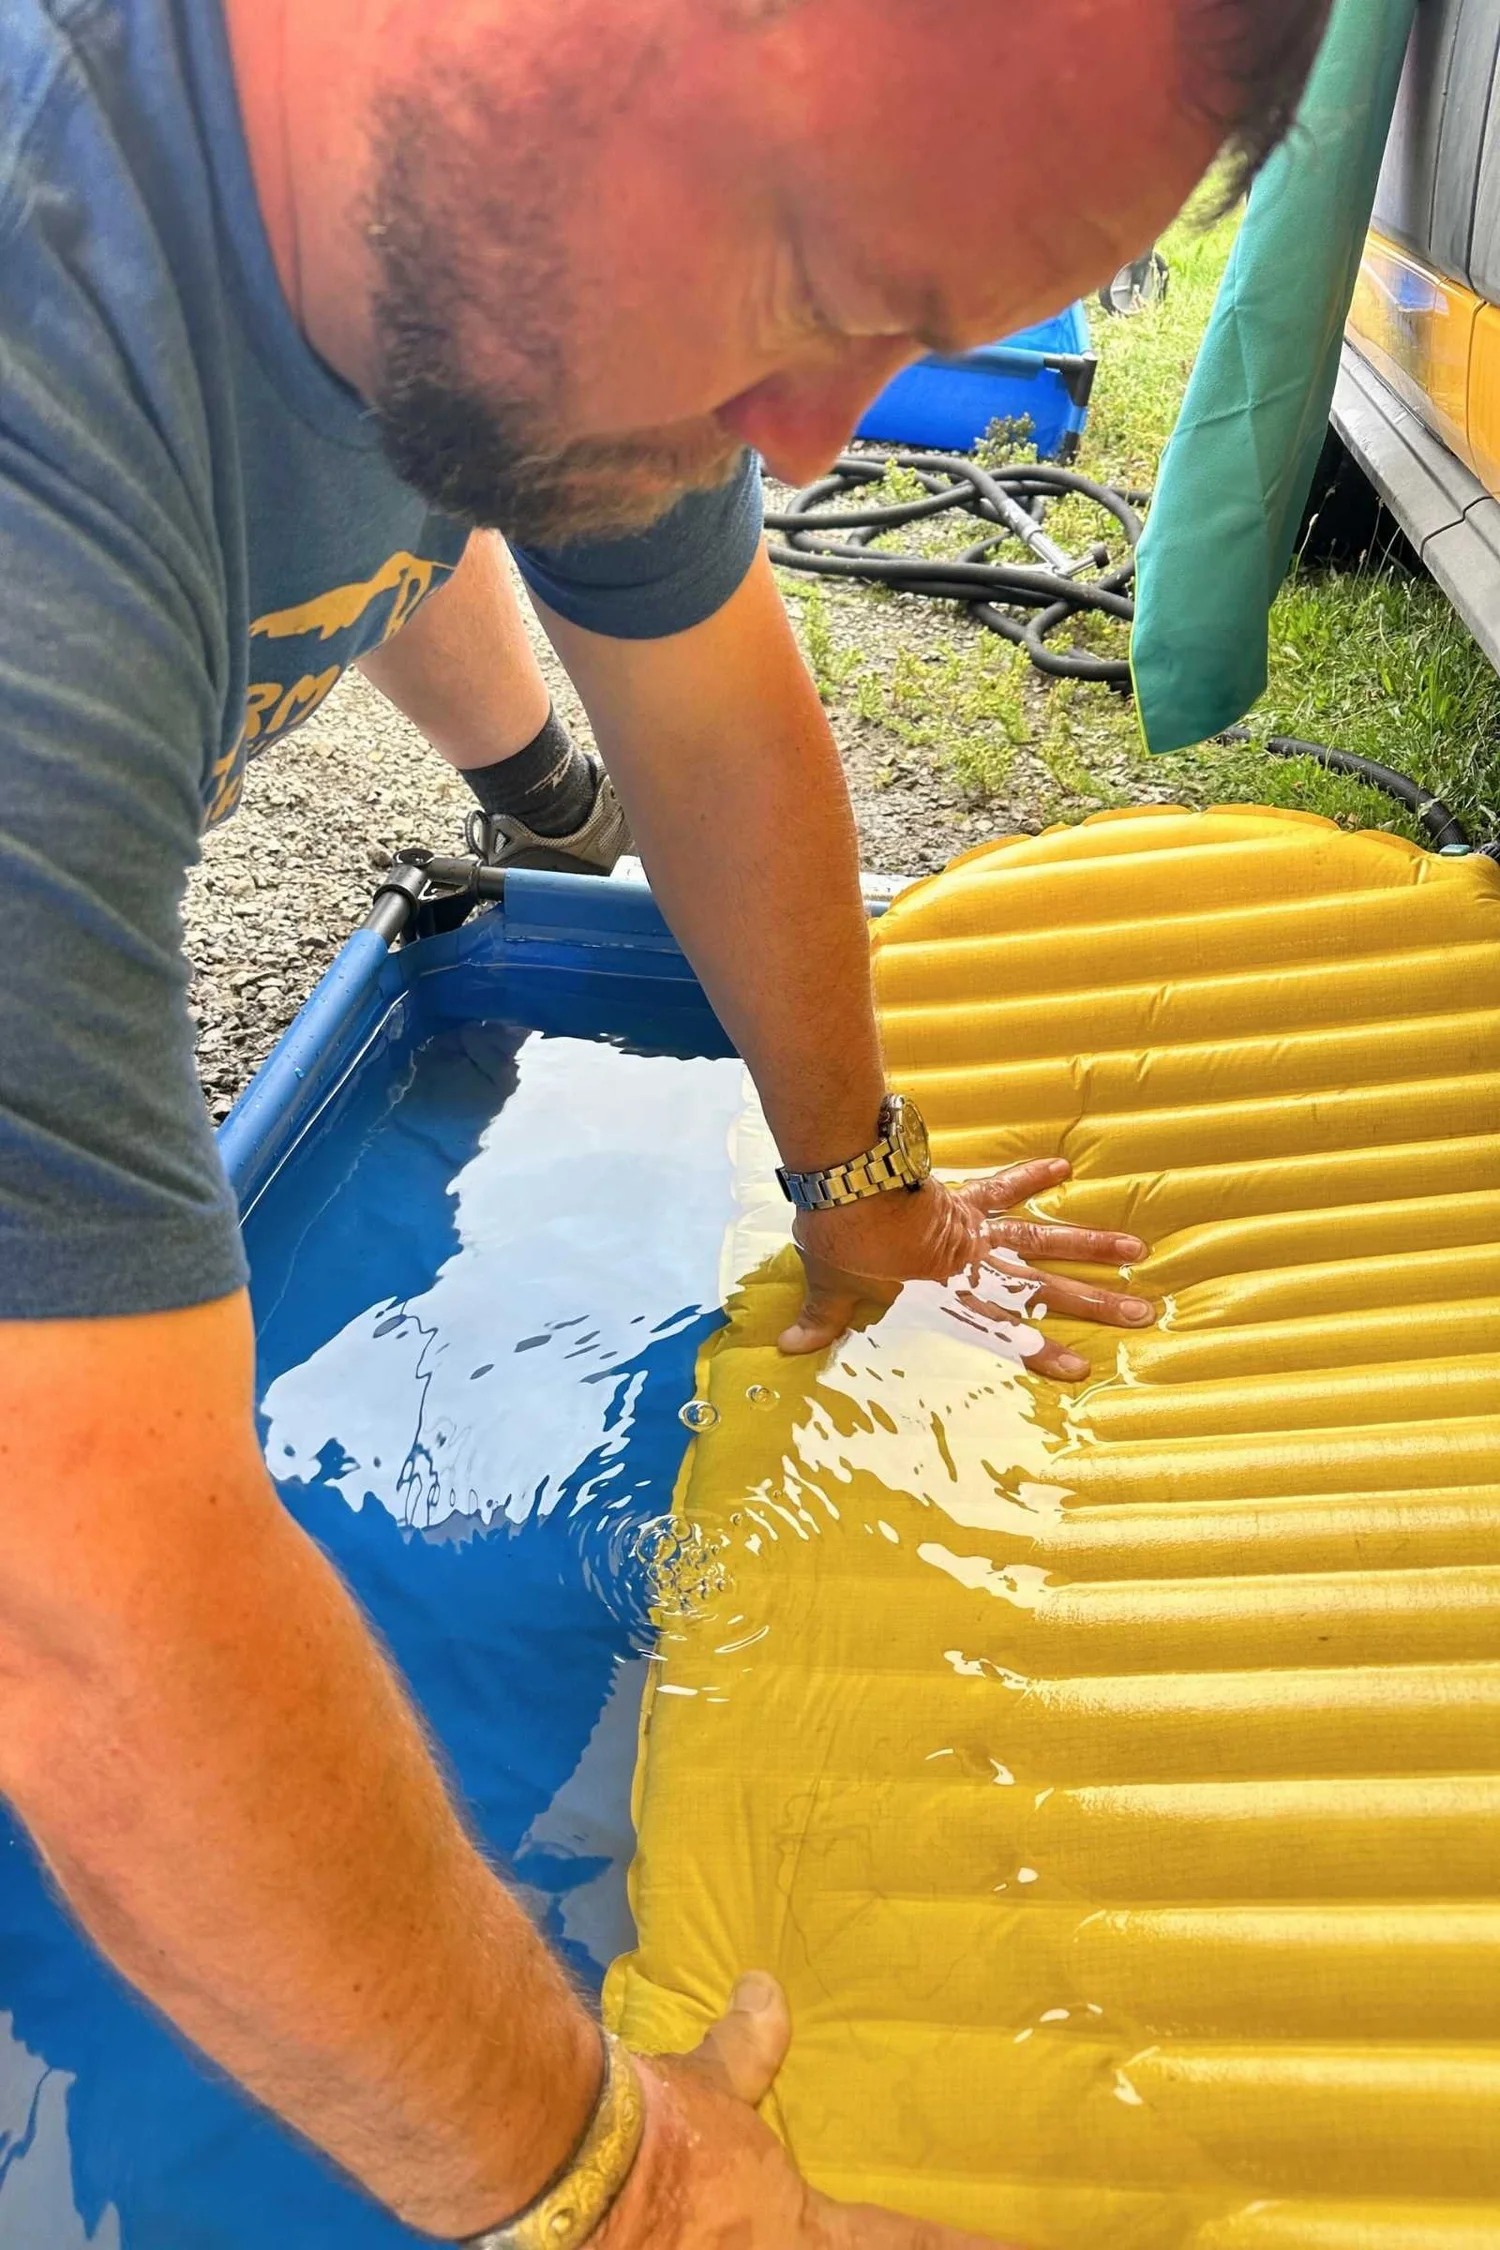
For the most stubborn micro-pores, the professional bathtub submersion test is the final step. At home, fill a tub or large sink with water and submerge the pad in sections. Use the folding technique to increase the pressure in the submerged section. Look for a steady stream of tiny bubbles rising to the surface.
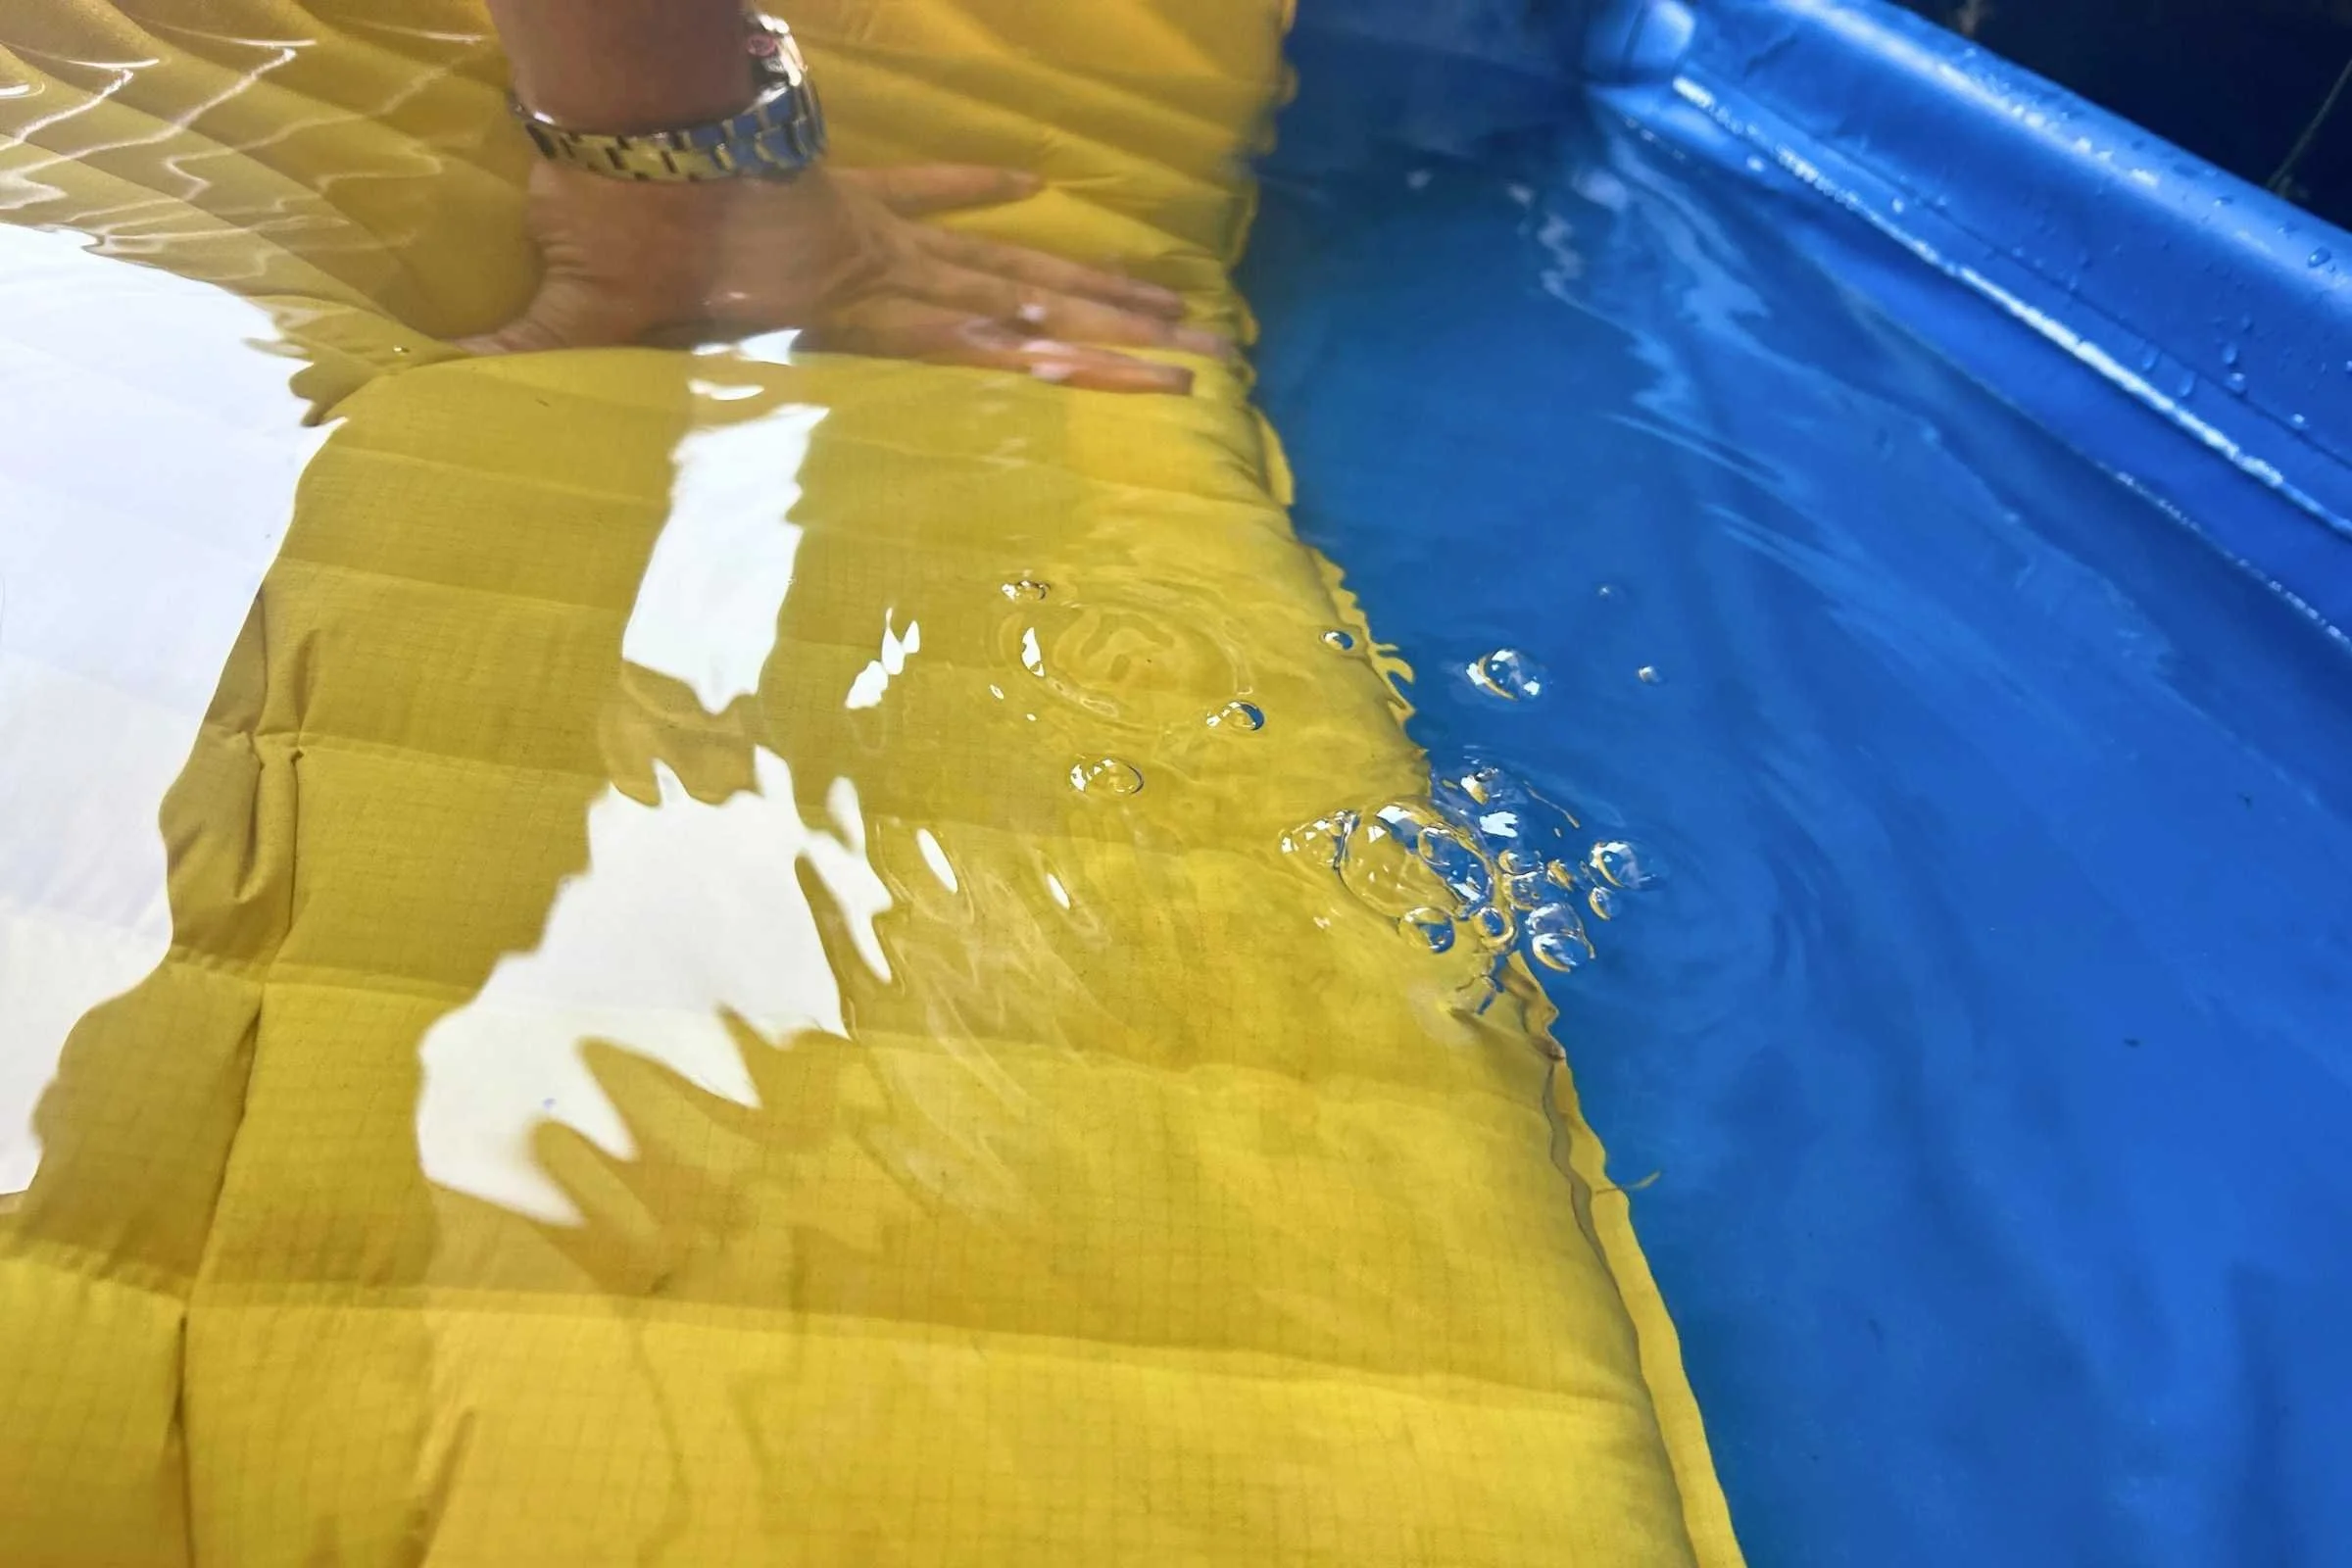
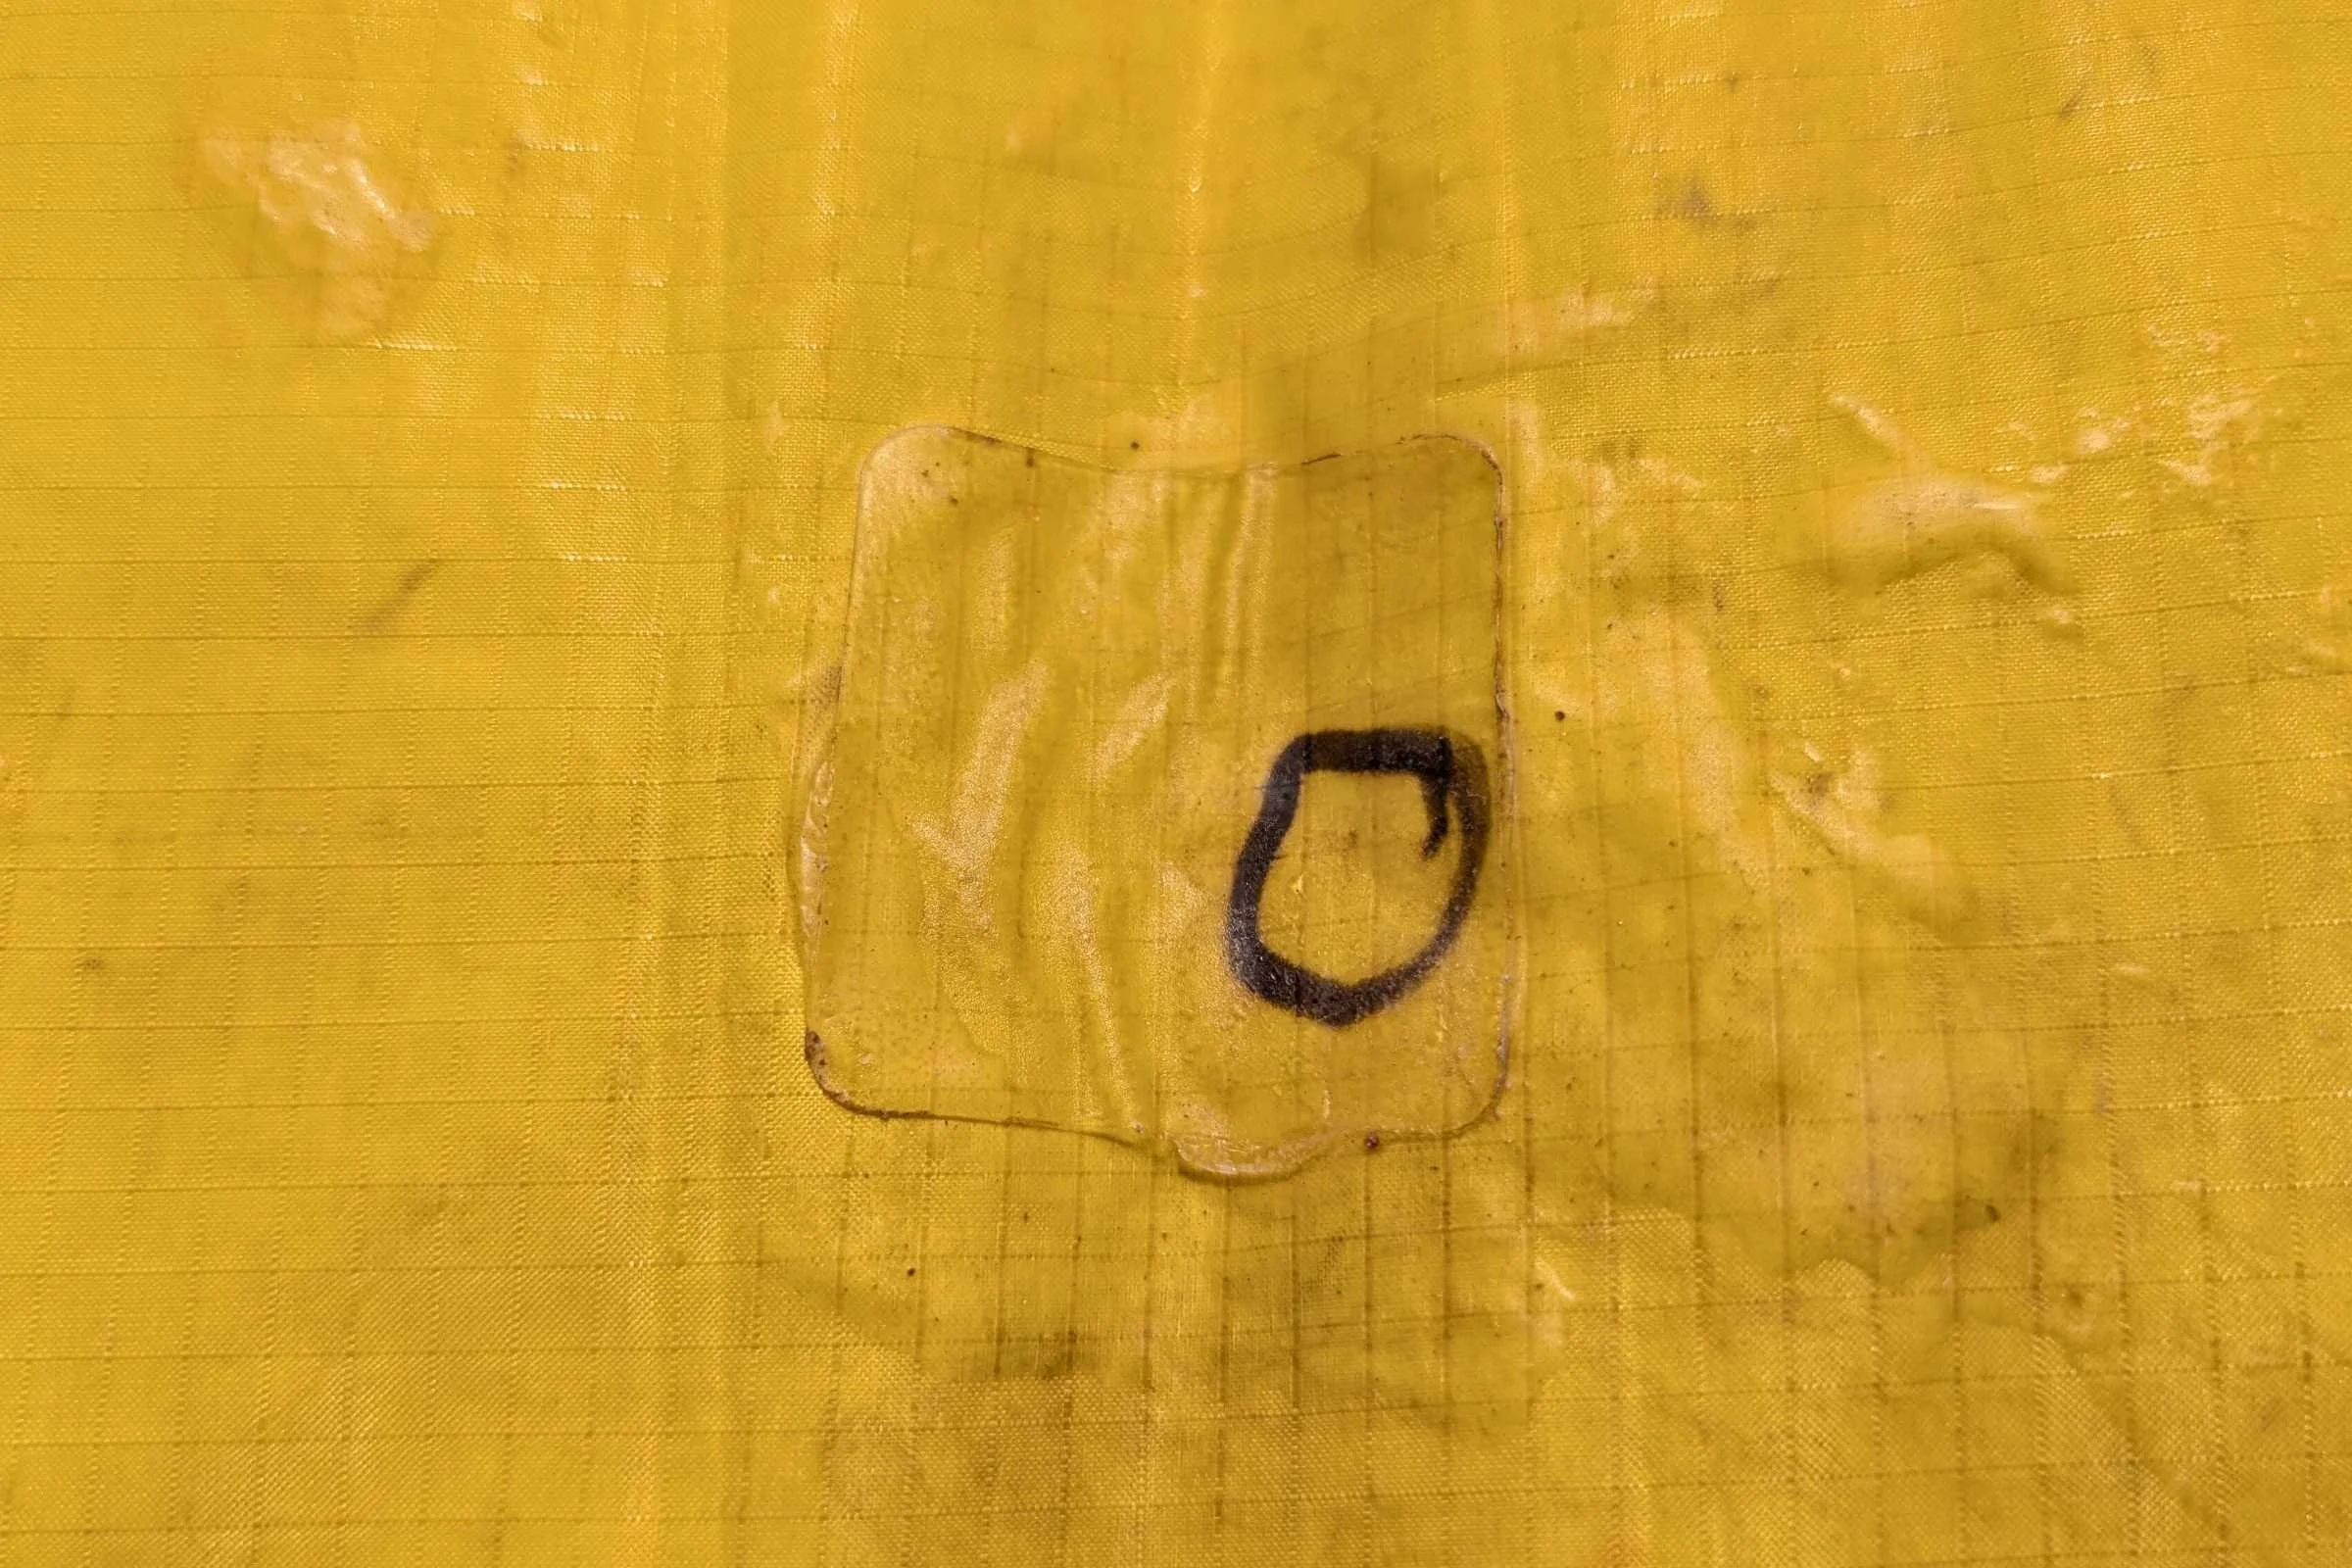
Once identified, you must act fast. Punctures can practically vanish once the pad is deflated or dry. Use a permanent marker to draw a circle around the site or a crosshair that centers directly on the hole. This ensures that when you finally apply the patch, it is perfectly centered.
Emergency Sleeping Pad Repair in the Field
Backcountry preparedness is about having the right tools for a quick fix that lasts until you get home. When you are miles from civilization, an emergency sleeping pad repair in the field requires a different mindset than a permanent home fix. Your goal is to achieve an airtight seal quickly so you can get back to sleep.
Your field repair kit should always remain in your pack's brain or gear pouch. It must include:
- Pre-cut tenacious tape patches (various sizes)
- Several isopropyl alcohol wipes
- A small tube of flexible adhesive (if not using peel-and-stick)
- A permanent marker
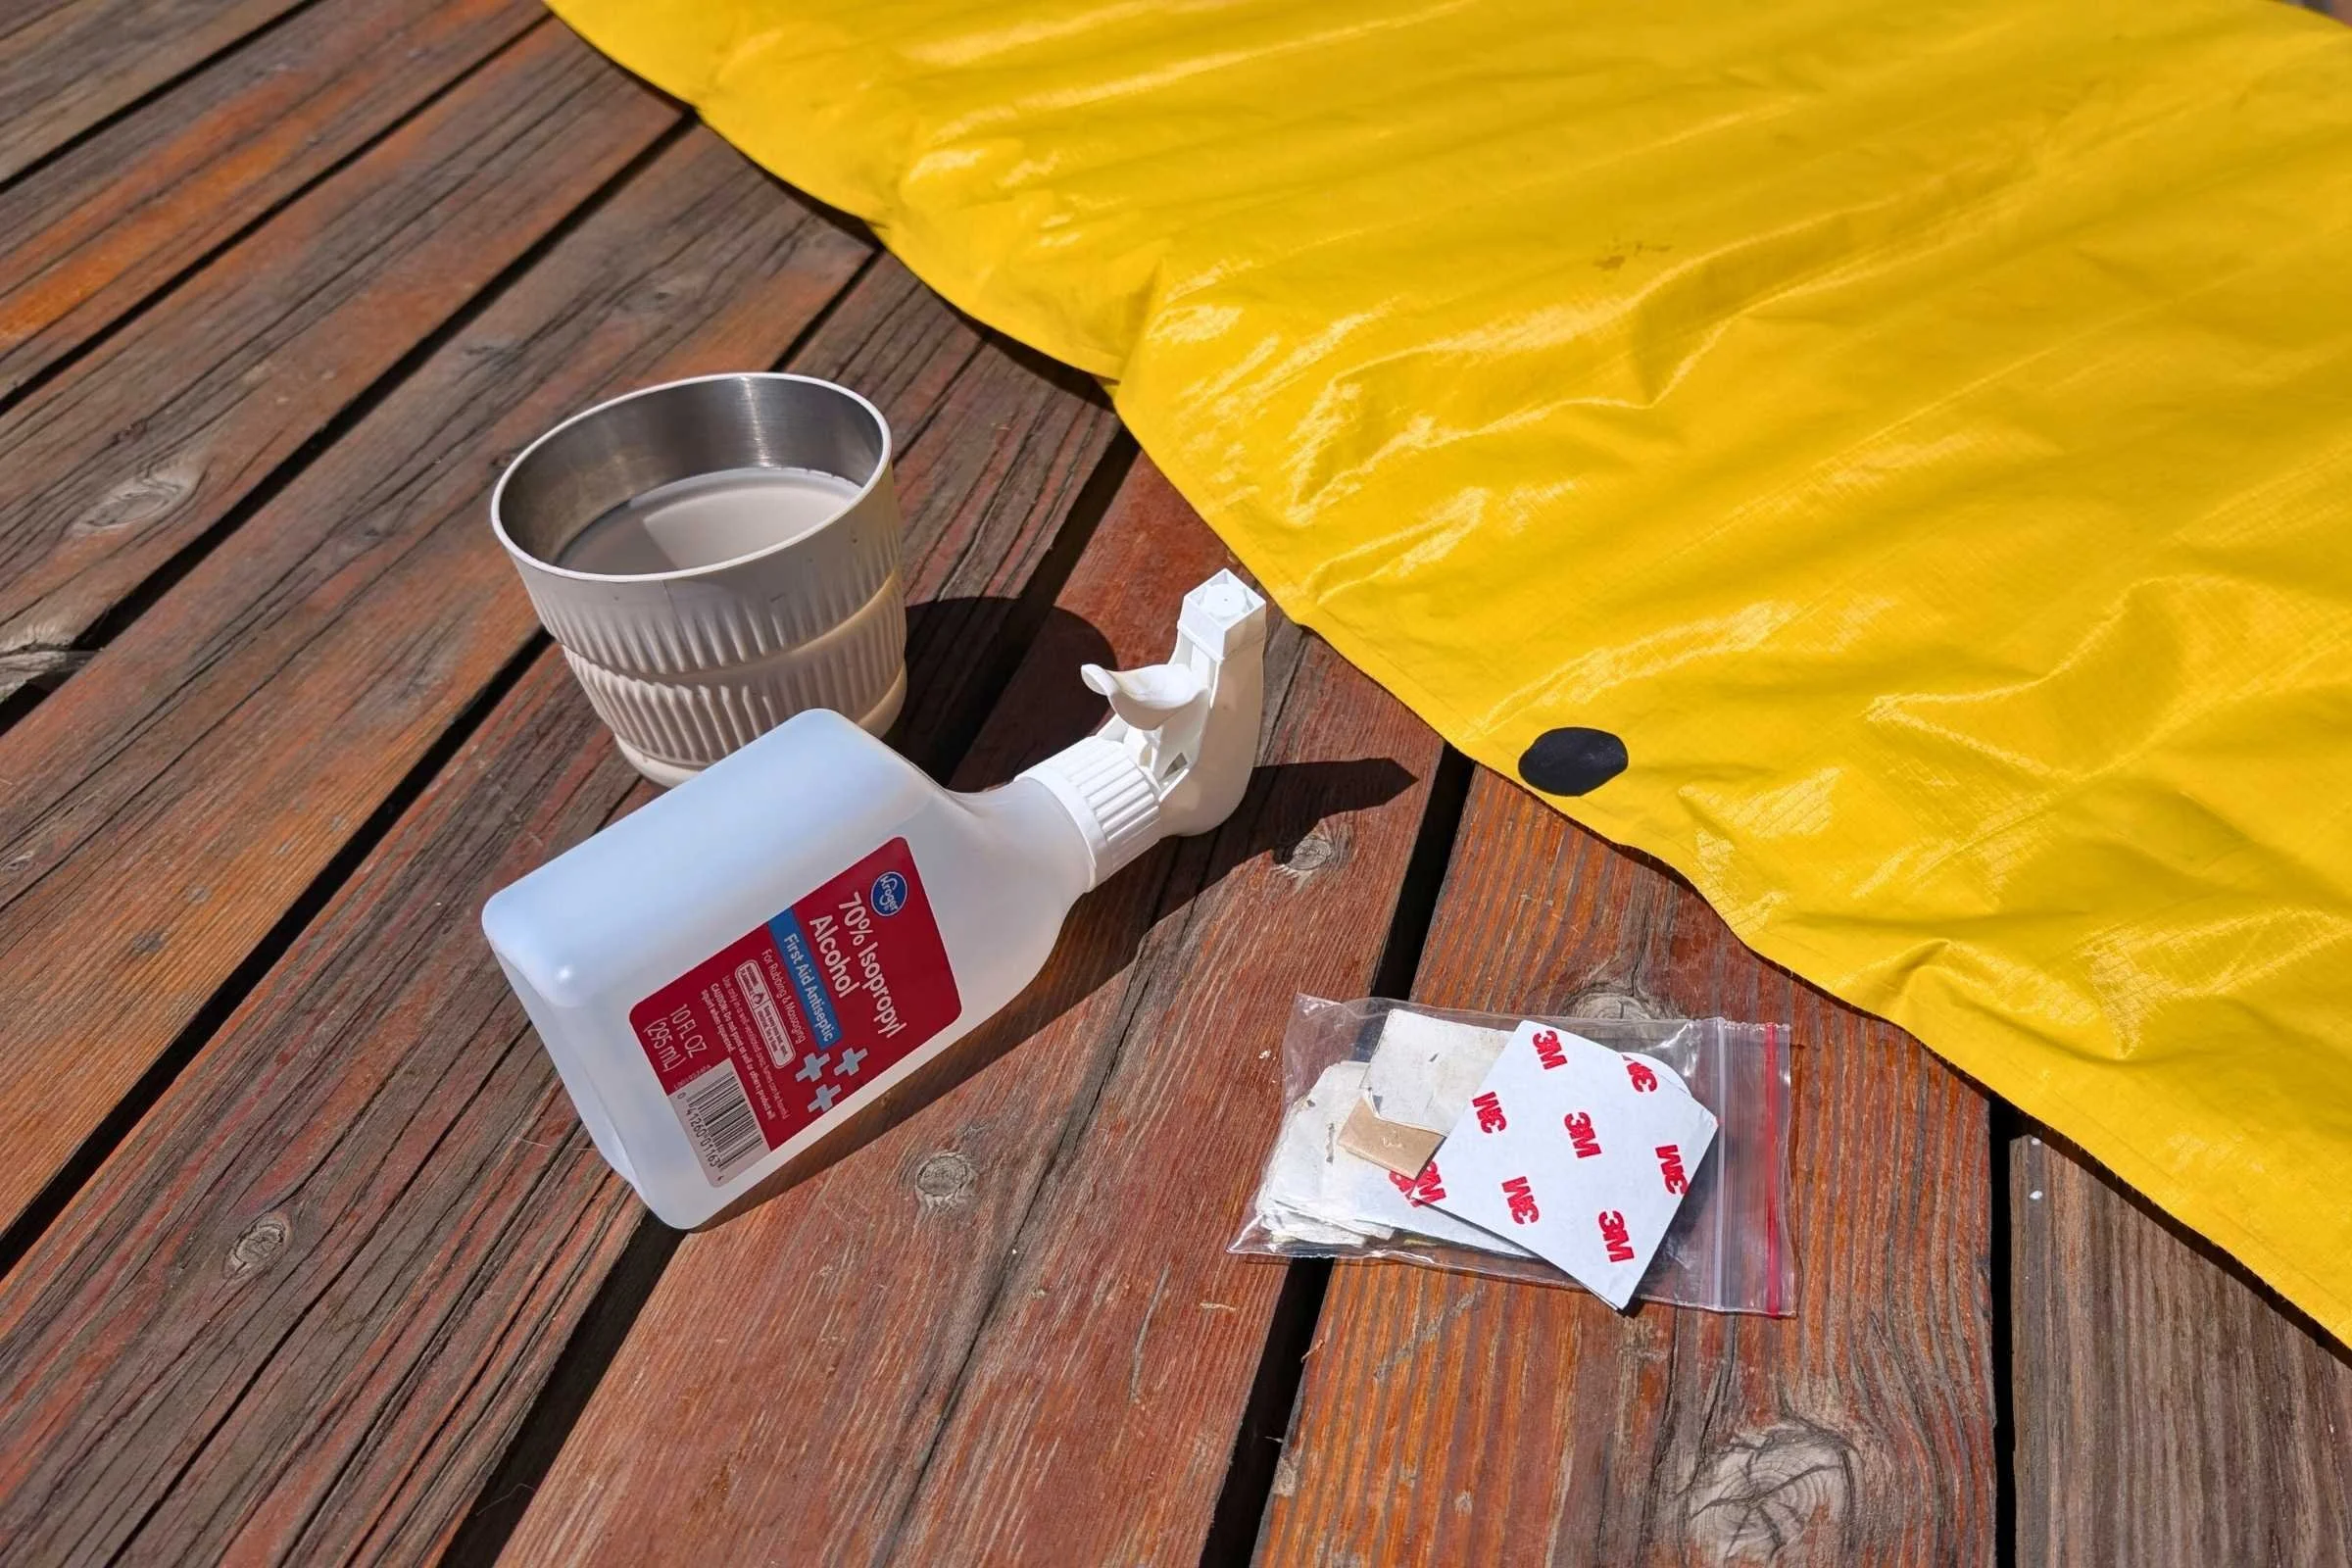
To execute a trail repair, first clean the area around the puncture with an alcohol wipe. This step is critical; body oils, sunscreen, and trail dust will prevent any adhesive from bonding to the fabric. Wait for the alcohol to evaporate completely. If you are repairing a sleeping pad without a factory patch kit, tenacious tape is a superior alternative because of its aggressive adhesive and flexibility.
Peel the backing off the patch and apply it from one side to the other to avoid trapping air bubbles. Use your thumb or the back of a spoon to press the patch firmly into the fabric, particularly around the edges. If possible, allow it to sit for 30 minutes before reinflating. While these patches can last for years, they are often considered temporary until a liquid adhesive can be applied later.
Permanent Restoration: Step-by-Step Puncture and Seam Fixing
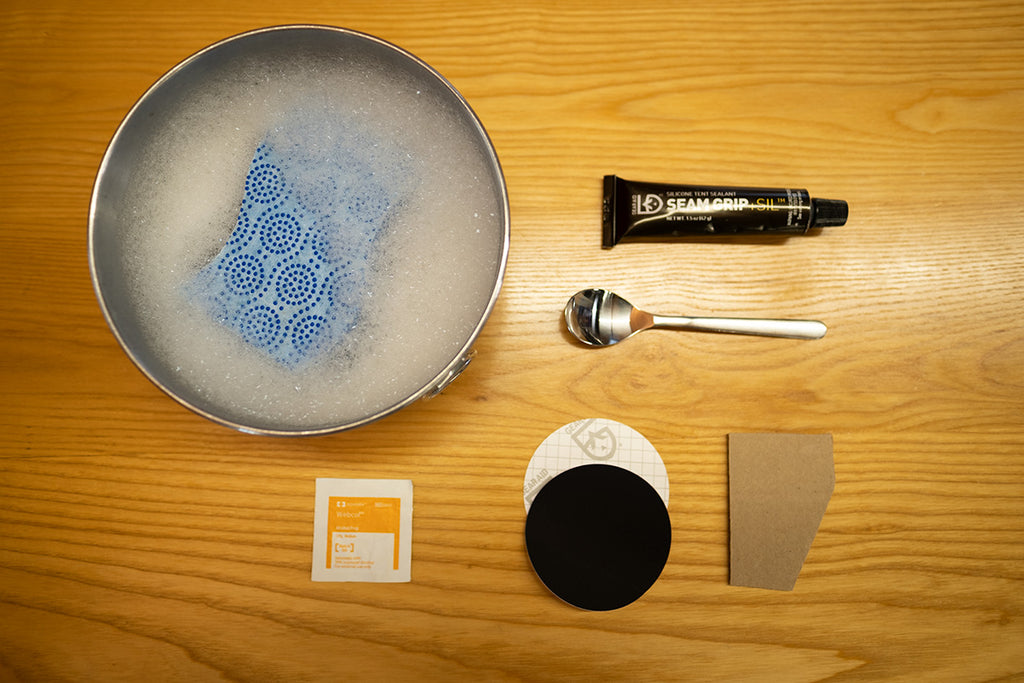
When you return home, it is time for a permanent fix that restores the full integrity of your gear. Choosing the best adhesive for sleeping pad patch kits often involves moving away from simple tape and toward liquid polyurethane adhesives or specialized seam sealant.
To achieve a professional-grade repair, follow this 3-step hybrid patching process:
- Preparation: Clean the puncture site again with isopropyl alcohol to ensure no field grime remains. If the pad has a fuzzy or flocked surface, you may need to gently sand away the flocking using a small piece of fine-grit sandpaper to reach the airtight laminate layer.
- The Liquid Bond: Apply a thin, even layer of liquid adhesive over the puncture, extending roughly 0.5 inches beyond the edges. If you are performing a sleeping pad seam repair step by step, apply the sealant directly into the seam separation and use a small brush to work it into the crevices.
- The Cover: While the adhesive is still tacky (or according to specifically provided instructions), place a circular patch over the site. This "sandwich" method creates a mechanical and chemical bond that is virtually impossible to break.
Curing Time Warning: Do not rush the curing process. While some field adhesives claim to work in 15 minutes, a permanent bond with liquid adhesive typically requires 8 to 24 hours of curing time. Leave the pad flat and uninflated during this period to prevent the patch from shifting.
Mechanical Fixes: How to Fix a Leaking Sleeping Pad Valve
Sometimes the leak isn't a hole in the fabric, but a failure at the inflation point. A sleeping pad valve repair is often necessary if you find air escaping from the mouth of the pad even when it is tightened.
Before assuming a mechanical failure, check for debris. Sand, grit, or even small hairs can prevent the valve gasket from seating properly. Use a damp cloth or a cotton swab dipped in alcohol to clean the internal threads and the gasket itself.
If the leak persists, you may need to know how to fix a leaking sleeping pad valve by replacing the internal components. Many modern valves are designed to be removable with a pair of pliers or a specific tool provided by the manufacturer. If the O-ring is cracked or flattened, replacing it usually solves the problem immediately. For valves that are heat-welded into the fabric, a specialized valve replacement kit from the manufacturer is required to create a new seal with heavy-duty adhesive. Note that these repairs often require a 3-hour curing window before they can withstand the pressure of inflation.
Longevity and Maintenance: Avoiding Future Leaks
Prevention is the highest form of gear care. Many leaks are not the result of sudden punctures but of chemical degradation of the polyurethane coating on the inside of the pad. Ultralight gear maintenance starts with keeping your gear away from harmful chemicals. Specifically, DEET-based bug sprays and some sunscreens contain solvents that can dissolve the adhesives and laminates used in sleeping pads.
Storage is the second pillar of outdoor gear longevity. Never store your sleeping pad compressed in its stuff sack for long periods. Moisture from your breath can get trapped inside, leading to mold and delamination. Store the pad flat under a bed or behind a couch with the valves open. This allows the internal foam or synthetic insulation to stay lofted and any residual moisture to evaporate.
Furthermore, avoid using household glues like super glue for your repairs. While it seems like a quick fix, super glue is brittle. As the pad inflates and deflates, the hardened glue will crack, often tearing the surrounding fabric and creating an even larger hole. Stick to flexible adhesives specifically designed for outdoor fabrics.
When to Retire Your Gear: The 10-Puncture Rule
Even with the best sleeping pad repair techniques, there comes a time when a pad is no longer reliable for backcountry use. The professional repair shop for Cascade Designs considers a sleeping pad to be at the end of its service life if it is found to have more than 10 punctures at one time. At this stage, the material has likely become porous or the internal laminate is failing, and new leaks will continue to appear.
Before you throw your pad away, however, check the manufacturer's warranty. While standard wear-and-tear punctures aren't covered, delamination (where the fabric separates from the internal structure, creating bubbles) or seam failures are often considered manufacturing defects.
If your gear has reached its limit, remember that many manufacturers now offer recycling programs. Repairing gear as long as possible is a major win for sustainability, but choosing a high-quality replacement when the time comes ensures safety on the trail.
FAQ
How do you find a leak in a sleeping pad?
The most effective way is to use a bathtub submersion test. Inflate the pad fully, submerge it in sections, and look for air bubbles escaping from the puncture. In the field, you can use soapy water or even a wet wipe; the escaping air will create a cluster of bubbles at the source of the leak.
What is the best way to patch a sleeping pad?
The best method is a combination of cleaning the area with isopropyl alcohol, applying a flexible adhesive sealant, and covering it with a rounded patch. This "hybrid" approach ensures a chemical bond with the liquid adhesive and mechanical protection from the patch.
Can you use super glue to fix a sleeping pad?
No, you should avoid super glue for sleeping pad repair. Super glue dries into a hard, brittle plastic that does not flex with the pad. When the pad is rolled up or inflated, the glue will likely crack and potentially cause further damage to the fabric.
How do you fix a leaking sleeping pad valve?
Start by cleaning the valve with a damp cloth or cotton swab to remove debris like sand or hair. If it still leaks, check the valve gasket or O-ring for damage. If necessary, use a valve replacement kit or apply specialized valve adhesive, allowing it to cure for at least three hours.
How long does sleeping pad repair glue take to dry?
While field patches can be used almost immediately, permanent liquid adhesives generally require 8 to 24 hours to cure completely. Some specific valve adhesives have a shorter curing window of about 3 hours. Always check the specific instructions on your repair kit.
Is it worth repairing a sleeping pad or should I buy a new one?
Most punctures and minor seam leaks are easily and cheaply repairable, extending the life of your gear by years. However, if the pad has more than 10 punctures or is experiencing widespread delamination (large air bubbles forming on the surface), it is likely at the end of its service life and should be replaced.