Quick Facts
- Primary Choice: Alpine bindings are the recommended standard for resort-based beginners.
- Safety Metric: Beginner adult skiers typically use DIN settings between 2 and 6.
- Top Benefit: Choosing integrated systems can save between $150 and $250 on gear setups.
- Compatibility Key: Always verify ISO 23223 compliance if using modern GripWalk soles.
- Maintenance: An annual professional inspection by a certified technician is mandatory for safety.
Ski bindings are mechanical interfaces that secure your boots to your skis while ensuring safety through controlled release. This ski bindings guide covers the three main types—alpine, touring, and hybrid—to help you choose the safest gear for your ability.
Stepping onto the slopes for the first time is an exhilarating milestone, but the technical jargon surrounding equipment can often feel like a barrier to entry. Among all your gear, your bindings are perhaps the most critical component. They are the sophisticated link between your intent and the ski's action. More importantly, they are your primary safety device. Since the early 1970s, advancements in binding technology have led to a nearly 90% reduction in the risk of lower-leg and ankle injuries among alpine skiers. By understanding how these mechanisms work, you can hit the mountain with the confidence that your equipment is working to protect you.
Anatomy of a Binding: Toe, Heel, and Safety Mechanics
To choose the right gear, you first need to understand the anatomy. A binding consists of two main parts: the toe piece and the heel piece. The toe piece is primarily responsible for lateral release. If you fall sideways and your leg begins to twist, the toe piece allows the boot to slide out to the side before that force reaches your ligaments.
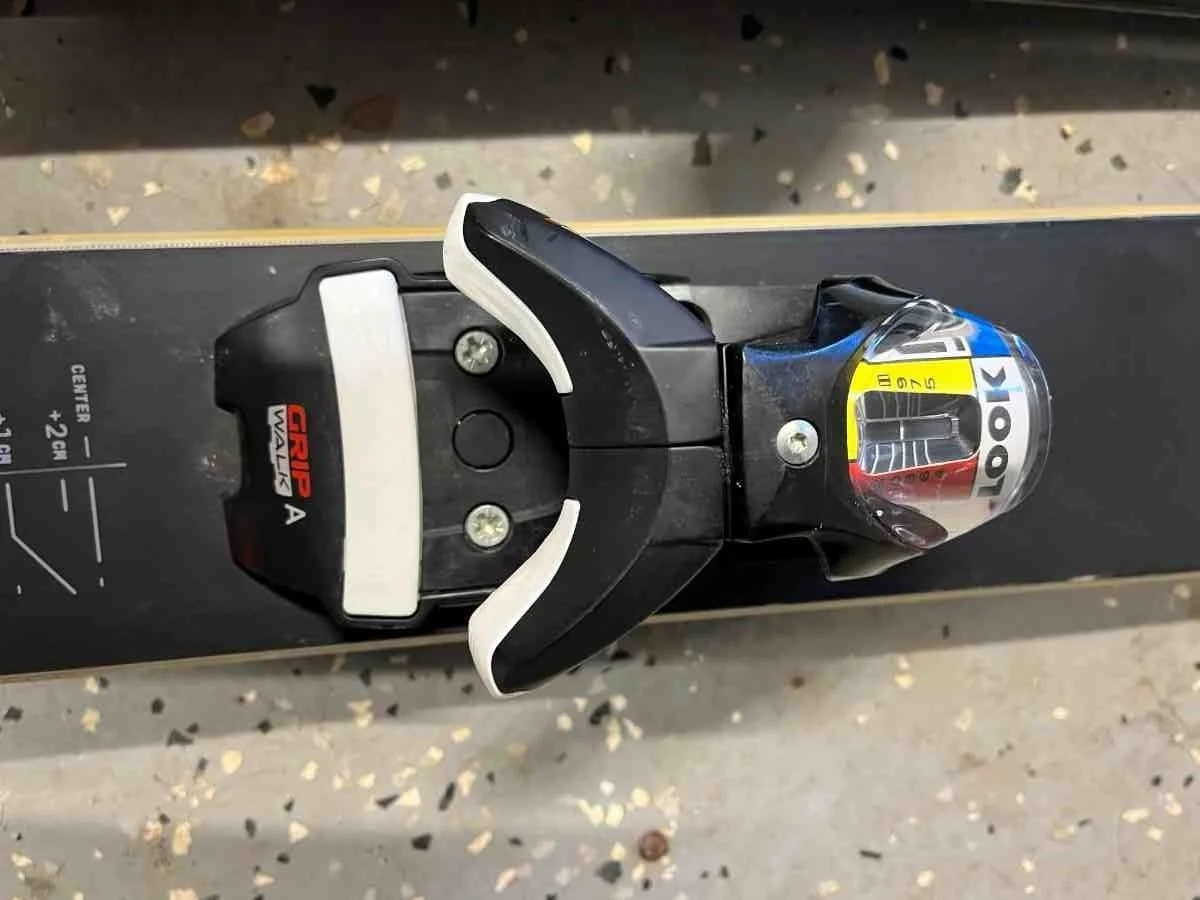
The heel piece focuses on forward pressure and vertical release. In a forward-tumbling fall, the heel piece pops open to release the boot upward. Modern bindings utilize forward pressure to ensure the boot stays tightly coupled with the ski as it flexes, maintaining a consistent connection even on bumpy terrain.
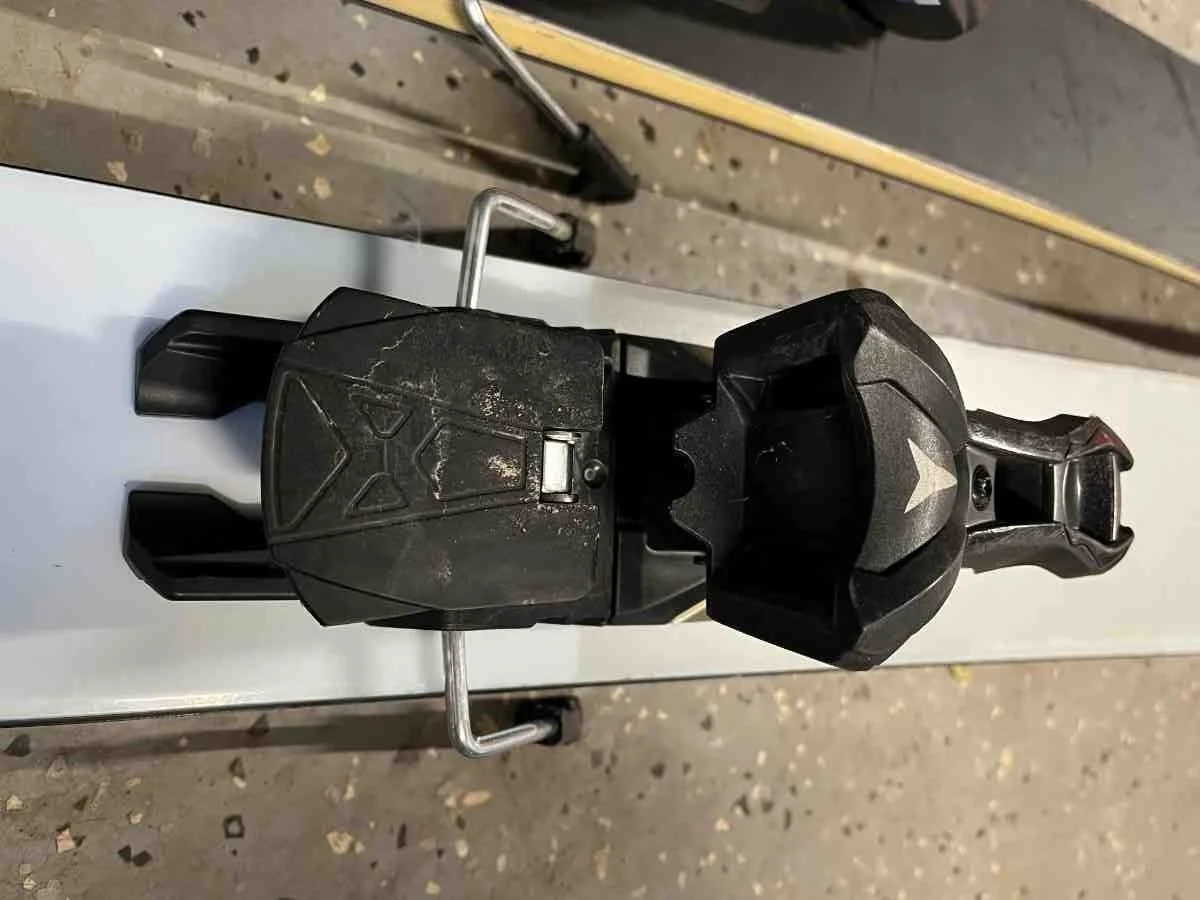
A critical component located on the toe piece is the Anti-Friction Device (AFD). This is a small pad or rolling mechanism that allows the boot sole to slide out smoothly during a release, regardless of whether your boots are covered in salt, dirt, or snow. Another factor to consider is how elasticity in ski bindings improves performance. Elasticity refers to the binding’s ability to allow the boot to move slightly and then snap back into center without releasing. This absorbs vibrations and shocks, preventing a "pre-release" which could cause a fall on its own. High power transfer efficiency ensures that every tiny movement of your foot is translated directly to the ski edge.
The Three Main Types of Ski Bindings for Beginners
As you begin your journey, you will encounter three primary categories of equipment. Most novices will find that alpine bindings are the best fit, as they are specifically designed for the lift-accessed terrain found at ski resorts. These offer the most secure connection and are the easiest to step into and out of on a groomed run.
However, as the sport evolves, more skiers are looking at the backcountry. Touring bindings, often called tech bindings, are much lighter and allow the heel to lift, enabling you to walk uphill with skins on your skis. These rely on a pin-toe system that requires specific boot inserts. While efficient for climbing, they don't always offer the same level of lateral release safety or power transfer as alpine versions.
The third category is hybrid bindings. These are designed for the adventurous soul who wants one setup for everything. They typically feature a pin-toe for climbing and a traditional alpine heel for the descent. While versatile, they are often more expensive and complex. For those just starting out, common types of ski bindings for beginners are usually found within the alpine or integrated systems category, as they prioritize ease of use and maximum safety.

When choosing between alpine and hybrid touring bindings, beginners should consider where they will spend 90% of their time. If you aren't planning to hike uphill away from the chairlifts, a dedicated alpine binding is safer, simpler, and more cost-effective.
Boot Compatibility: Navigating ISO Standards and GripWalk
One of the most confusing aspects of choosing ski bindings for beginners is ensuring the boot actually fits the binding. This isn't just about size; it's about the shape of the sole. In the past, all alpine boots were flat (ISO 5355). Today, many boots feature a rockered, rubberized sole called GripWalk (ISO 23223), which makes walking to the lodge much easier.
However, a GripWalk boot will not safely fit into an old-style alpine binding. You must ensure GripWalk compatibility between the two. The safest route is to look for Multi-Norm Certified (MNC) or Sole.ID bindings, which are designed to accept almost any boot sole standard on the market.
| Sole Standard | ISO Number | Best For | Typical Features |
|---|---|---|---|
| Alpine | ISO 5355 | Resort Racing/Carving | Flat, hard plastic sole |
| GripWalk | ISO 23223 | All-Mountain Comfort | Rockered shape with rubber grip |
| Touring | ISO 9523 | Backcountry | Deep tread, high rocker, pin inserts |
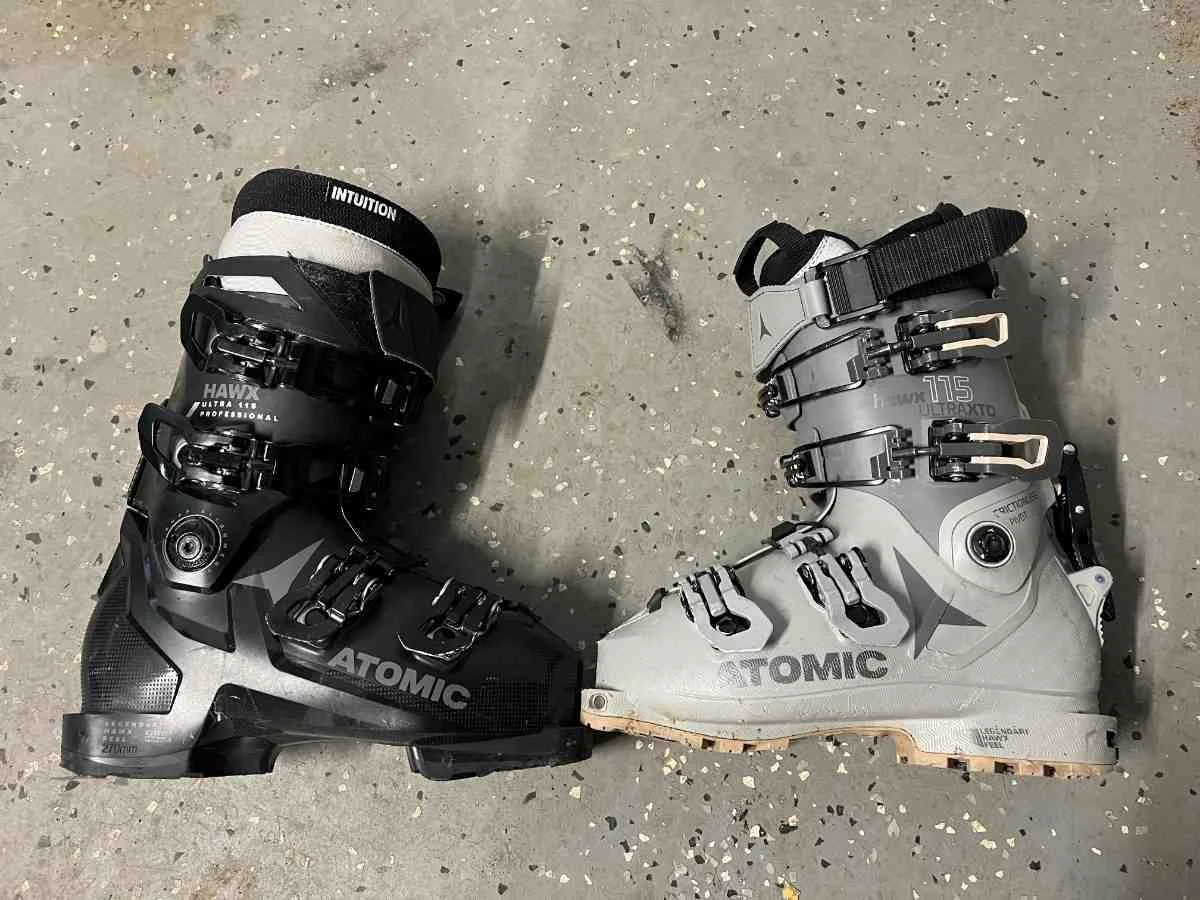
Another metric you must know is your Boot Sole Length (BSL). This is the external length of the boot in millimeters, usually stamped into the plastic on the heel. This number is used by technicians to mount the binding to the ski correctly. If you are looking for an alpine boot and binding compatibility simplified approach, always check that the binding's certification matches the ISO number on your boot's box.
Understanding DIN Settings and Safety Thresholds
The most important acronym in the skiing world is DIN, which stands for Deutsches Institut für Normung. This is the industry-standard scale that determines how much force is required for the binding to release. It is not a "skill level" number, but a safety calculated value.
To determine your setting, a technician uses the Skier Type 1-2-3 framework. Type 1 skiers are cautious beginners who prefer mellow terrain; Type 2 represents the majority of intermediate skiers; Type 3 consists of aggressive experts who ski fast on steep slopes. For safety, beginner adult skiers typically use DIN settings between 2 and 6.

Determining your setting follows a specific 5-step process:
- Provide your accurate weight and height.
- Disclose your age (settings change for children and seniors).
- Identify your Skier Type based on your intended speed and terrain.
- Provide your Boot Sole Length in millimeters.
- A certified technician uses a chart to find your number and physically adjusts the binding.
Pro Tip: Never attempt to set your own DIN. Understanding ski binding DIN settings and safety is vital, but the actual adjustment requires a calibrated tool and professional expertise to ensure the ski detaches when necessary but remains secure during normal use. This is why professional ski binding mounting is necessary.
Purchasing Strategy: System Bindings vs. Flat Mounts
When shopping as a beginner, you will notice two ways skis are sold. Integrated systems are skis that come with a pre-installed track and a specific binding. These are excellent for beginners because the binding is designed to flex naturally with that specific ski. They are also much easier to adjust if you ever change your boots, and they often save you money as a package deal.
On the other hand, "Flat" skis come with nothing on them. You choose a separate binding and have a shop drill holes into the ski to mount them. This is common for intermediate to advanced skiers who want a specific performance characteristic, such as a lower weight or a specific brand of toe piece.
One crucial detail when buying flat is choosing the correct brake width for new skis. The brakes are the two arms that snap down when you step out of the ski to prevent it from sliding down the mountain. Your brake width should be equal to or up to 15mm wider than the waist width of your ski. If they are too narrow, they won't snap down; if they are too wide, they might catch on the snow during a turn.
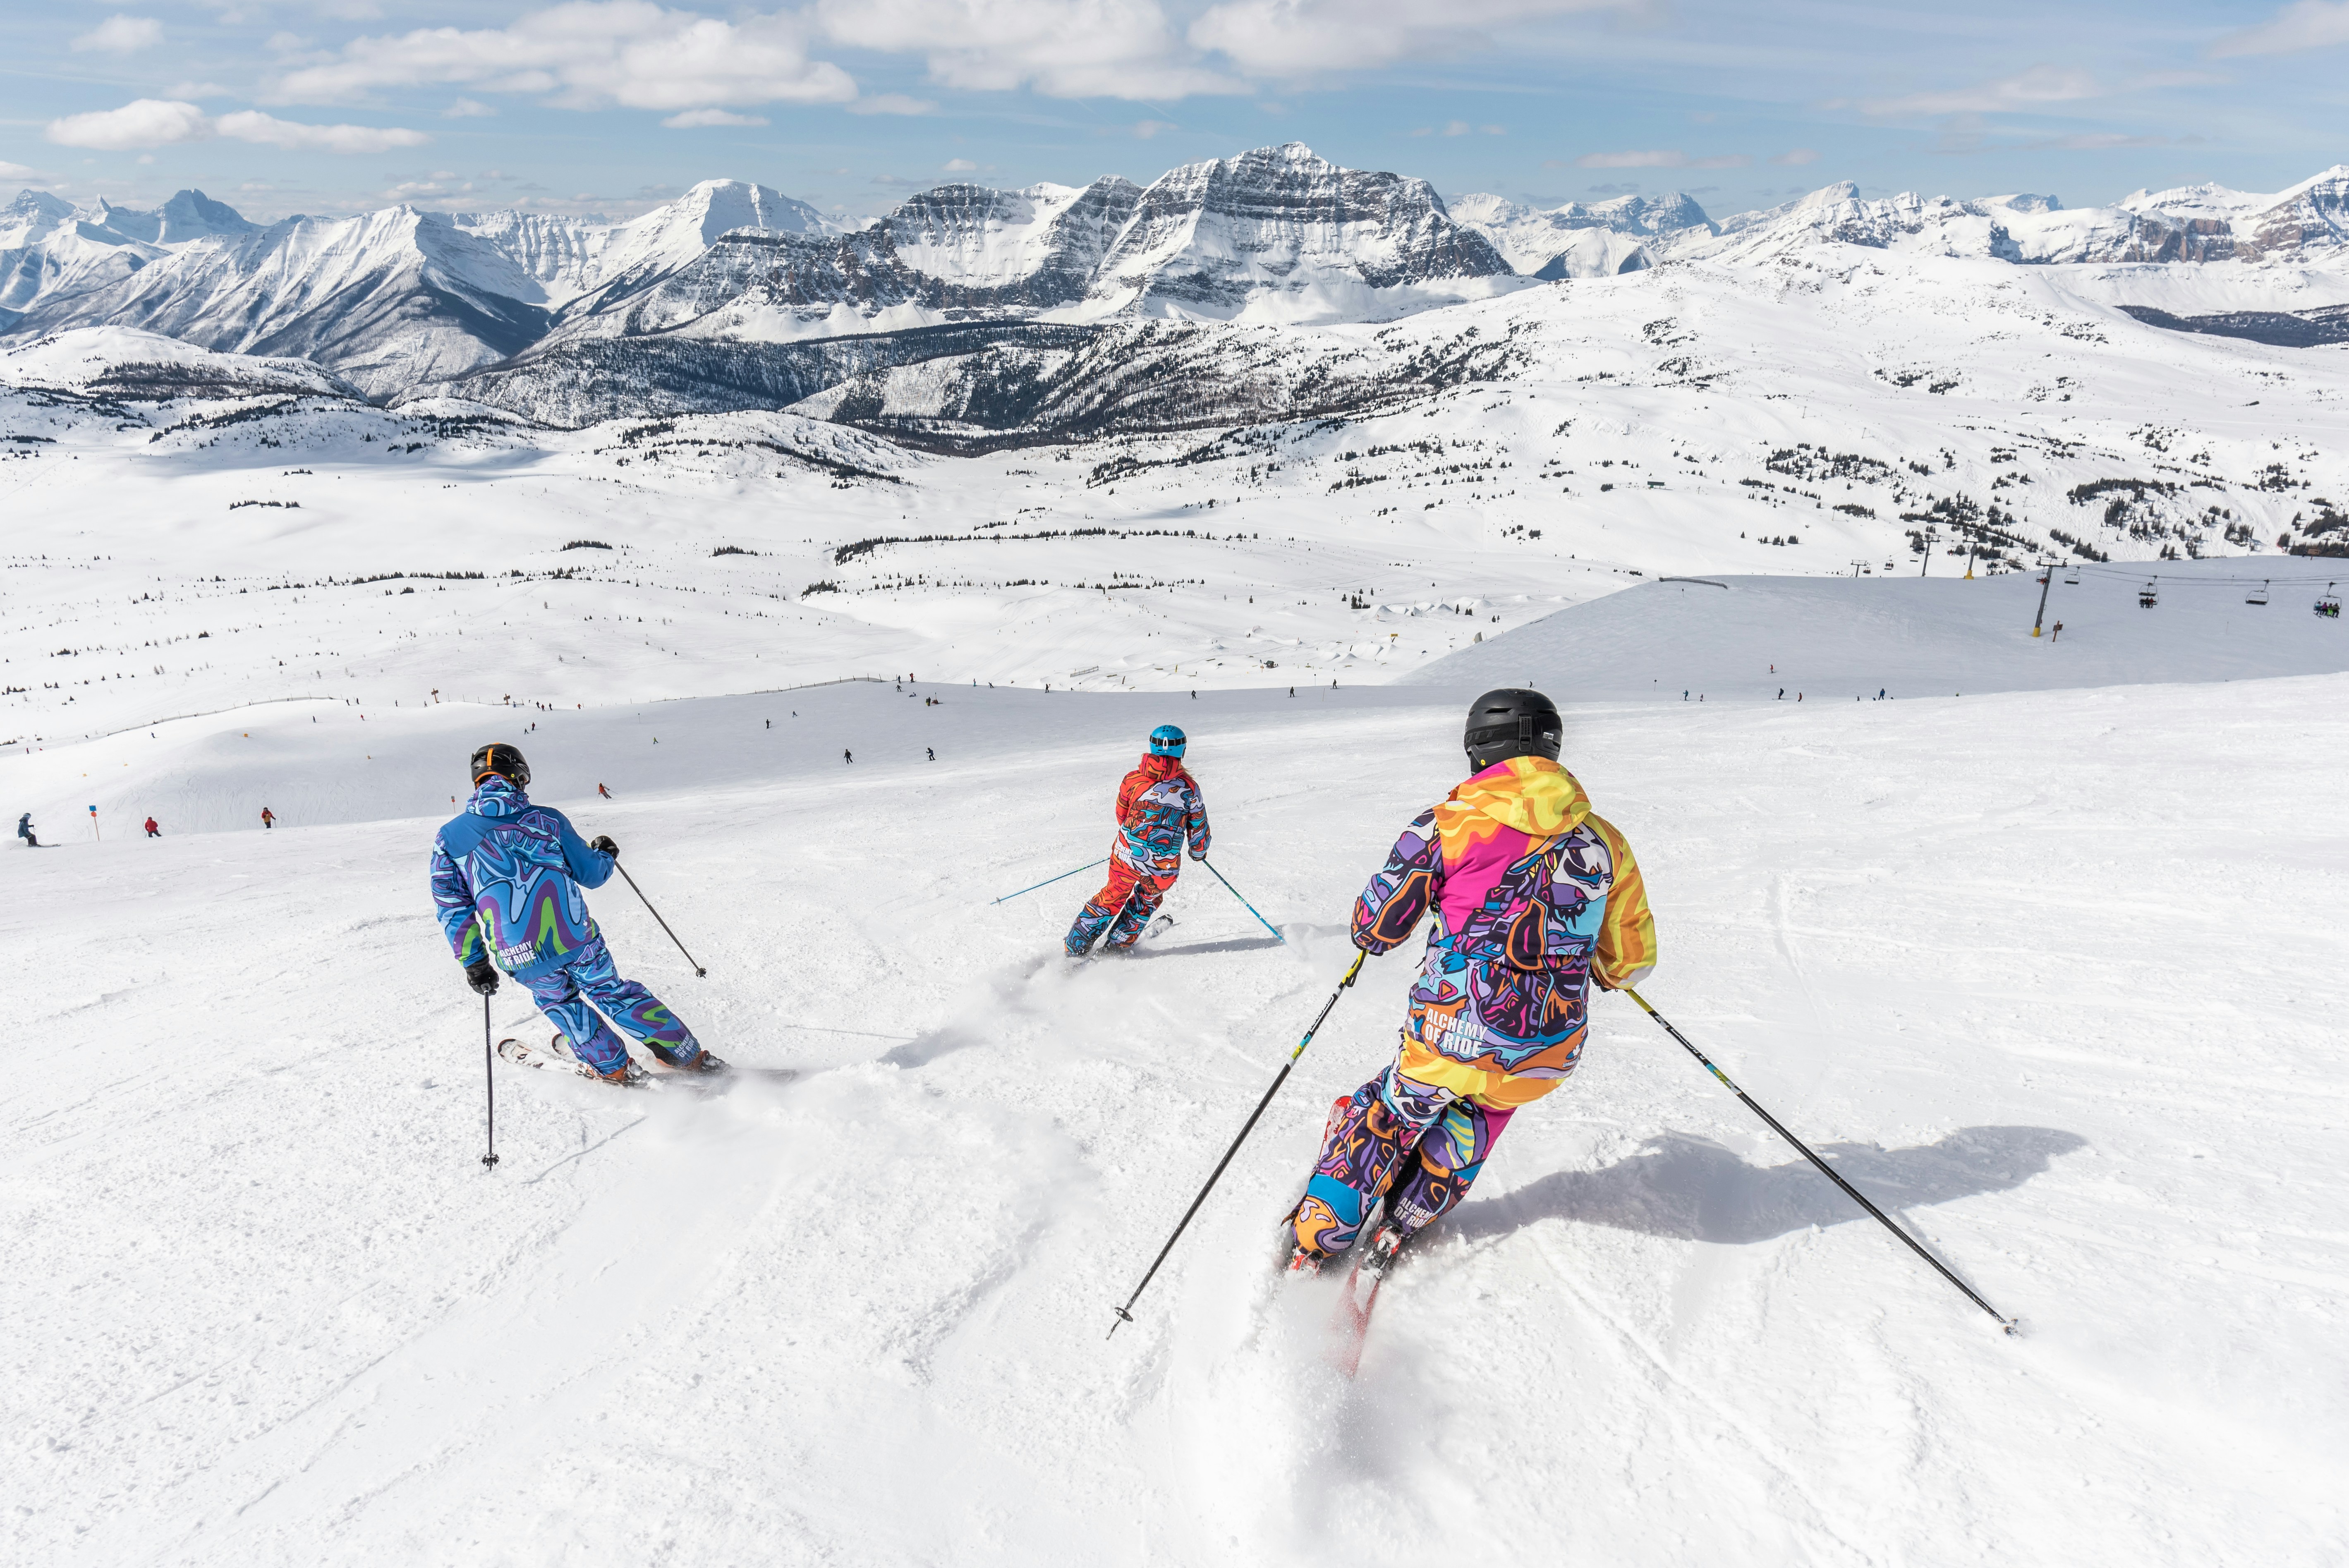
Finally, remember that gear requires upkeep. A pre-season ski binding inspection and maintenance check is vital. Over time, springs can lose tension and lubrication can dry out. Taking your skis to a shop once a year to have them "torque tested" ensures that the release values actually match what is shown in the DIN window.
FAQ
How do I choose the right ski bindings for my ability?
To choose correctly, first identify where you will be skiing. If you are sticking to groomed resort trails, a standard alpine binding is the safest and most functional choice. Ensure that the DIN range of the binding accommodates your specific setting in the middle of the scale—for instance, if your DIN is a 4, a binding with a range of 2-10 is better than one that starts at 4.
What is a DIN setting and how do I determine mine?
The DIN setting is a numerical value that controls the release tension of your bindings. It is determined by a combination of your height, weight, age, boot sole length, and skier type. You should always have a certified technician determine and set this value for you using an official chart to ensure your safety on the mountain.
Are all ski boots compatible with any ski bindings?
No, boot and binding compatibility depends on the ISO standard of the boot sole. Traditional alpine boots (ISO 5355) work with most alpine bindings, but modern GripWalk soles (ISO 23223) or touring soles (ISO 9523) require bindings that are specifically certified to accept those shapes. Always check for Multi-Norm Certified (MNC) labels if you are unsure.
What size ski binding brakes do I need for my skis?
Binding brakes should be wide enough to clear the edges of your skis but not so wide that they drag in the snow. Ideally, look for a brake width that is the same as the waist width of your ski or up to 15mm wider. For example, if your ski is 85mm wide at the waist, a 90mm brake is a perfect fit.
Can I install and mount ski bindings myself?
It is strongly recommended that you do not mount your own bindings. Proper installation requires specialized jigs to ensure the holes are centered and drilled to the correct depth. Furthermore, a professional shop has the calibration equipment necessary to test the release tension, which is a critical safety step to prevent bone and ligament injuries during a fall.