When you step behind a precision rifle, you expect the bullet to go exactly where the crosshairs intersect. However, industry data suggests that nearly 90% of rifles in the field suffer from some level of reticle misalignment. Most shooters believe they can eyeball it, but human physiology often betrays us. We tend to tilt our heads to find a comfortable cheek weld, which masks the fact that the rifle or the optic is actually leaning.
In the world of precision marksmanship, even a tiny error at the bench translates to a massive failure in the field. If your reticle is not perfectly perpendicular to the bore axis of the rifle, your adjustments for elevation will inadvertently introduce horizontal error. This guide is designed to take the guesswork out of your setup and ensure your gear is performing at its absolute peak.
Quick Facts
- Precision Accuracy: A one-degree rifle cant can result in approximately five inches of lateral displacement at 1,000 yards.
- Human Error: Without a spirit level, most shooters find it difficult to maintain a cant error of less than five degrees.
- Ballistic Impact: At 500 yards, a two-degree cant with a .300 Win Mag can shift your impact by 17.6 inches.
- Torque Standards: Standard scope ring screws should generally be tightened to between 15 and 18 inch-pounds.
- Essential Tool: A professional spirit level kit (often costing around $64) is the industry standard for eliminating mounting errors.
- Verification Distance: While initial leveling happens on the bench, a plumb line at 25 yards is the gold standard for visual confirmation.
Proper rifle scope leveling is essential for ballistic consistency. If the reticle is canted, any elevation adjustment will cause the bullet to impact to the left or right of the target. Aligning the crosshairs precisely with the rifle's bore axis ensures that the trajectory remains perfectly vertical over long distances. To level a scope using spirit levels, first secure the rifle in a steady vise and place a level on a flat part of the receiver or picatinny rail. Once the rifle is level, place a second level on the top turret or align the vertical crosshair with a distant plumb line. Adjust the scope until both indicate center before tightening the rings.
Essential Gear for Precision Alignment
Before you begin, you need to understand that rifle scope leveling is a mechanical process that requires specialized tools. You cannot rely on a standard carpenter’s level or your smartphone’s internal gyro; the margins for error are simply too thin. To do this right, you need a controlled environment where the rifle can remain perfectly stationary.
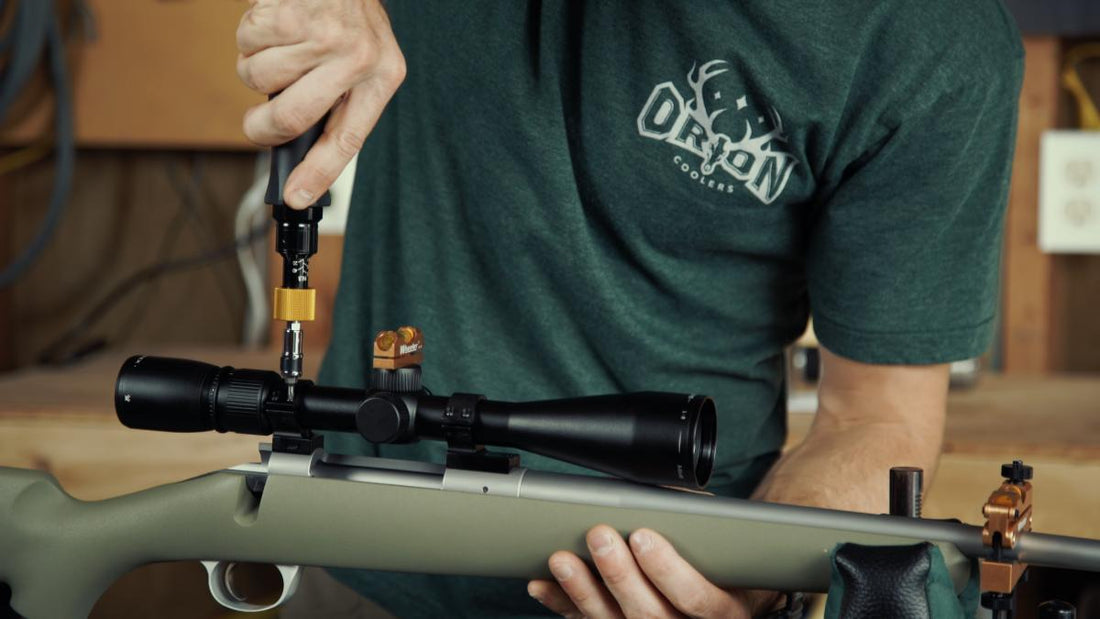
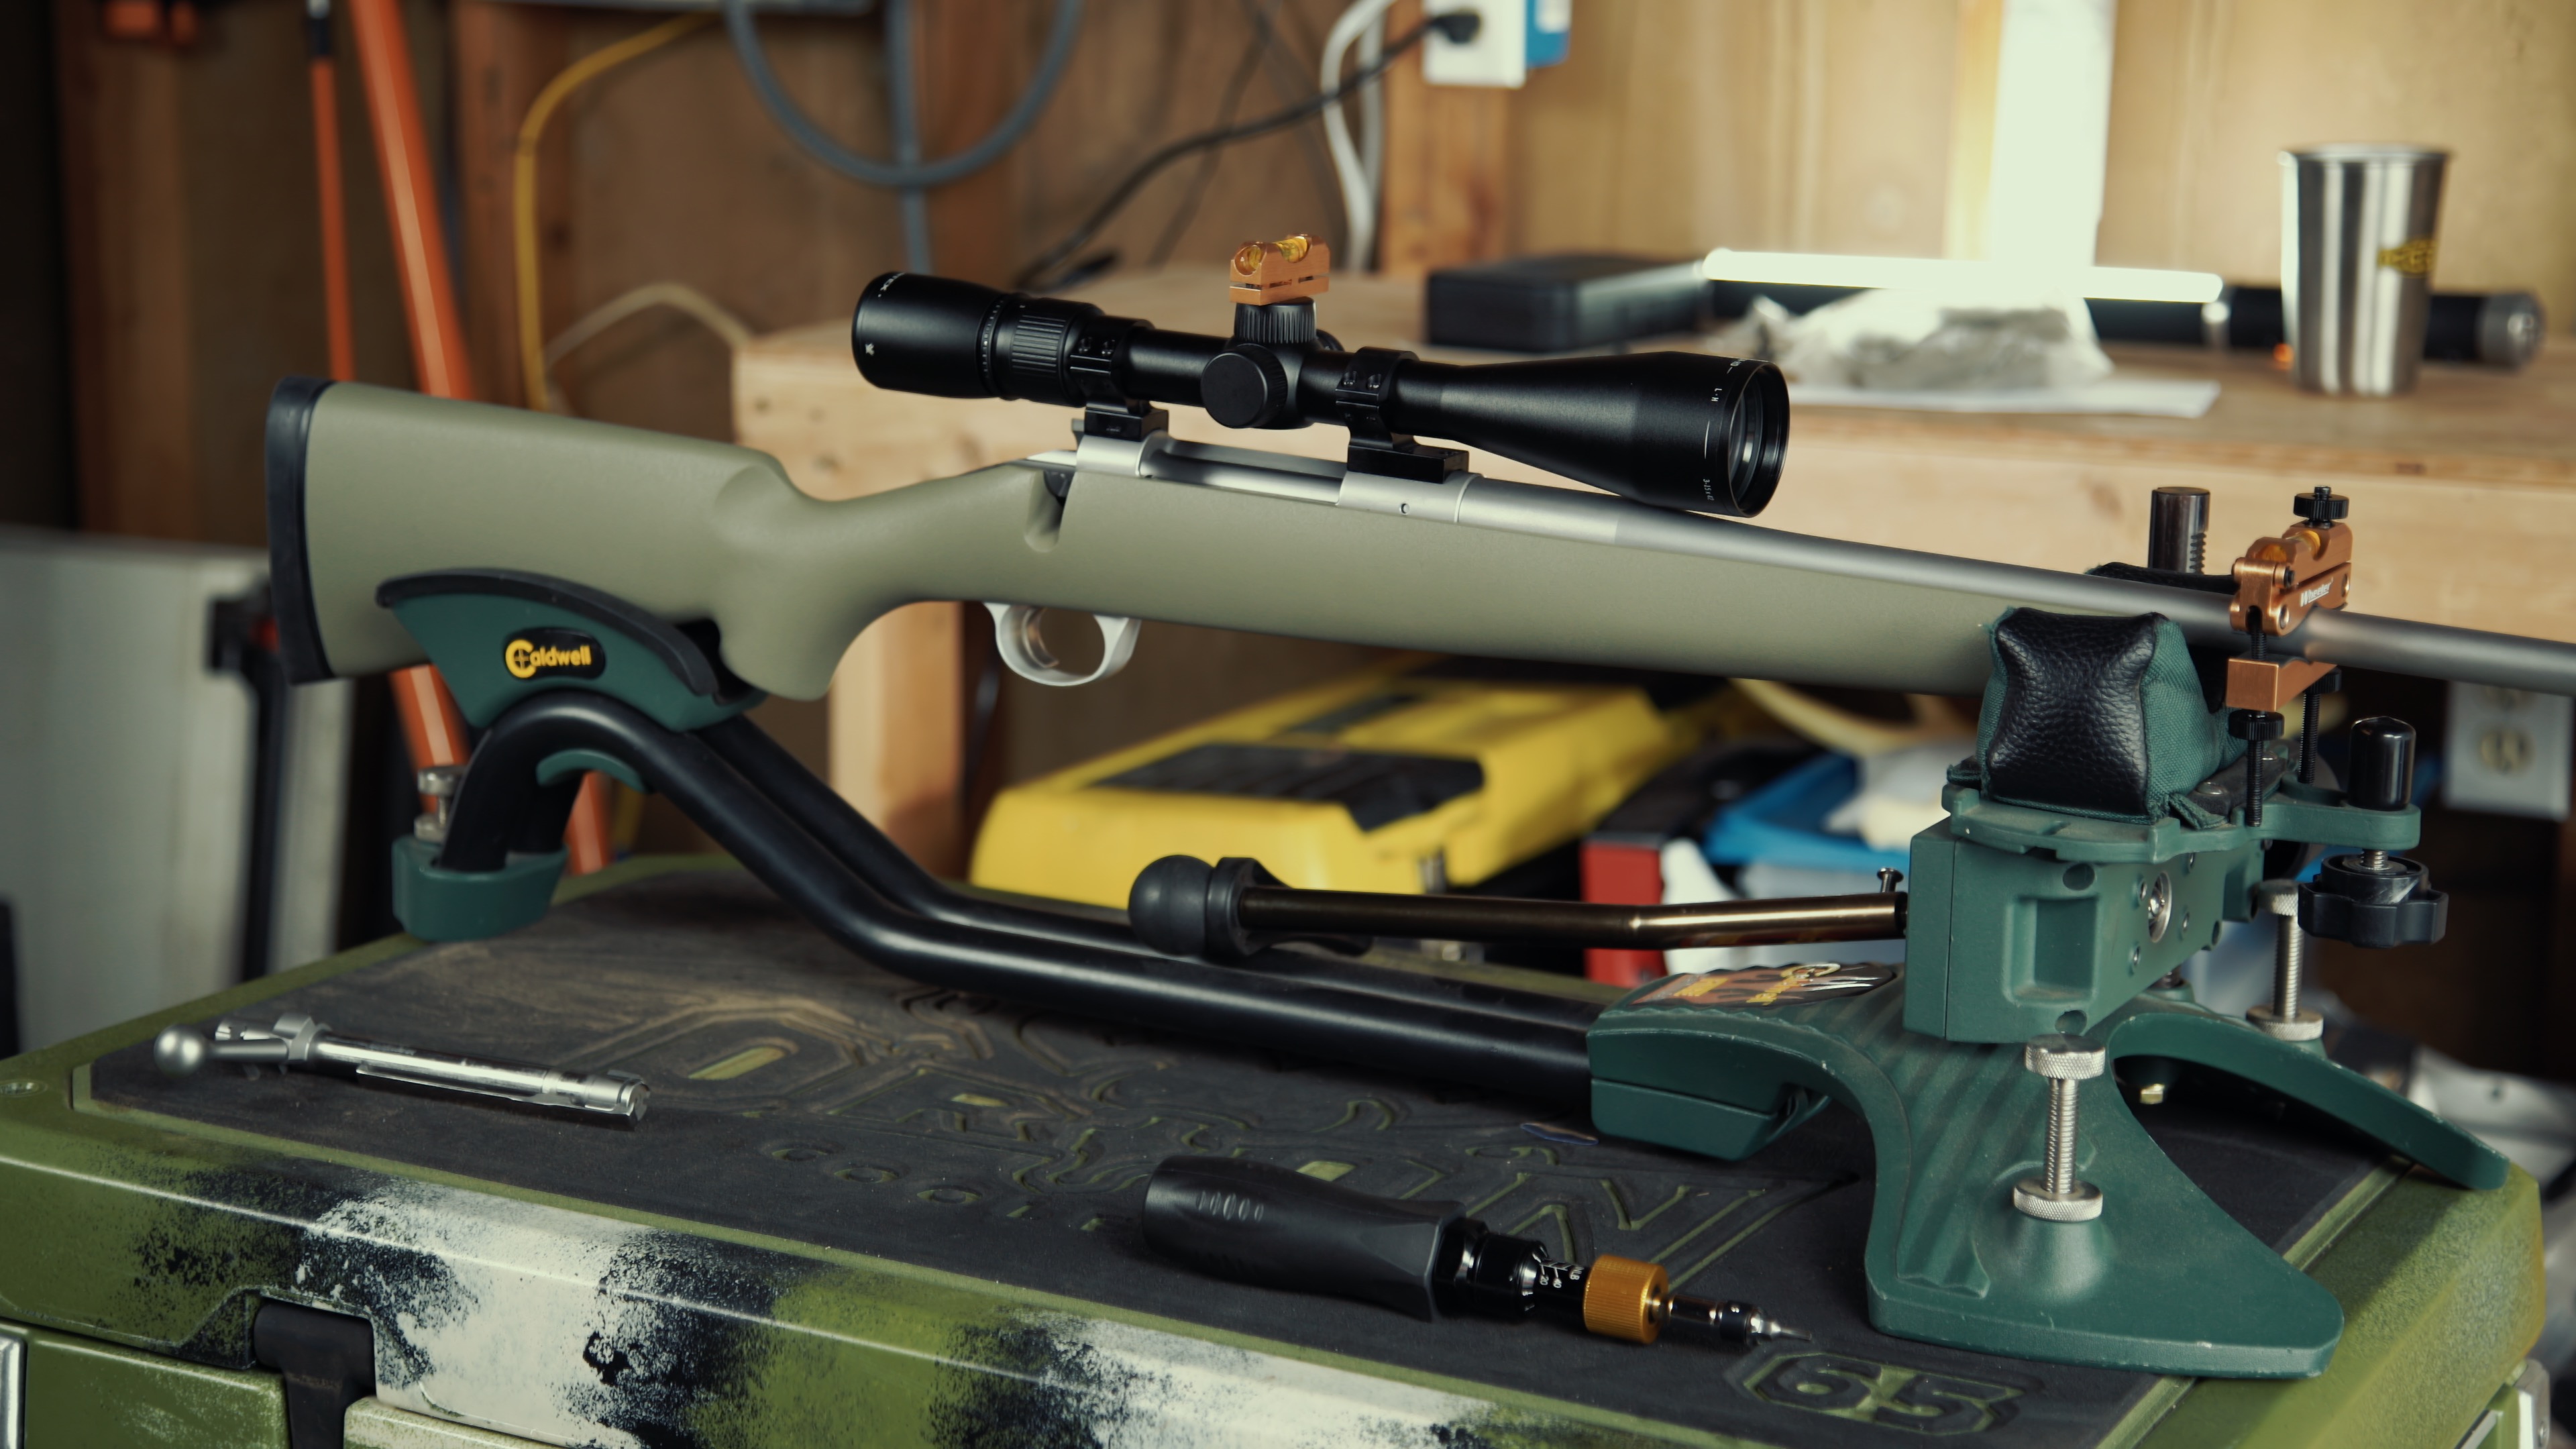
At a minimum, you will need a high-quality gun vise. This isn't just for cleaning; it is the foundation of your entire mounting system. A vise allows you to secure the rifle so that you can find the level point of the receiver and keep it there while you manipulate the optic. You will also need a calibrated torque wrench that measures in inch-pounds, as over-tightening is the leading cause of crushed scope tubes and erratic tracking.
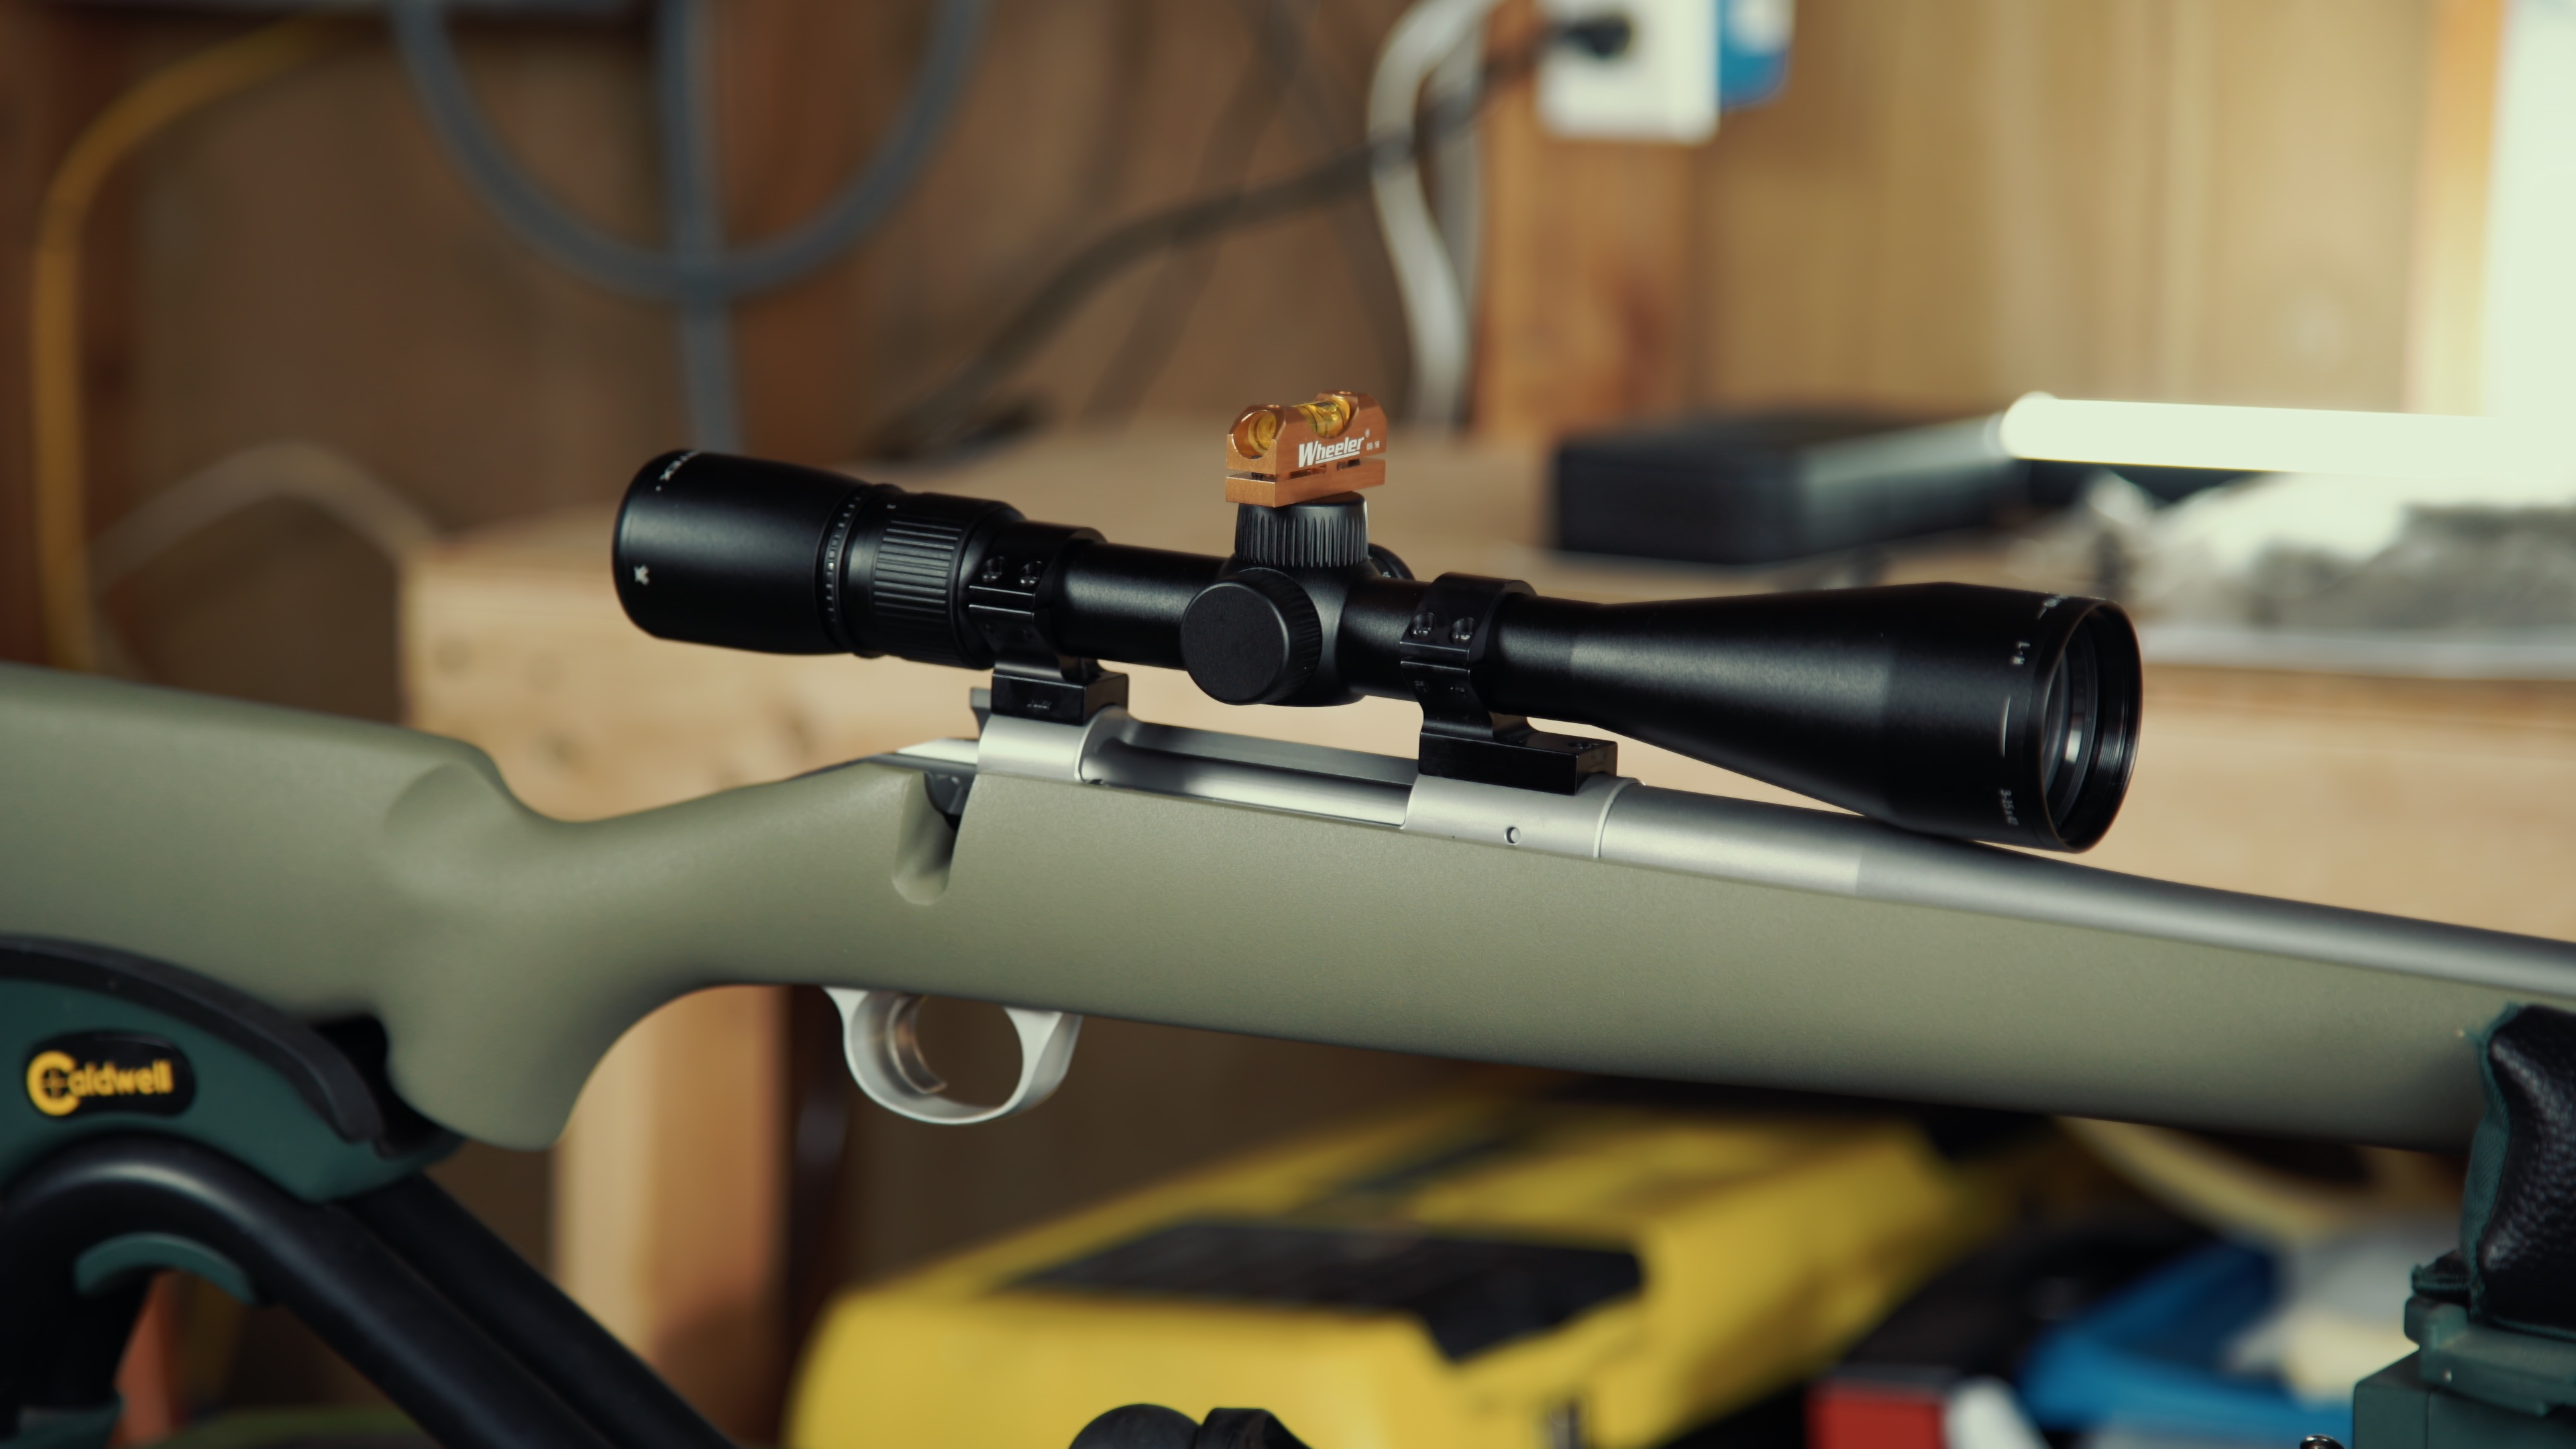
Finally, invest in a mounting scope spirit level kit. These kits usually include two magnetic or clamp-on levels—one for the rifle and one for the scope. Some precision shooters also use a plumb bob, which is a weighted string hung at a distance. Because gravity always pulls a plumb bob perfectly vertical, it provides an infallible reference point that no mechanical tool can beat.
Phase 1: Leveling the Rifle Action
The most common mistake in rifle scope leveling is focusing on the scope before the rifle. If your rifle action is tilted two degrees to the left in the vise, and you level your scope to the horizon, your reticle will be out of sync with your bore. This creates the very ballistic drifting we are trying to avoid.
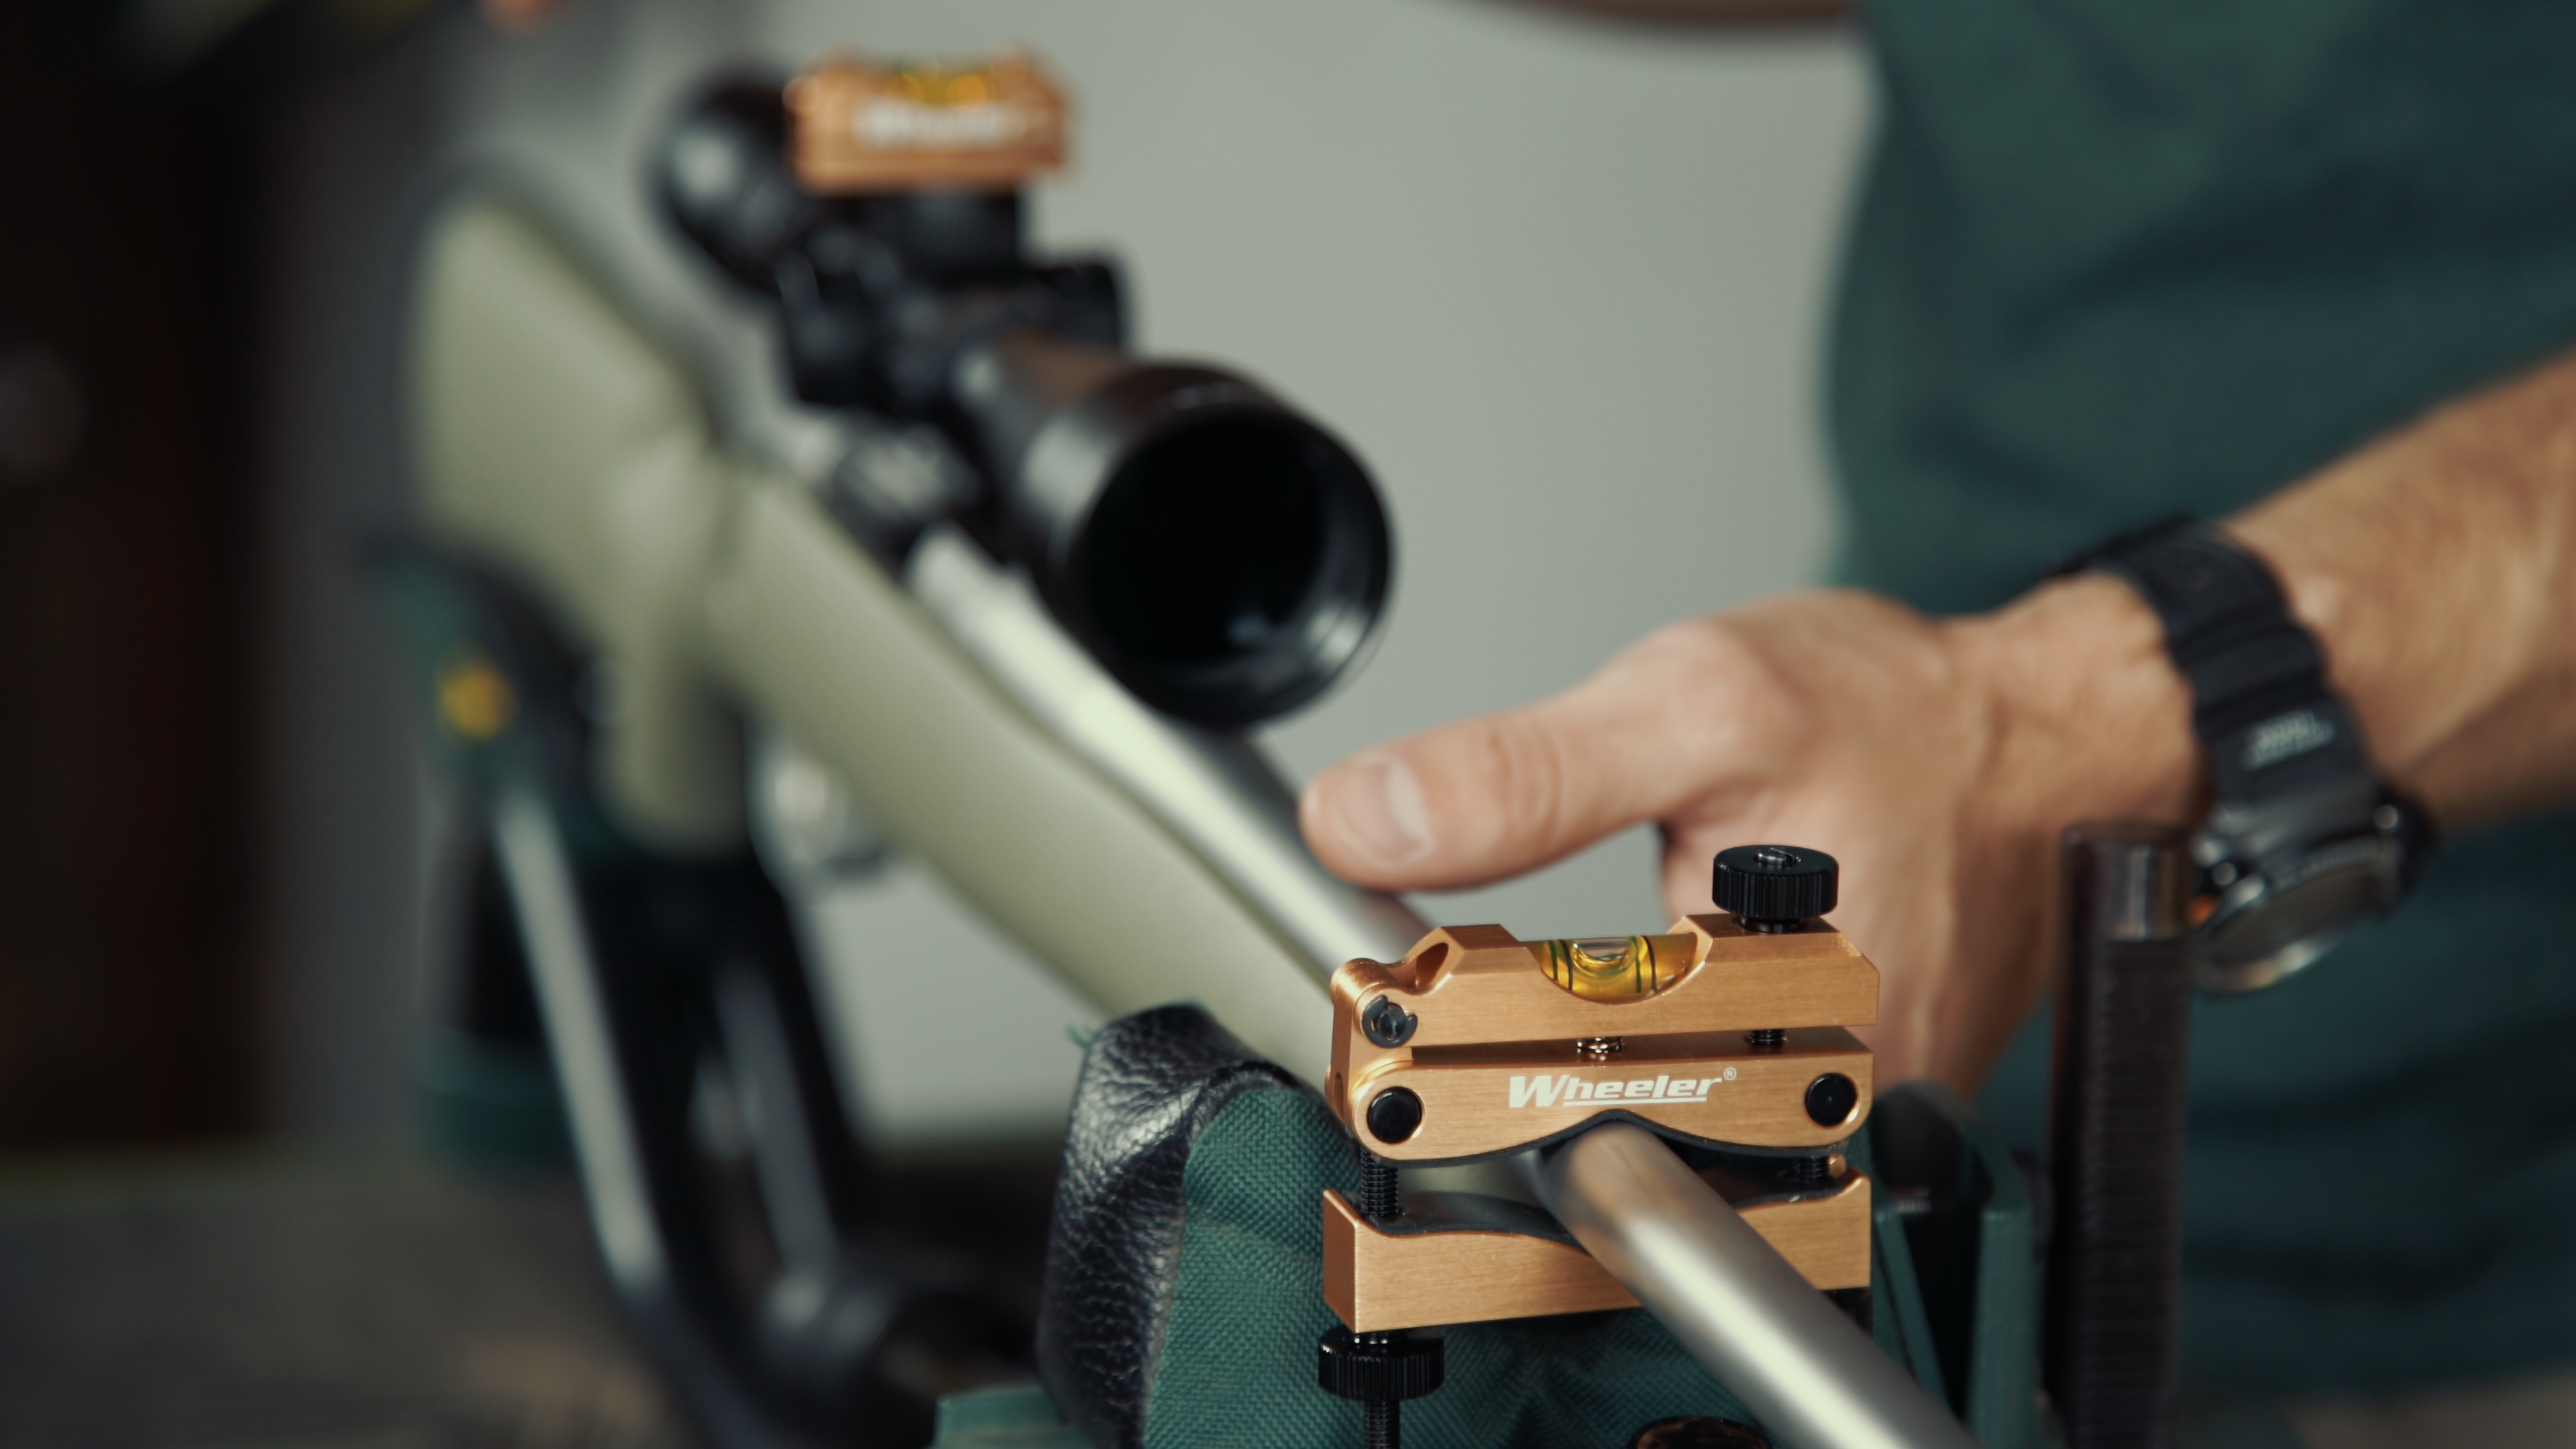
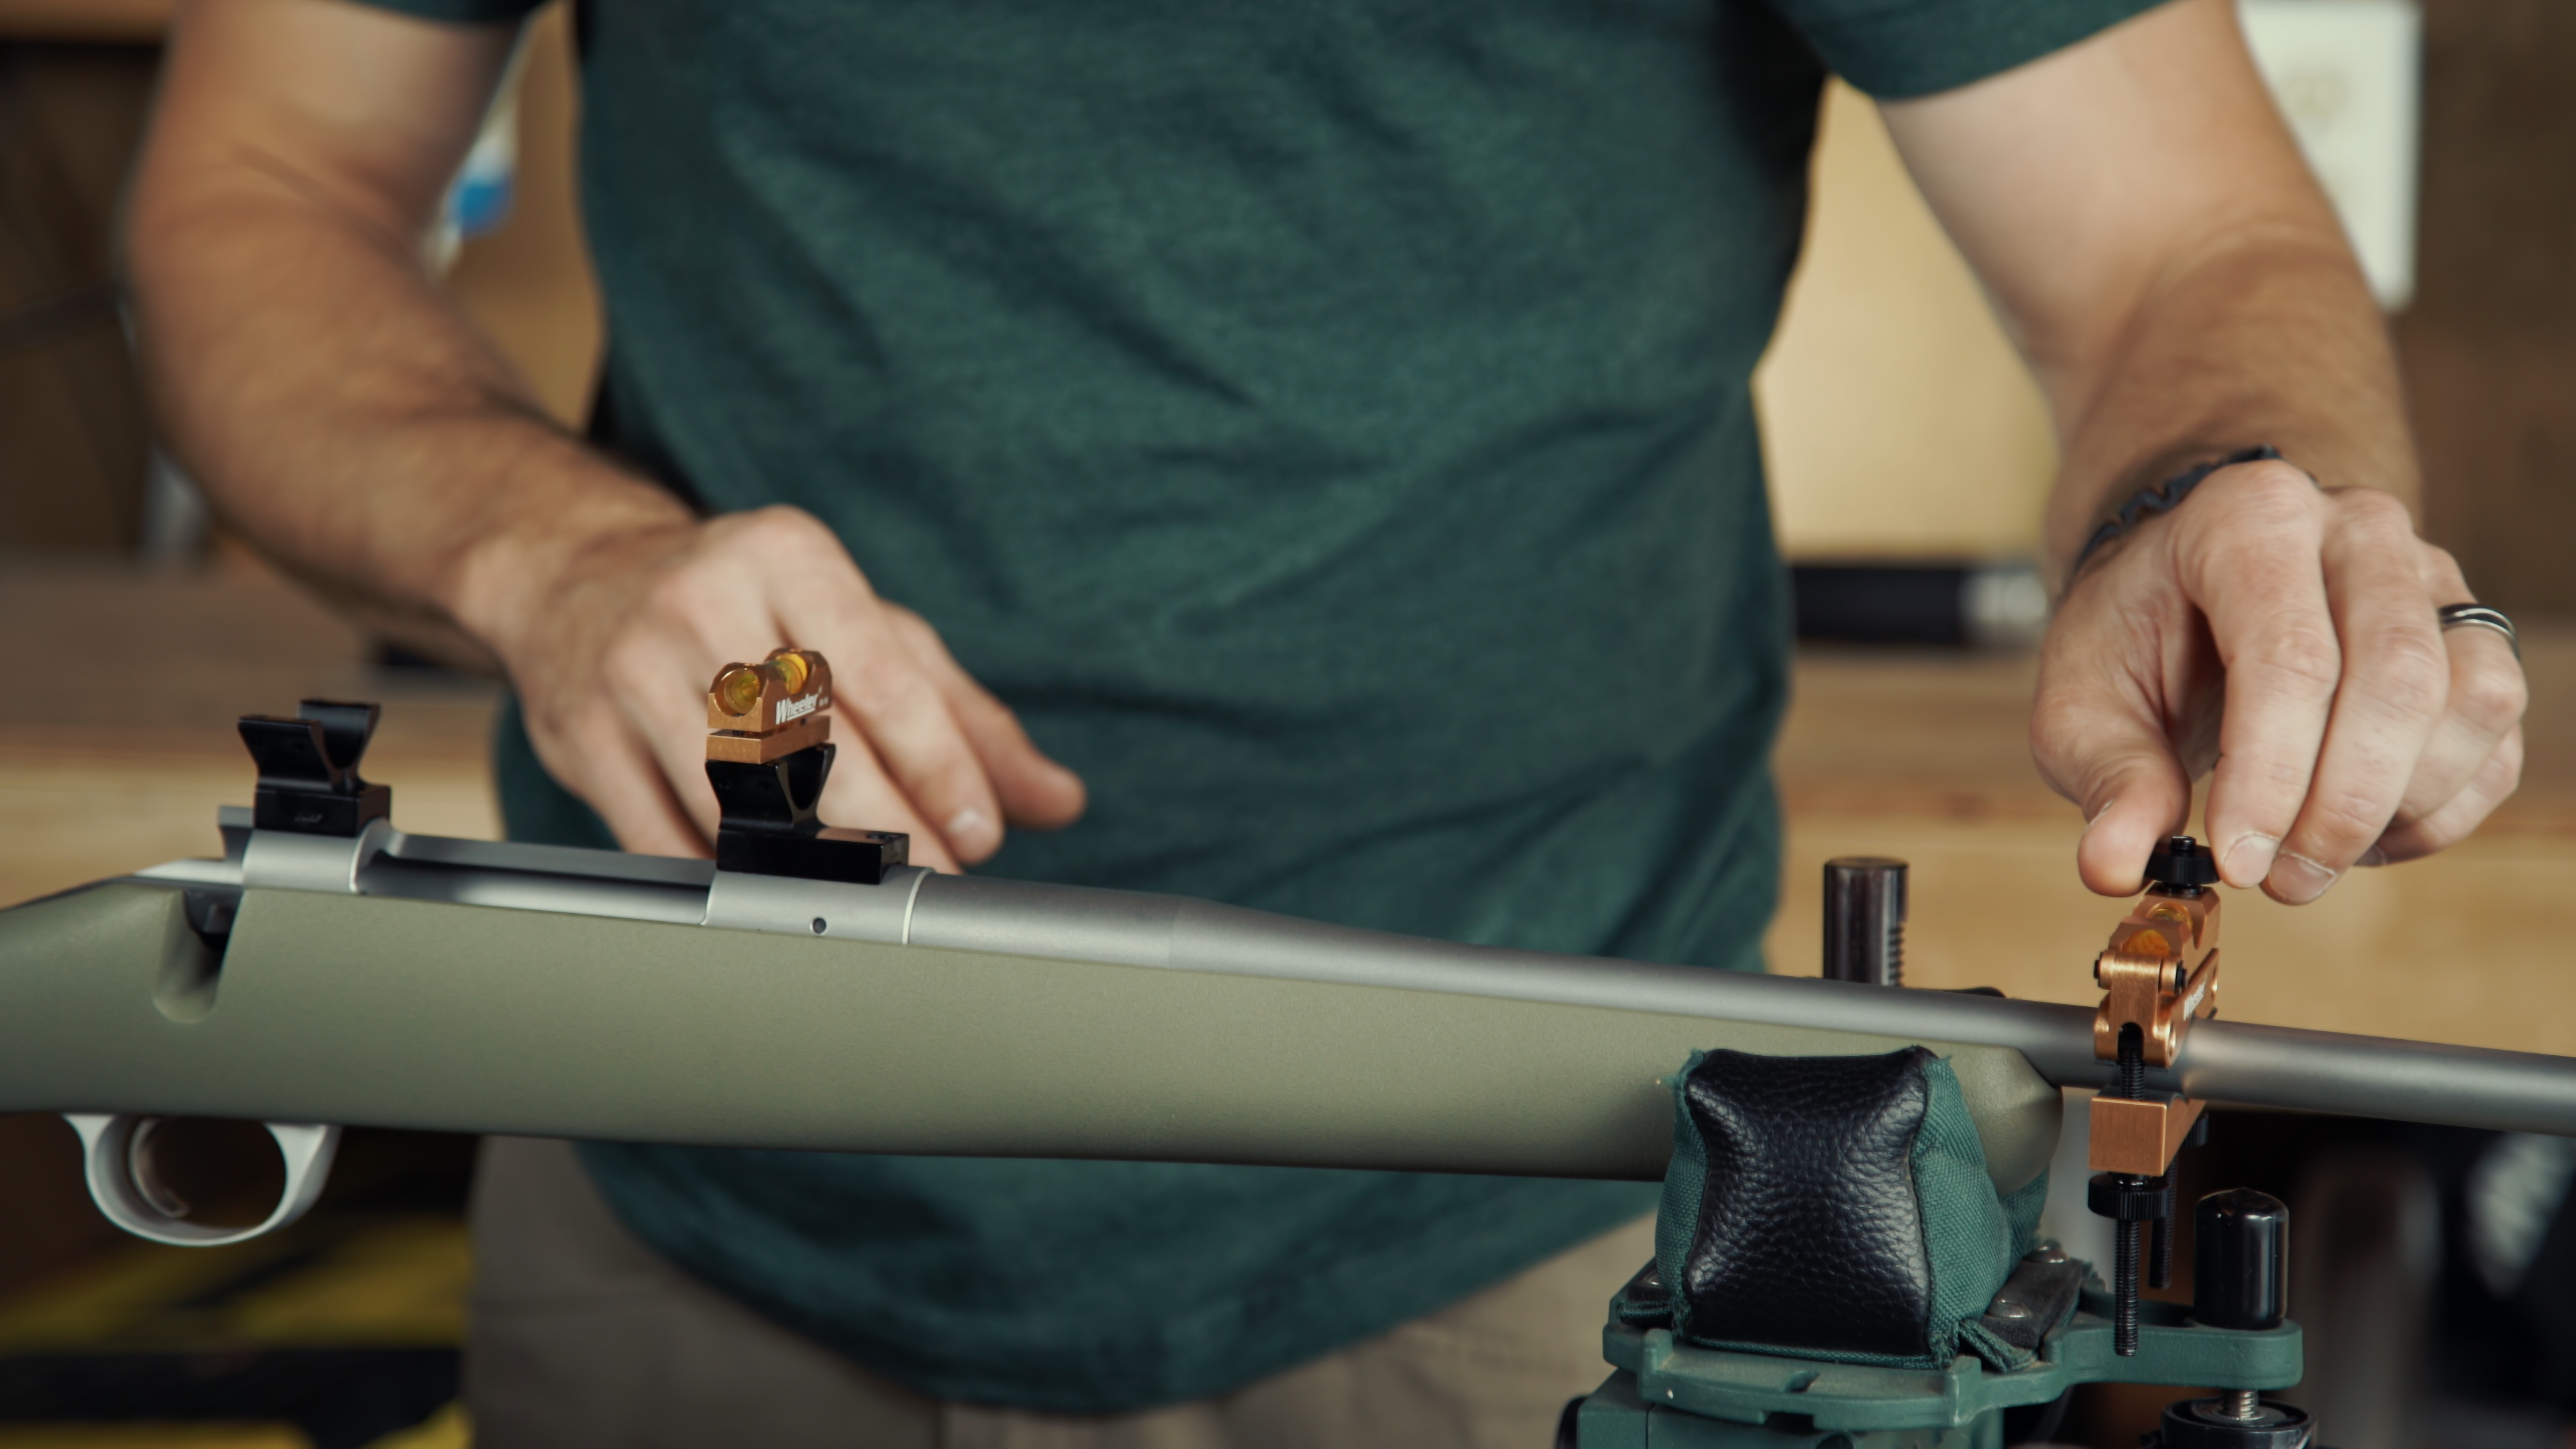
Start by securing your firearm in the gun vise. You want the rifle upright and stable. Identify a flat surface on the rifle that is indexed to the bore axis. On most modern bolt-action rifles, this is the picatinny rail or the flat part of the receiver just behind the port. Place your spirit level here and adjust the vise until the bubble is perfectly centered.
At this stage, you are correcting rifle cant at the source. Once the rifle is level, it must not move for the duration of the installation. If you bump the bench or the vise shifts, you must go back and re-level the action. Take your time here; any signs of a canted rifle scope reticle later in the process can usually be traced back to a shaky foundation during this first phase.
Phase 2: Indexing the Reticle
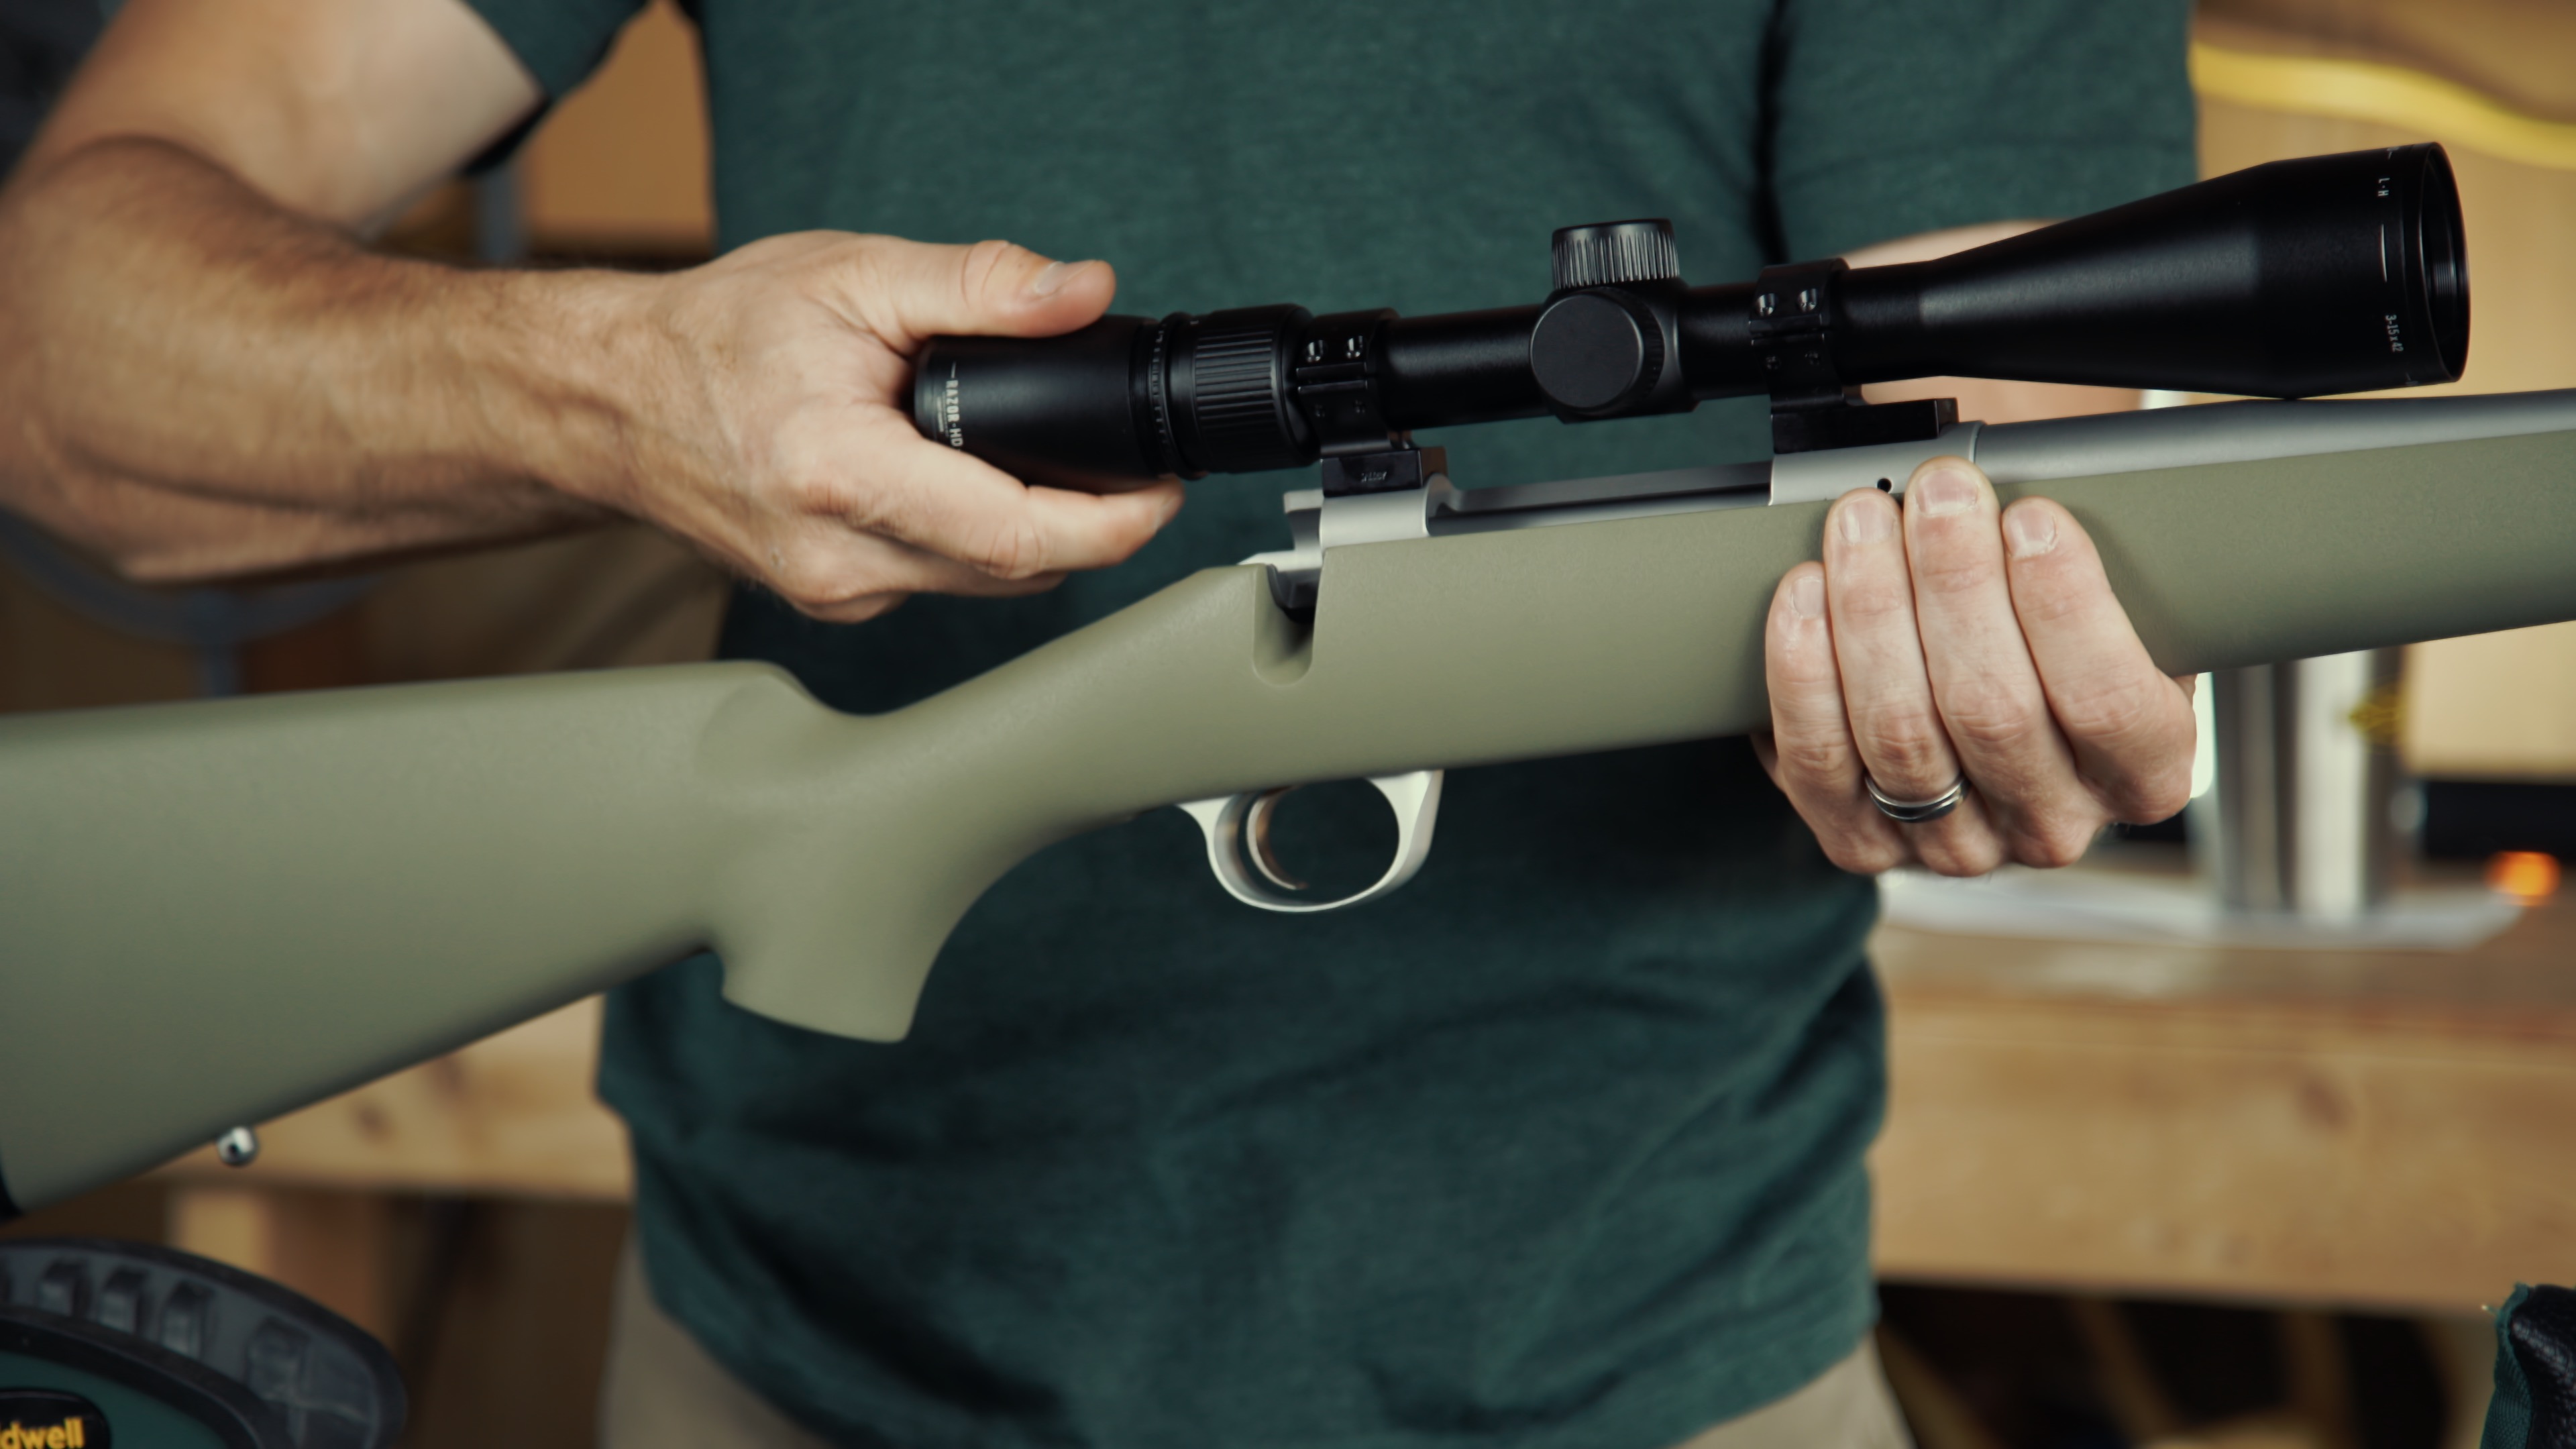
With the rifle secured, place the lower halves of your rings onto the picatinny rail and set the scope into the cradles. Install the top ring caps, but keep the screws loose enough that the scope can still rotate and slide forward or backward. This is when you set your eye relief. Get behind the rifle in your natural shooting position and move the scope until the eyebox provides a full, clear image without any black shadows around the edges.
Once the eye relief is set, it is time for scope reticle alignment using the dual-level method. Place your second spirit level on top of the elevation turret cap. Ensure the first level on the receiver still shows the rifle is perfectly horizontal. Now, slowly rotate the scope tube until the turret level matches the receiver level.
For those who want absolute certainty, use a plumb line. Hang a weighted string 25 yards away. Look through the optic and align the vertical crosshair with the string. This is how to level rifle scope with spirit level tools and visual aids simultaneously. This method is the most reliable way of how to correct rifle cant in long range shooting because it relies on gravity, which never lies. If the bubble levels and the plumb line all agree, you are ready for the final lockdown.
Phase 3: Final Torque and Verification
This is the phase where most shooters fail. As you tighten the ring screws, the friction between the ring and the scope tube often causes the scope to rotate slightly. If you aren't careful, you will end up with a canted reticle despite all your preparation.
The key to how to prevent scope rotation when tightening rings is to work in a cross-pattern—think of it like tightening the lug nuts on a car tire. Turn each screw only a fraction of a rotation before moving to the next. Constantly monitor your spirit levels. If you see the turret level start to drift, loosen the opposite side slightly to bring it back.
Use a calibrated torque wrench for the final step. Refer to your manufacturer's manual, but the standard rifle scope ring torque specs for mounting usually fall between 15 and 18 inch-pounds for the ring caps. Do not guess. Over-torquing can bind the internal magnification gears or even crack the tube.
| Component | Recommended Torque (Inch-Pounds) | Priority Gear |
|---|---|---|
| Ring Cap Screws | 15 - 18 in-lbs | Calibrated Torque Wrench |
| Base Clamp (Picatinny) | 45 - 65 in-lbs | Steel Torx or Allen Bits |
| Anti-Cant Device | 5 - 10 in-lbs | Small Spirit Level |
Warning: Never apply Loctite or thread-locker to scope ring screws unless specifically instructed by the manufacturer. Thread-locker acts as a lubricant when wet, often leading to false torque readings and over-tightened screws that can damage the optic.
Troubleshooting: Why It Still Looks Crooked
Even after following these steps perfectly, you might get behind the rifle and feel like the reticle is tilted. This is a common phenomenon known as head cant. Because of the way our bodies are built, we often tilt our heads to several degrees to get our eye aligned with the optic. When we do this, our brain tries to "level" the world based on our head position, making a perfectly level reticle look crooked.
This is a test of your precision marksmanship discipline. You must trust the levels over your eyes. If the levels on the receiver and the turret match, the scope is indexed to the bore axis. To help your brain adjust, you can install an anti-cant device—a small bubble level that attaches directly to the scope tube or rail. This allows you to check for level just before you pull the trigger, ensuring that your vertical tracking remains true regardless of how you are holding your head.
Finally, perform a vertical tracking test at the range. Fire a group at 100 yards, then dial up 20 MOA or 6 Mils of elevation and fire another group. If the second group is perfectly above the first, your leveling is a success. If the group has shifted to the left or right, it is a clear sign that you need to revisit your alignment.
FAQ
Why is it important to level a rifle scope?
Leveling ensures that your vertical crosshair is perfectly aligned with the force of gravity and the rifle's bore. If the scope is canted, any elevation adjustments you make for distance will also push the bullet horizontally, leading to significant misses at long ranges.
What tools do I need to level a rifle scope?
You should have a stable gun vise, a mounting kit containing spirit levels, a plumb bob or leveling target for visual reference, and a calibrated torque wrench to ensure ring screws are tightened to the correct inch-pounds.
Should I level the scope to the rifle receiver or the ground?
You must level the scope to the rifle receiver. The goal is to ensure the reticle and the rifle's action are perfectly synchronized. Leveling to the ground only works if the rifle is also perfectly level to the ground, which is why a vise is so important.
How do you use a plumb line to level a scope?
Hang a weighted string (plumb line) at a distance, typically 25 yards. After leveling your rifle action in a vise, look through the scope and rotate it until the vertical crosshair perfectly overlays the vertical string. This uses gravity as the ultimate reference point.
How do I know if my rifle scope is canted?
The best way to tell is through a tracking test. If you shoot a group, dial up your elevation, and find that your point of impact has moved horizontally as well as vertically, your scope is likely canted. You can also verify this by checking your levels on a flat bench.