Quick Facts
- Completion Rate: Only 4 percent of cyclists on Strava finish a 100-mile ride annually.
- Caloric Goal: Aim for 30 to 90 grams of carbohydrates per hour to maintain glycogen.
- Hydration Target: Consume 500 to 1,000 ml of fluid per hour to prevent performance loss.
- Pacing Metric: Maintain a Zone 2 heart rate (60–70% of max) to preserve energy.
- Mechanical Must: Ensure tubeless sealant is fresh and valve cores are clear of clogs.
- Recovery Ratio: Consume a 3:1 carbohydrate-to-protein ratio within 30 minutes of finishing.
Essential century ride preparation involves a 7-point gear check including bike maintenance (sealant, bolts, and gears), a programmed nutrition strategy for 100-mile bike rides, and proper packing of long-distance cycling gear like multi-tools and spare tubes to ensure roadside self-sufficiency. By auditing your equipment and biological fueling needs several days before the event, you minimize the risk of mechanical failure and physical "bonking" over the course of the day.
Completing a century is a rite of passage for every serious cyclist. Whether you are aiming for a personal best time or simply looking to finish before the sun goes down, the demands placed on your equipment and your body are extreme. According to data from Strava, only 4 percent of cyclists on the platform completed a ride of 100 miles or more in 2023. This statistic highlights that the challenge is not just one of fitness, but of preparation. To join this exclusive group, your century ride preparation must be flawless. This guide covers the 7 must-have gear checks for long distance success, moving from the mechanical integrity of your machine to the physiological requirements of your engine.
1. The Drivetrain and Shifting Integrity
The average century ride involves thousands of individual shifts. As terrain varies from steep climbs to fast descents, your derailleur must move the chain with surgical precision. Even a slight hesitation in shifting can lead to energy loss and psychological frustration over six or seven hours. Bike maintenance for long rides begins with a thorough cleaning of the drivetrain to remove road grit that acts like sandpaper on your components.
You should inspect your chain for "stretch" using a wear indicator tool. A worn chain doesn't just shift poorly; it actively destroys your cassette and chainrings. Check your derailleur alignment—if the bike has been dropped or leaned awkwardly against a wall, the hanger might be slightly bent. Use a multi-tool with pliers to ensure every cable end is capped and every bolt is torqued. Smooth, friction-free shifting allows you to maintain a steady cadence, which is essential for preserving your leg muscles for the final 20 miles.
Pro Tip: Use a high-quality wax-based lubricant the night before your ride. This allows the carrier fluid to evaporate, leaving a dry, protective film that won't attract dust during long hours on the road.
2. Tire Health and Tubeless Sealant Levels
Your tires are the only point of contact between you and the pavement. For a long-distance event, tire reliability is paramount. Start by inspecting the tread for small glass shards or flints that may have embedded themselves during training; these are often the "slow leaks" that turn into catastrophic failures mid-ride.
If you are running a tubeless setup, bike maintenance before a century ride must include a sealant check. Sealant dries up over time, usually within three to six months depending on your climate. Remove the valve core and use a dipstick or a syringe to verify you have at least 30-60ml of fresh liquid. While you're there, perform valve core maintenance by ensuring the core isn't clogged with dried latex, which can prevent you from adding air if you need to top up during the ride.
3. Roadside Self-Sufficiency Kit
Even the best-maintained bike can fall victim to a stray nail. Being self-sufficient is a hallmark of an experienced endurance cyclist. Your long distance cycling gear should be organized to keep the center of gravity low and stable on the frame. Avoid stuffing your jersey pockets with heavy tools; instead, use a dedicated saddlebag or a small frame bag.
The best way to pack a bike for long distance is to prioritize accessibility for items you might need under stress. Your toolkit should be a "fail-safe" system. Here is the essential century ride gear checklist for your saddlebag:
- Two spare inner tubes (even if running tubeless, a large gash may require a tube).
- Two CO2 canisters and a reliable inflator head.
- A high-quality multi-tool with pliers and a chain breaker.
- Two sturdy tire levers.
- A small piece of old tire casing (a "boot") to repair sidewall tears.
- A master link (PowerLock) compatible with your specific chain speed.
4. Cockpit and Navigation Calibration
In the final third of a 100-mile ride, "brain fog" is a real phenomenon. You do not want to be squinting at a confusing map or worrying about a dying battery when your physical reserves are low. Navigation tips for long distance cycling start with a pre-loaded GPS route. Ensure the route has "turn-by-turn" directions enabled so you get an audible alert before every junction.
Electronics require a "morning of" battery audit. This includes your head unit, heart rate monitor, and, crucially, your electronic shifting batteries. If you are using top tube bags, position them so they don't interfere with your knees while standing on climbs. These bags are perfect for housing an external power bank if you expect your ride to exceed the battery life of your computer.
5. Nutrition Strategy and Fueling Log
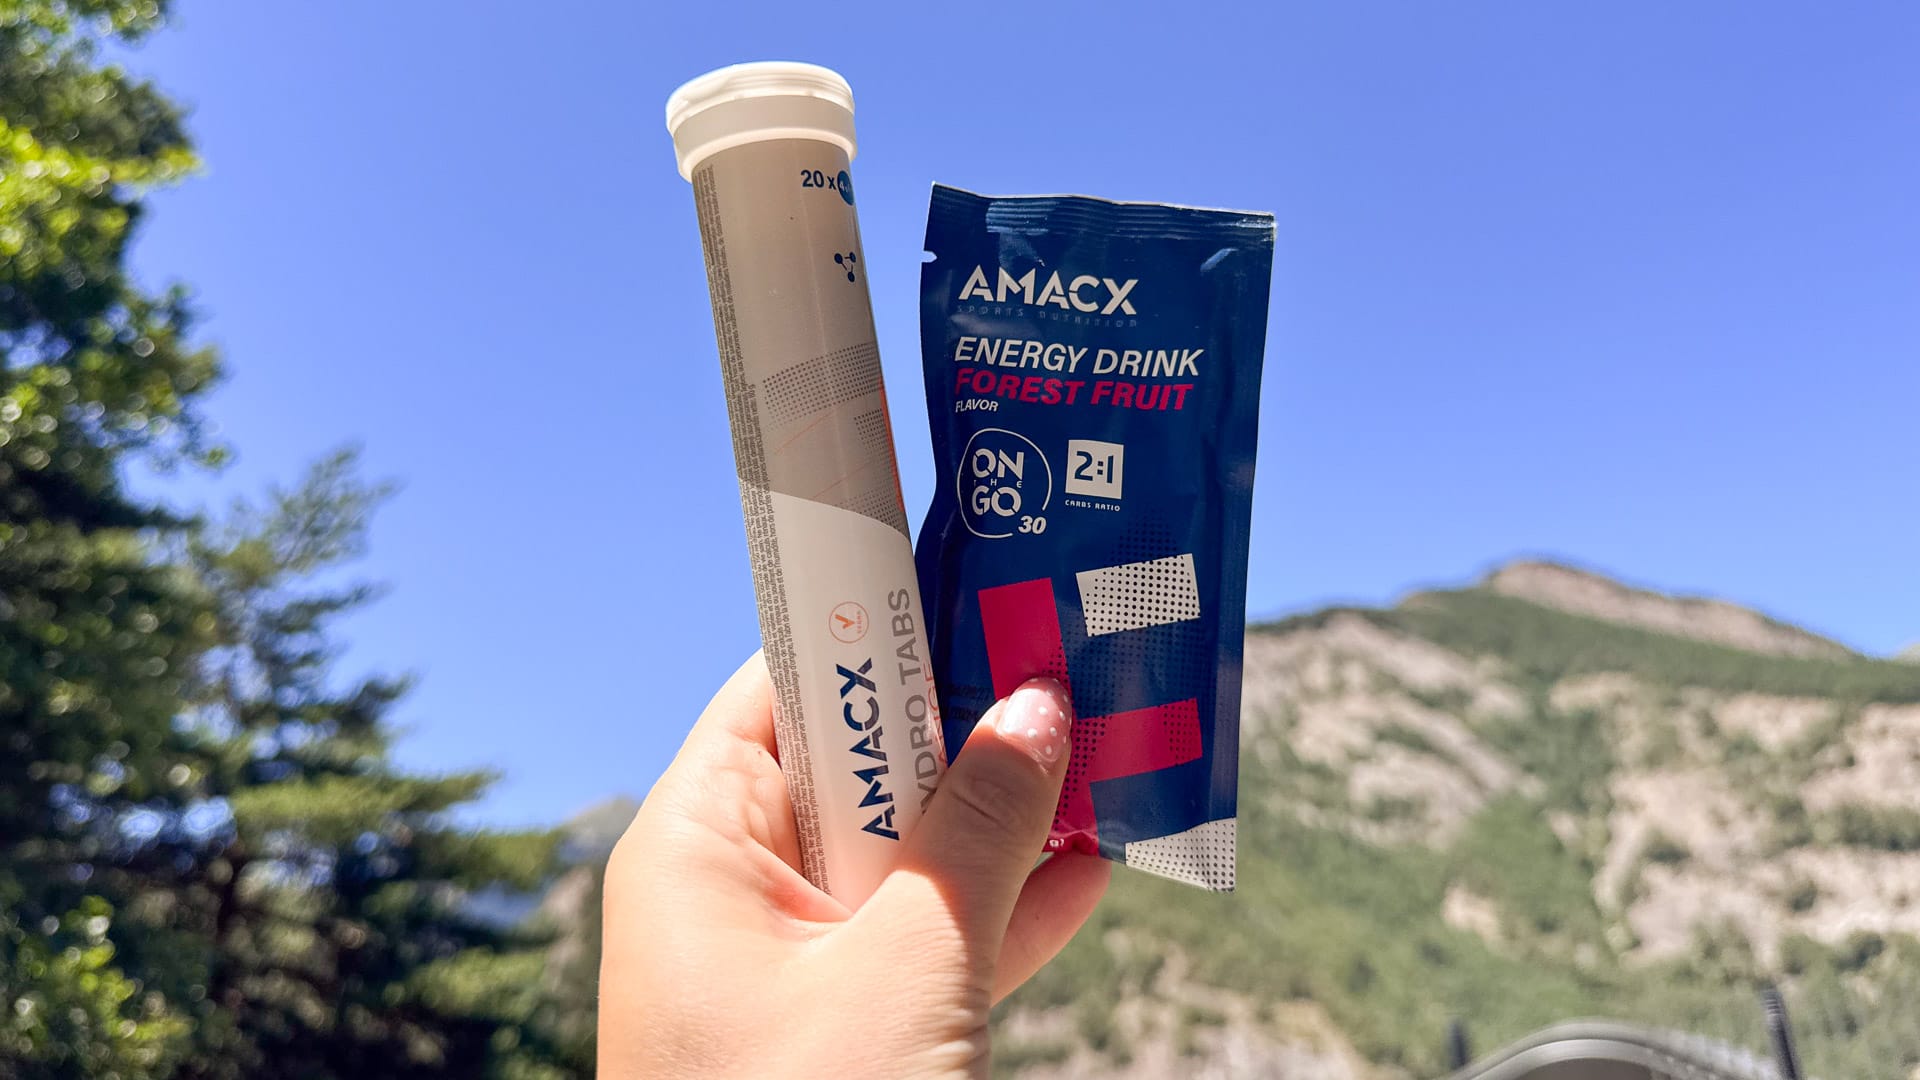
A 100-mile bike ride typically results in a caloric expenditure of 3,500 to 5,000 calories, necessitating a nutrition strategy that provides 30 to 90 grams of carbohydrates per hour. You cannot simply "eat when you're hungry." By the time you feel hunger, your glycogen stores are already depleted, and your performance will plummet.
Your nutrition strategy for 100 mile bike ride should involve a mix of liquid calories, gels, and "real food" to prevent what many call gut rot—the nausea that comes from consuming too many simple sugars. Use the first two hours to eat solid foods like rice cakes or bananas, saving the gels for the high-intensity efforts later in the day.
| Feature | Target Range | Purpose |
|---|---|---|
| Carbohydrate Intake | 30–90g per hour | Maintain glycogen replenishment |
| Fluid Intake | 500–1,000ml per hour | Maintain blood volume and cooling |
| Electrolytes | 400–800mg Sodium per hour | Prevent cramping and hyponatremia |
| Precision Fueling | 200–300 Calories per hour | Sustained fat-burning efficiency |
Hydration is equally critical. Experts recommend a fluid intake of 500 to 1,000 milliliters per hour to maintain physiological function and avoid performance loss during long-distance endurance rides. Ensure your electrolyte intake is consistent, especially if you are a "salty sweater."
6. Skin Protection and Hygiene Rituals
Comfort is the silent partner of speed. Even the most aerodynamic bike is useless if you cannot sit on the saddle due to pain. A professional bike fit is the first step in long-term comfort, but on the day of the ride, skin protection is your priority.
Learning how to prevent saddle sores on long rides involves both pre-ride and post-ride actions. Apply a generous amount of chamois cream to both your skin and the pad of your shorts before you start. This reduces the friction that causes micro-tears in the skin. The night before the ride, avoid shaving the "contact area" as this can lead to ingrown hairs and infected follicles under the pressure of a 100-mile effort.
Post-ride hygiene is just as important as the ride itself. As soon as you finish, get out of your damp cycling shorts. Clean the skin immediately with an antibacterial wipe or soap and water, then apply a recovery ointment to soothe any irritation.
7. The Pacing Protocol (Zone 2 Baseline)
The biggest mistake riders make during a century is "red-lining" in the first 20 miles because they feel fresh and the group is moving fast. This burns through valuable glycogen that you will desperately need at mile 80. Your pacing is best managed by staying at a conversational effort—roughly 60% to 70% of heart rate maximum—also known as your Zone 2 heart rate.
By staying in this zone, you promote fat-burning efficiency and spare your carbohydrate stores. Use your computer to set heart rate or power alerts. If you see your numbers creeping into Zone 4 on a climb during the first half of the ride, back off. Mental partitioning also helps; treat the ride as four 25-mile blocks. Use the transitions between these blocks to check your fueling log and ensure you are meeting your carbohydrate and fluid targets.

FAQ
What gear is essential for a 100-mile cycle?
Essential gear includes a well-maintained road or endurance bike, a fitted helmet, and padded cycling shorts. On the bike, you must have a repair kit containing spare tubes, a multi-tool with pliers, and a CO2 inflator. Navigation is provided by a GPS head unit, while nutrition is managed through top tube bags filled with a mix of gels and real food.
How do I prevent saddle sores on long rides?
The best way to prevent saddle sores is to use high-quality chamois cream applied before the ride to reduce friction. Ensure you have had a professional bike fit to optimize saddle pressure. After the ride, immediately remove your cycling kit and clean the skin to prevent bacteria from entering the pores.
What should I eat the morning of a 100-mile bike ride?
Focus on a breakfast rich in complex carbohydrates and low in fiber to avoid gastrointestinal distress. Porridge or oatmeal with a banana and a tablespoon of honey is a classic choice. Aim to eat 2 to 3 hours before you start to allow for proper digestion and to top off your glycogen levels.
How do I pace myself during a century ride?
The key is to stay in Zone 2 for the majority of the ride, which is roughly 60% to 70% of your maximum heart rate. This effort level should feel conversational. Avoid following aggressive attacks early in the ride and use a power meter or heart rate monitor to stay within your prescribed limits until the final 10 to 15 miles.
How many miles should I ride a week before a century?
The week before a century should be a "taper" period. You should reduce your overall volume by 30% to 50% but keep a few short, high-intensity efforts to keep your legs "awake." For most amateur riders, this means one or two easy rides of 15 to 20 miles, ensuring your body is fully recovered and your glycogen stores are fully loaded for the big day.